6-1. Charging
Goal: Safely charge the RBQ10 battery after use.
The RBQ10 supports three charging methods:
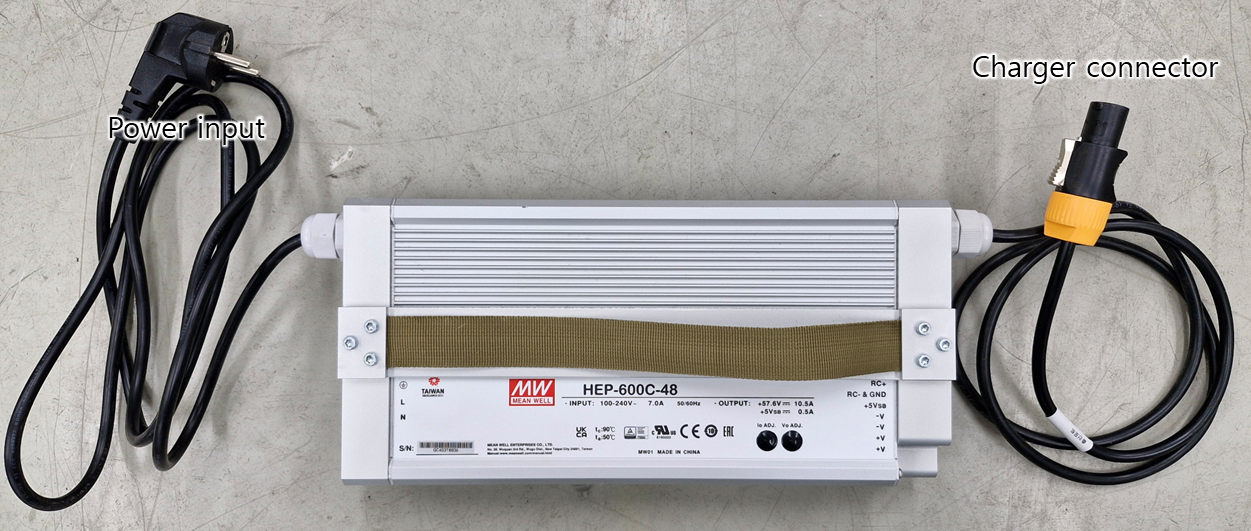
- Charger — connect directly to the charging port on the top of the robot
- Docking station — autonomous docking and charging via the bottom port
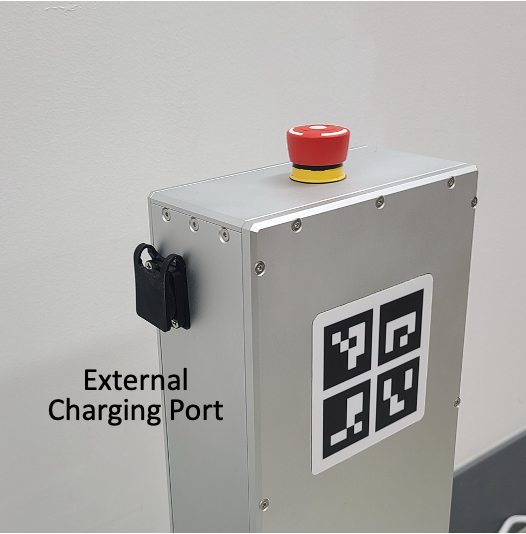
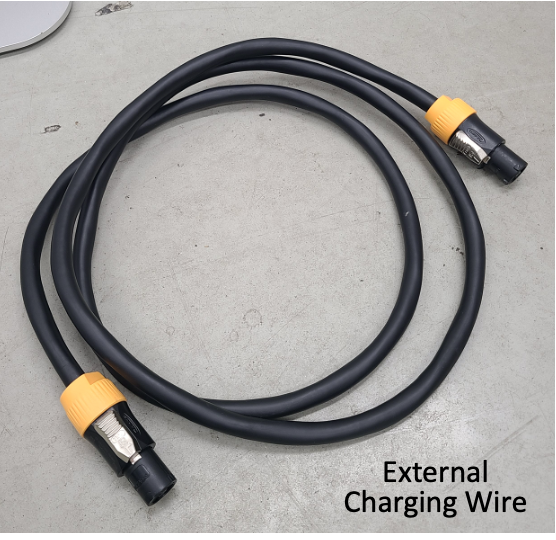
- External cable from docking station — connect the station's cable to the robot's top port manually
Prerequisites: The robot must be powered off before connecting any charging cable.
WARNING
Charge the robot only with the supplied RBQ10 charger or RBQ10 docking station.
Charging with the RBQ10 charger

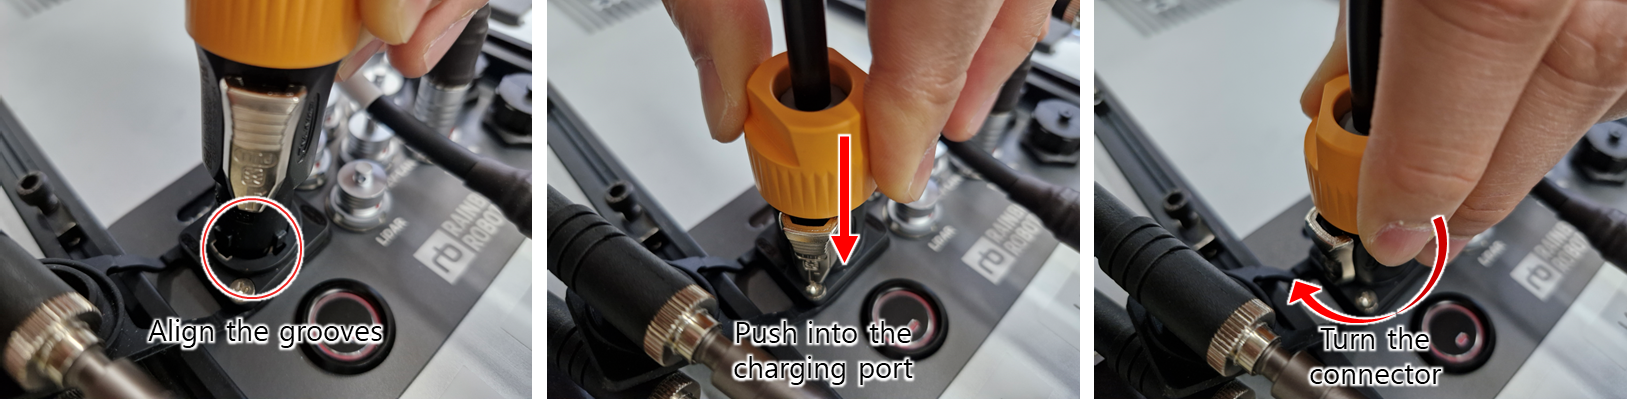
How to charge
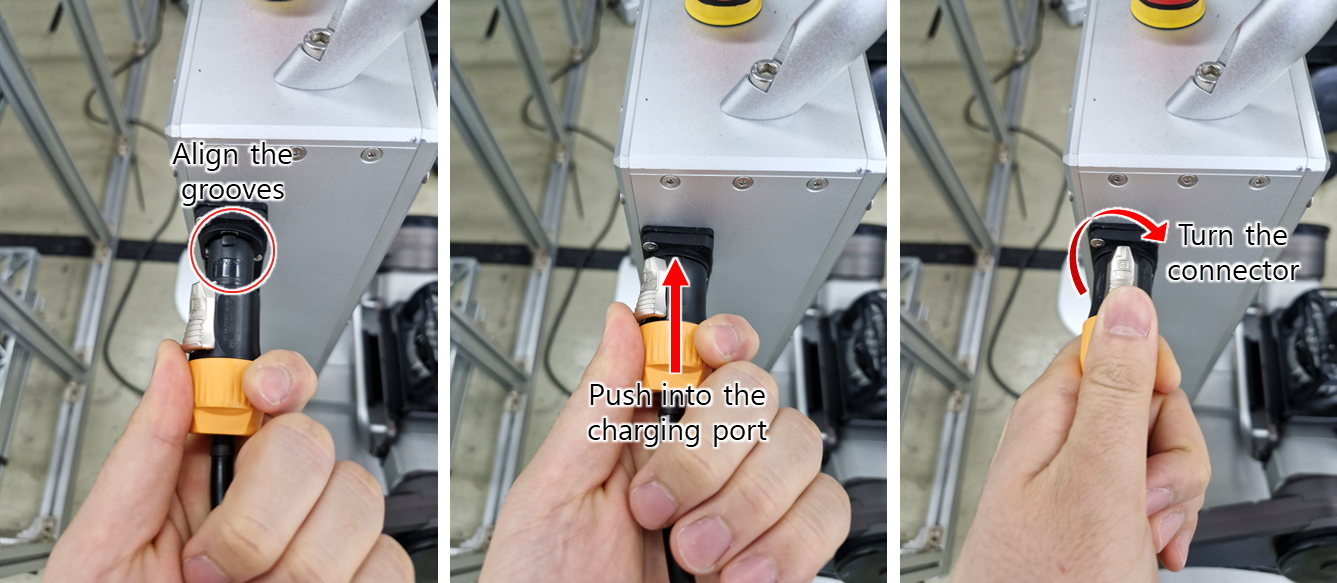
Step 1: Align the keying.
Step 2: Push into the charging port.
Step 3: Rotate the connector.

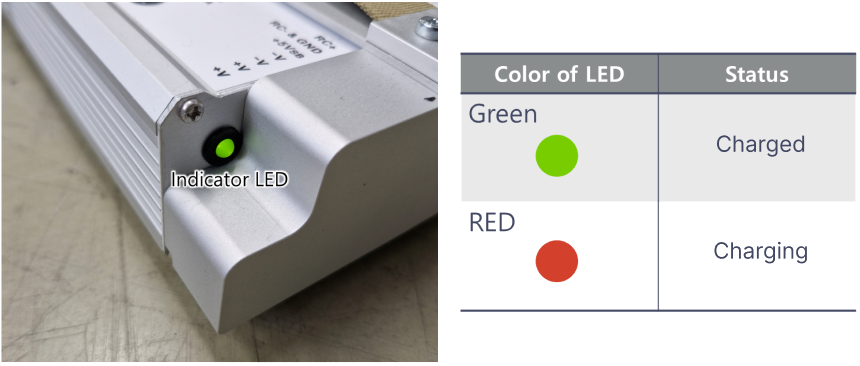
Charging status

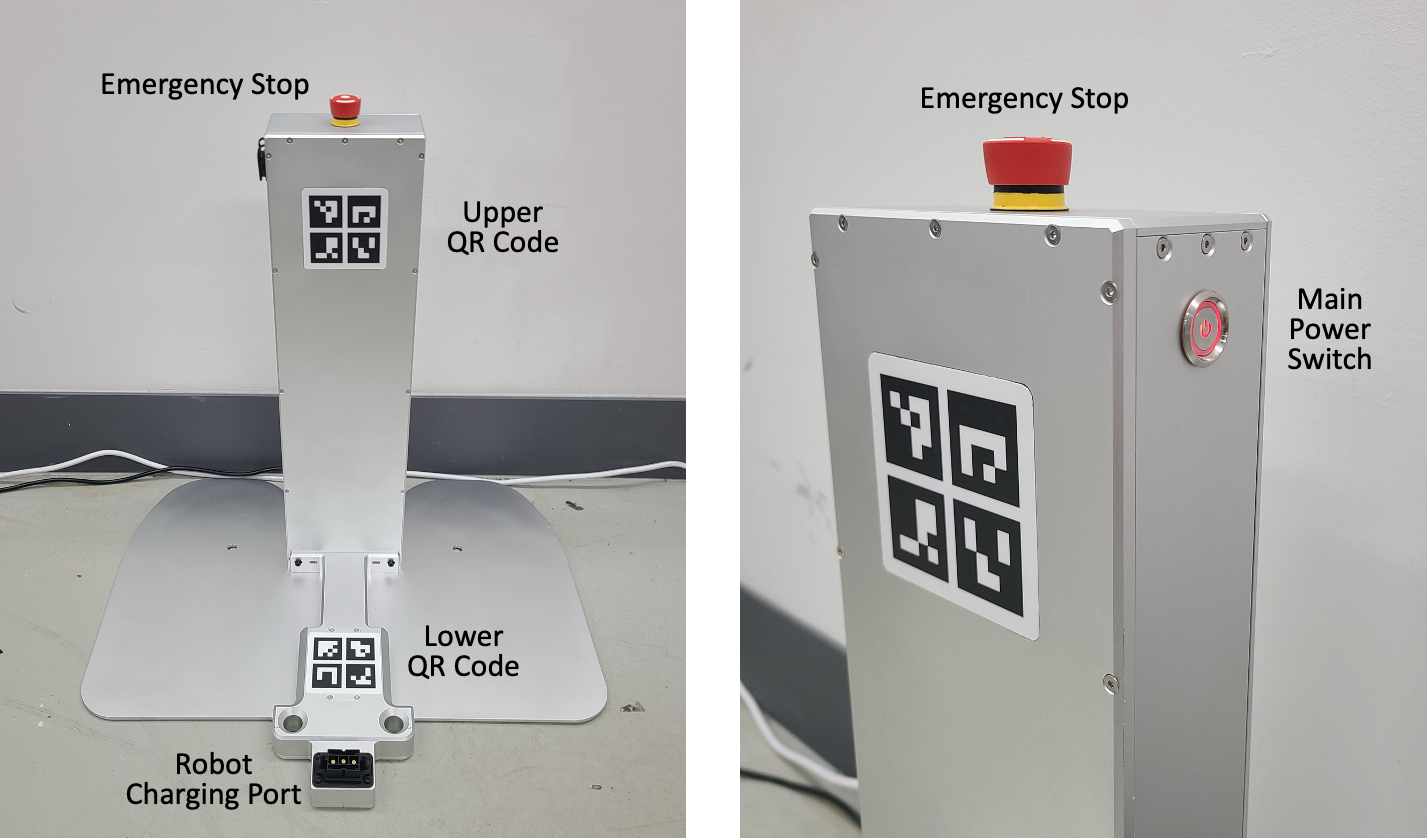
Charging with the docking station

How to charge
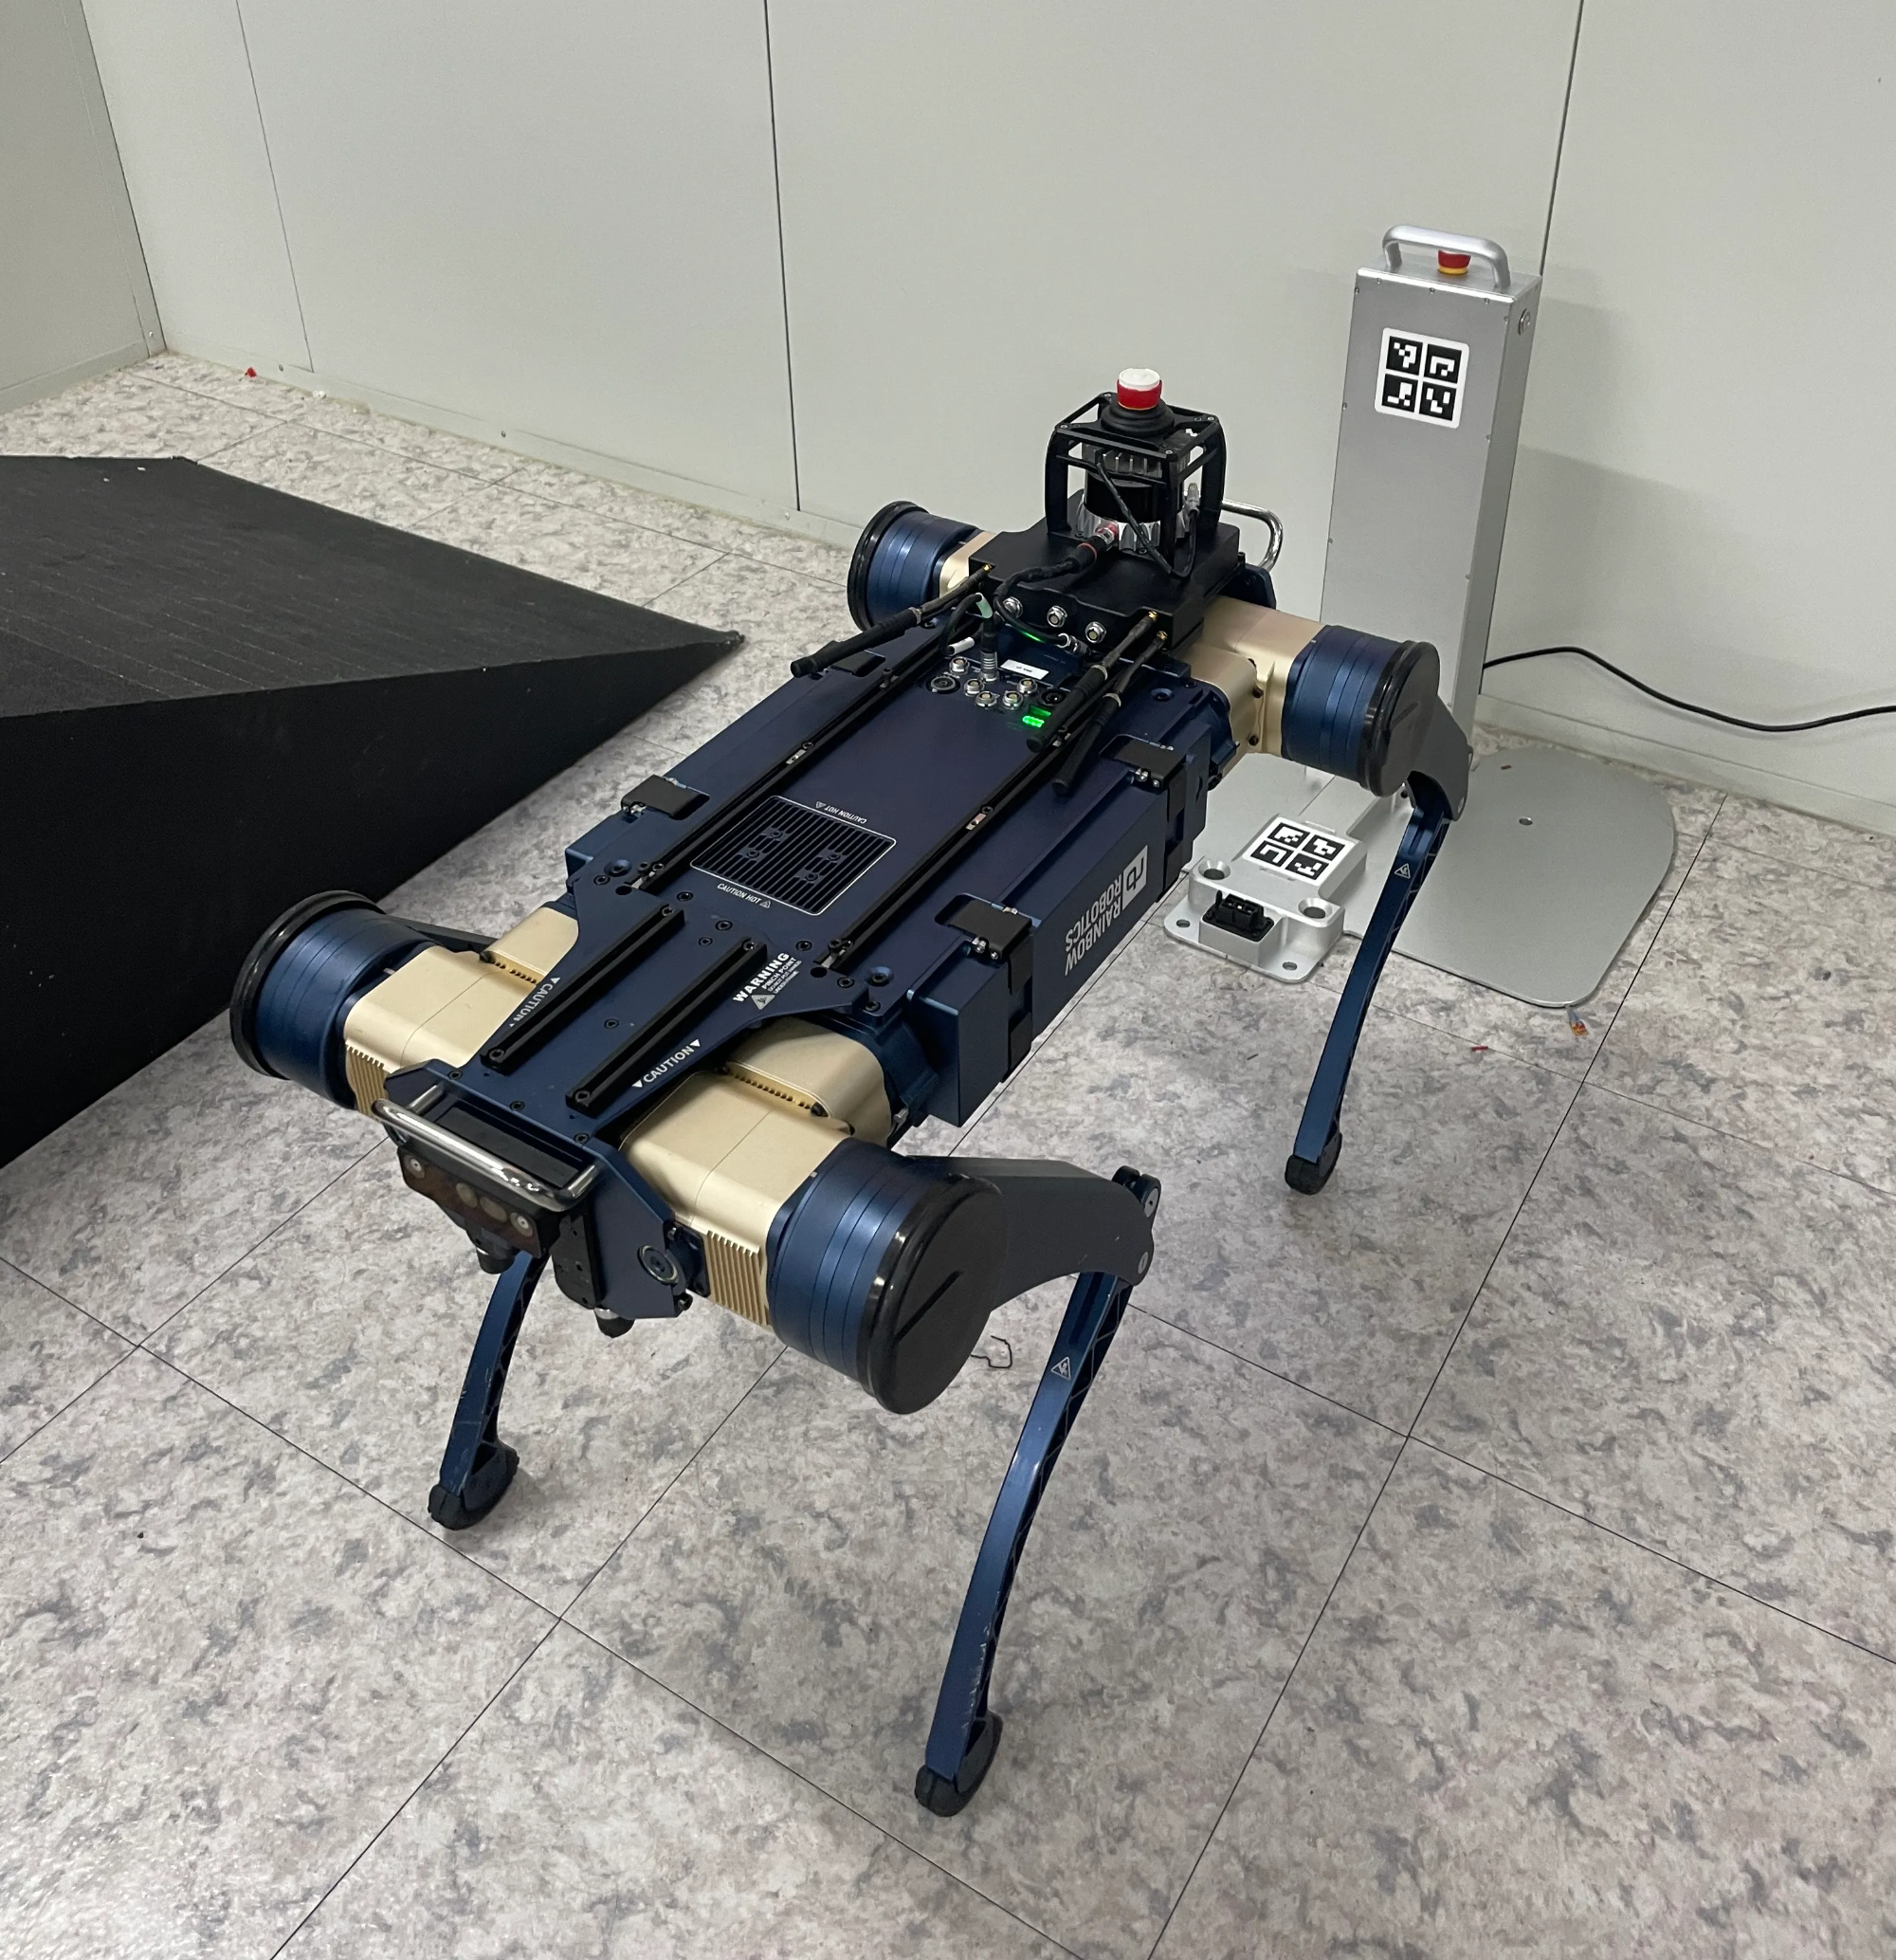
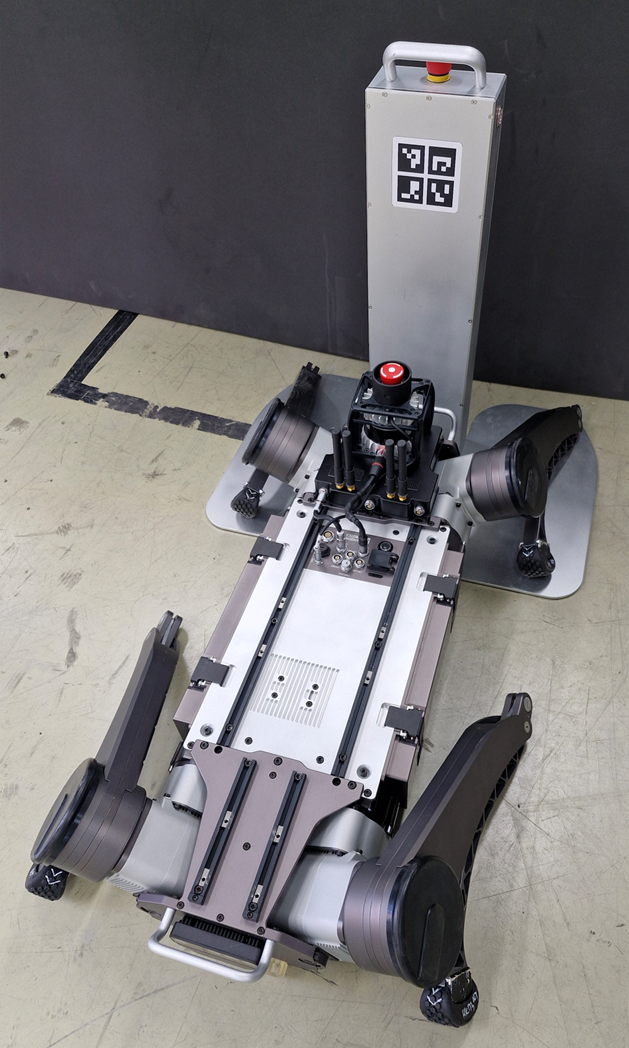
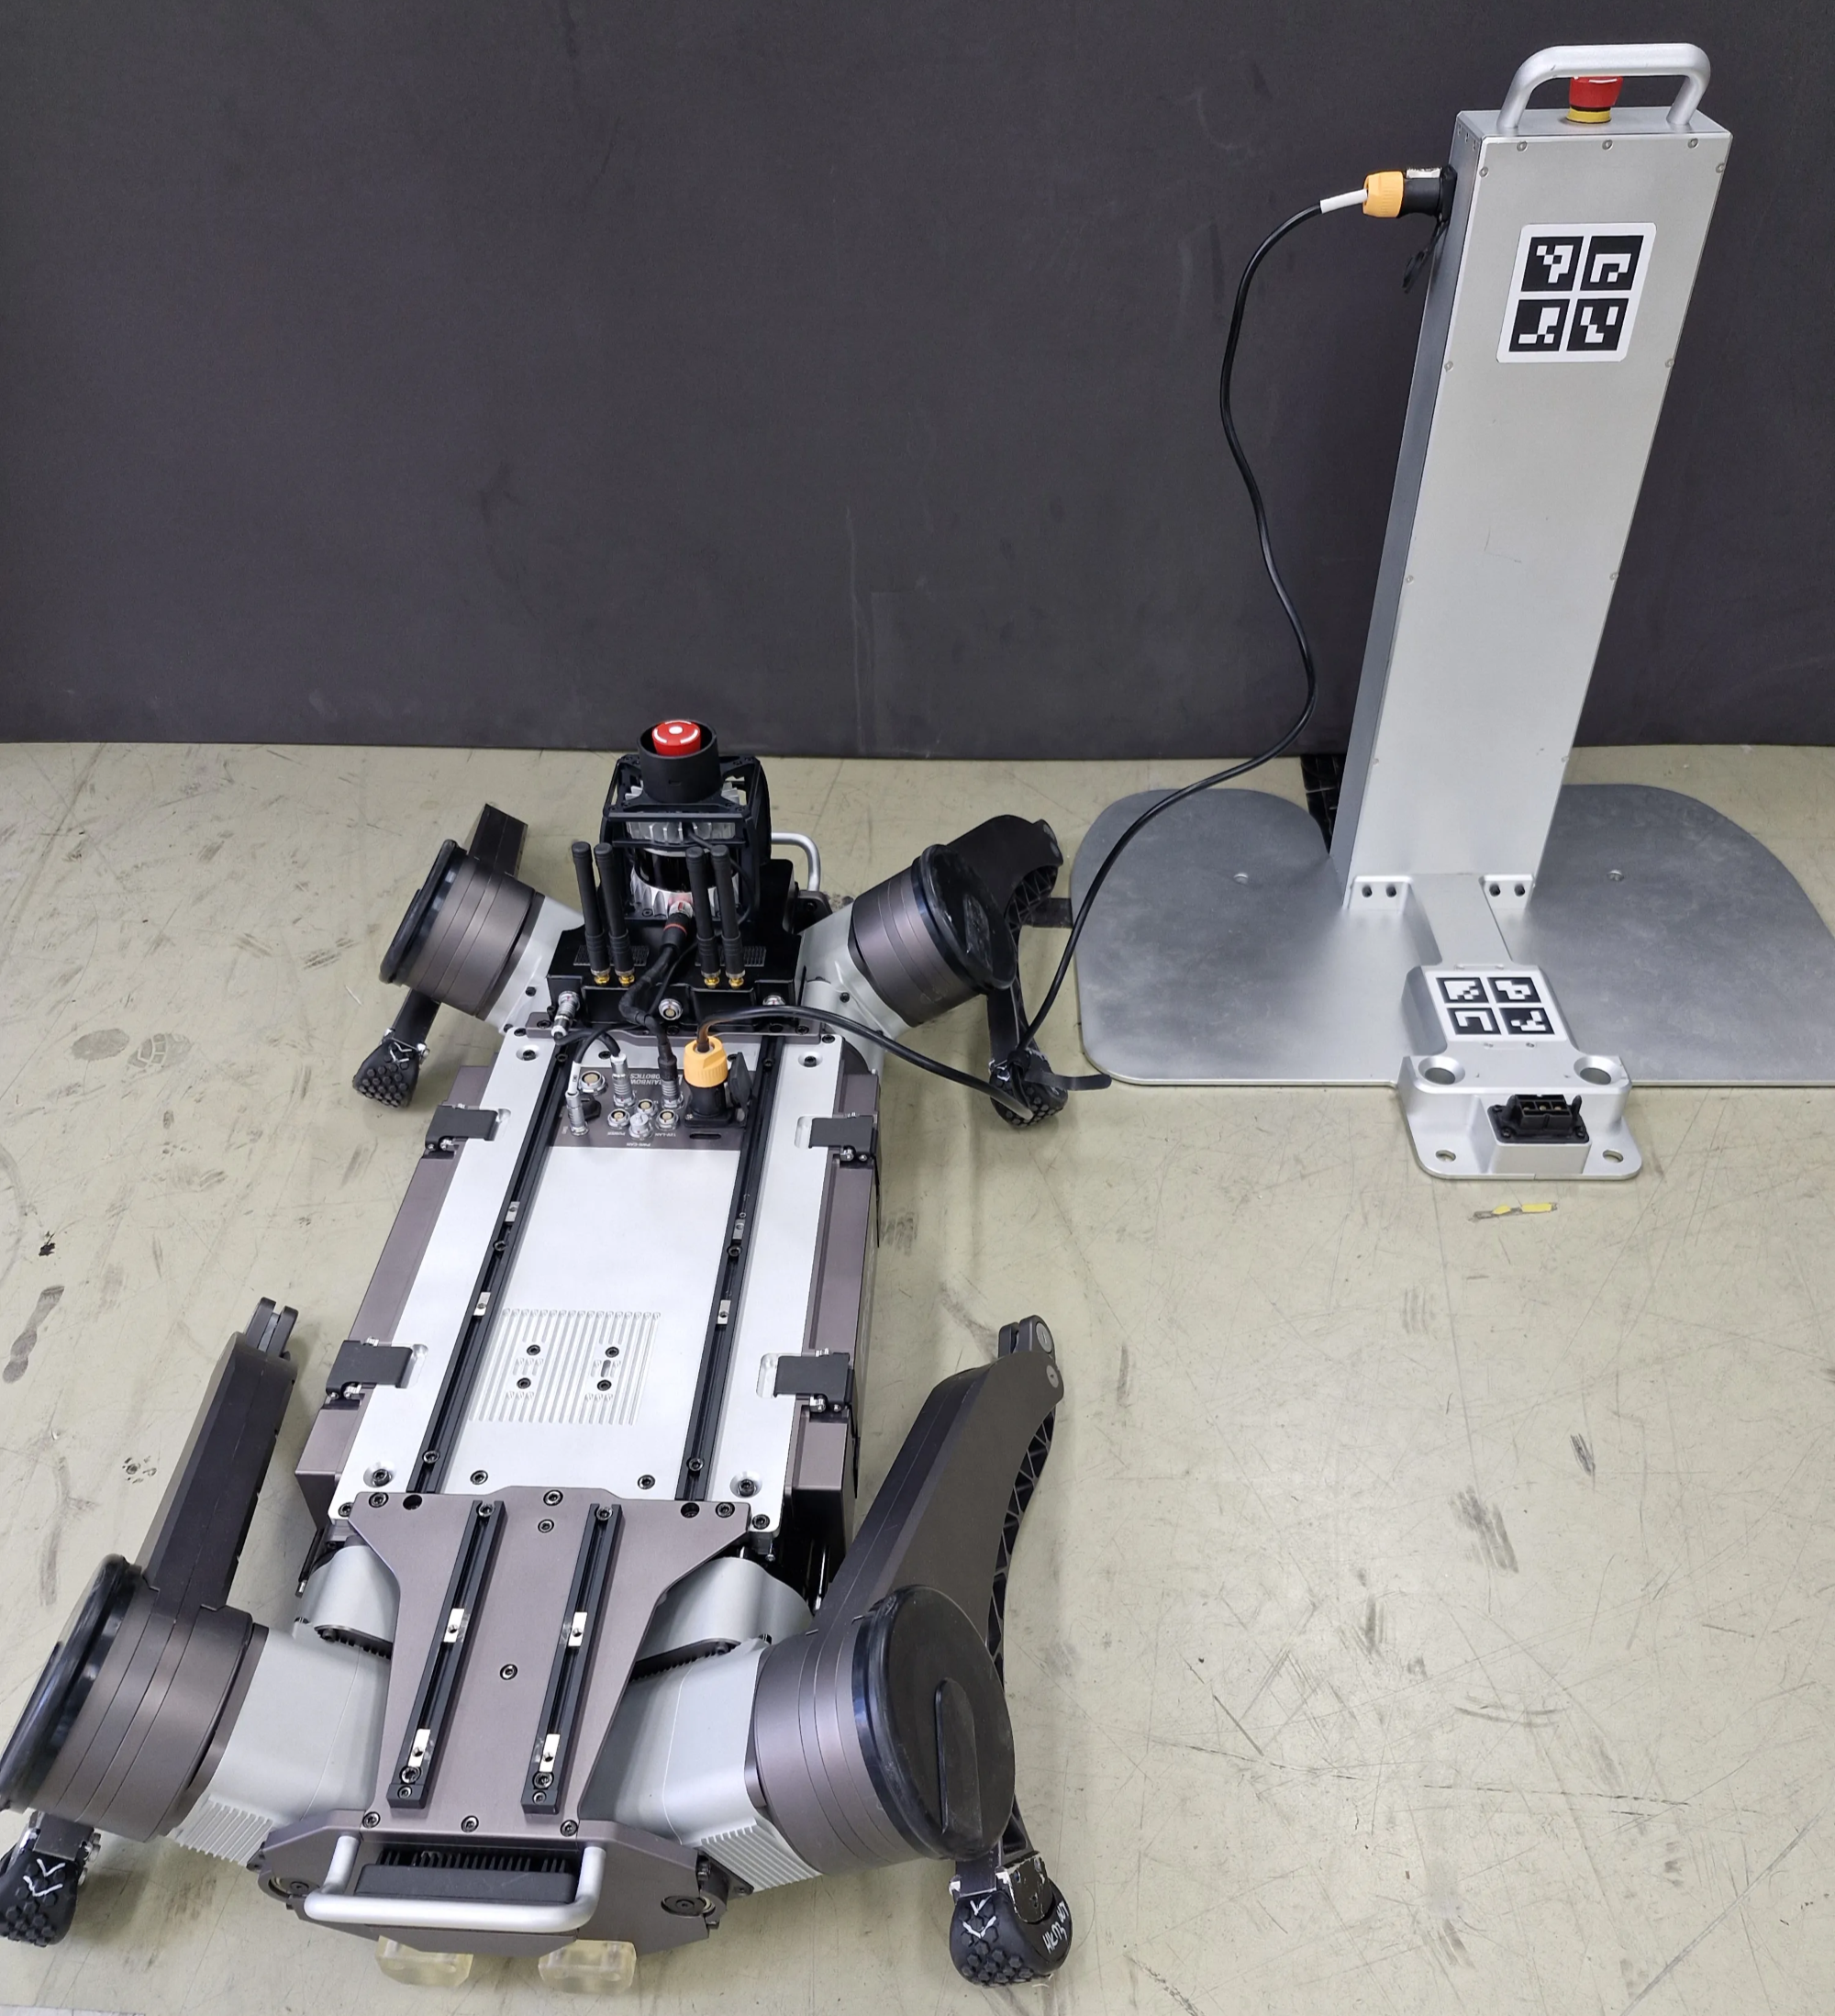
Step 1: Position the robot so the front or rear camera faces the docking station.

REQUIRED READING
The distance between the docking station and the robot must be within 5 meters, and the front or rear camera must be able to recognize ArUco markers before automatic docking is possible.
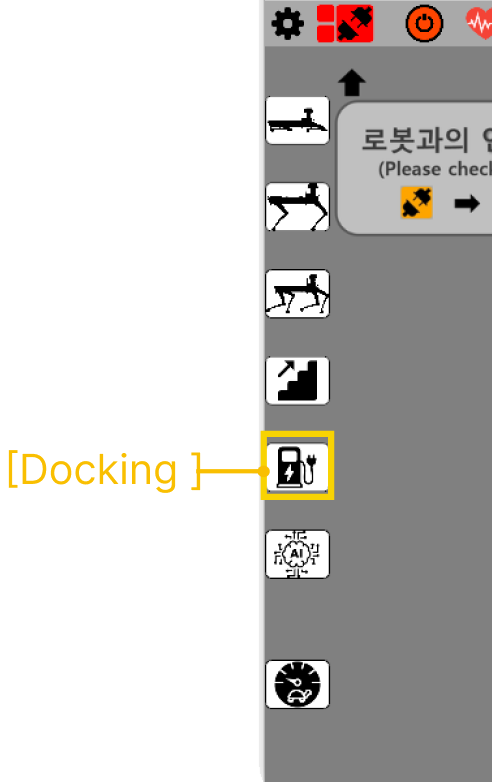
Step 2: Press the Docking button.

NOTE
When the robot recognizes a QR code, the docking sequence starts automatically.
Step 3: The robot automatically attempts docking and, on failure, automatically retries.

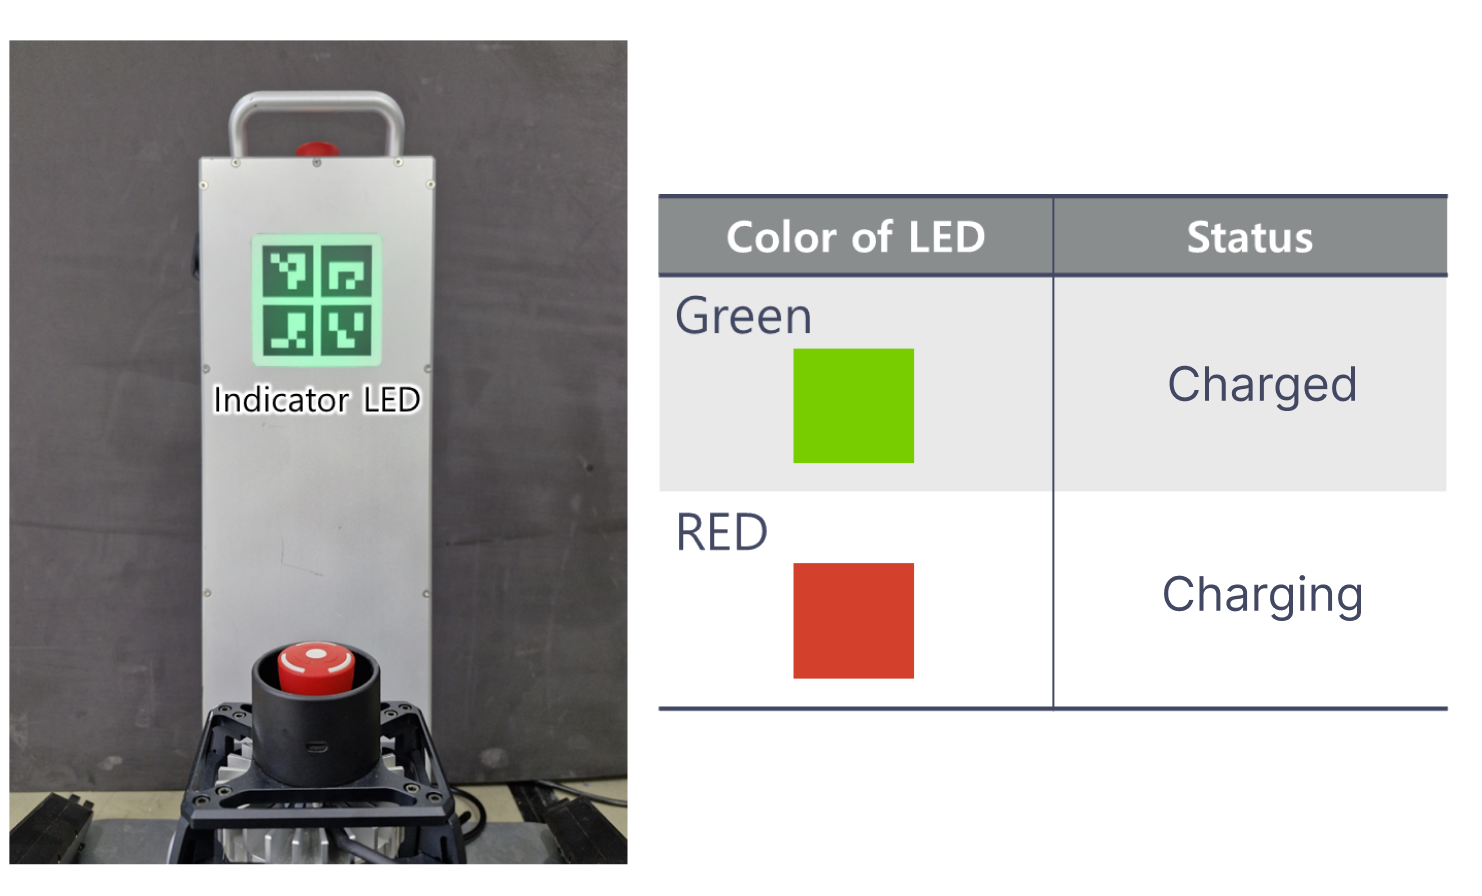
Charging status

Charging with an external cable from the docking station


How to charge
Step 1: Connect the external charging cable to the RBQ10 docking station external charging port.

Step 2: Connect the external charging cable to the RBQ10 charging port.

Step 3: Charge the RBQ10 using the docking station external charging cable.

Docking station installation precautions
- The charging station is water-resistant, but if water is present on the charging terminals, charging problems may occur; install it away from places where water splashes.
- The power cable is treated for water exposure, but when connecting to an external outlet, keep water out of the plug connection.
- Prolonged direct sunlight can cause overheating; installing in a shaded location is recommended.
- Secure the charging station to the floor using the fixing holes.
Next Step
When the robot is fully charged, pack it for storage or transport: