Skip to content

3. Payload Setting

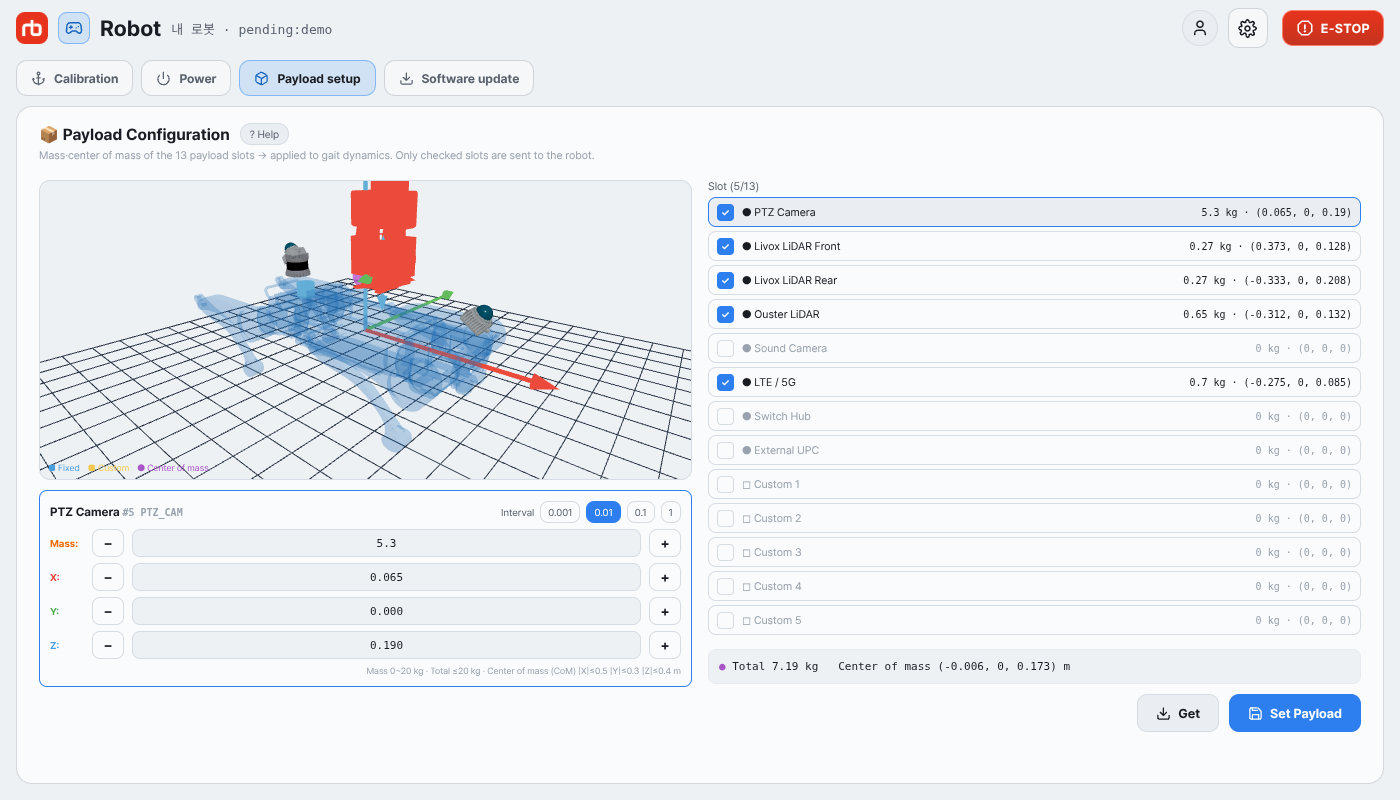
Goal: Enter the add-on's mass and X/Y/Z offset in RBQGUI so the robot accounts for it during walking.

Prerequisites: Step 2 Rail & Spring Nut is complete — the add-on is physically mounted on the rail.

Before You Start

  • Place the robot on a flat, safe surface.
  • RBQGUI is connected to the robot (Controller & Wi-Fi complete).
  • You have measured the add-on's center-of-mass offset (X / Y / Z, in meters) from the robot body center.

Procedure

  1. Open Payload Configuration in RBQGUI.
  2. Enter the values in the top input fields:
    • Mass (kg) — payload mass
    • Offset X / Y / Z (m) — payload center position in the robot frame
Payload Configuration input screen
Payload Configuration — input
  1. Click + Add to add the values to the Added Payload list.
  2. Confirm the values are correct, then click Set Payload.
Added Payload list with entered values
Added Payload list
  1. When the confirmation popup appears, verify the mass/offset and click Confirm to apply.
Payload application confirmation dialog
Apply confirmation
  1. Optionally, click Load Payload to read back the value currently applied on the robot and verify it matches.

Button Reference

ButtonFunction
+ AddAdd entered mass/offset to the candidate list
ClearClear current input fields
Set PayloadApply the Added Payload list to the robot
Load PayloadRead back the payload value currently applied on the robot
Reset PayloadReset payload to default (no payload)

NOTE

Updating payload alone is not enough — the next step (ZMP calibration) re-centers the robot's standing posture so it actually balances under the new load.

Next Step

After registering the payload, run ZMP calibration to balance under the new weight:

→ 4. ZMP Calibration

This user manual is intended for RBQ users.