2. Rail & Spring Nut
Goal: Mount your add-on hardware to the robot's top rail using spring nuts.
Prerequisites: Step 1 Specifications Check is complete — the add-on is within payload and interface limits.
What You Need
| Item | Detail |
|---|---|
| Spring nuts | MISUMI SHNTP5-5 (KR · US) |
| Bolts | M5 bolts that match your add-on's mounting holes |
| Rigid rod | ≤ 4 mm diameter, for removal |
The robot top uses rails for mounting optional hardware (PTZ cameras, LiDAR, custom brackets). Spring nuts inserted into the rail slot give you threaded anchor points for M5 bolts.
Insert a Spring Nut
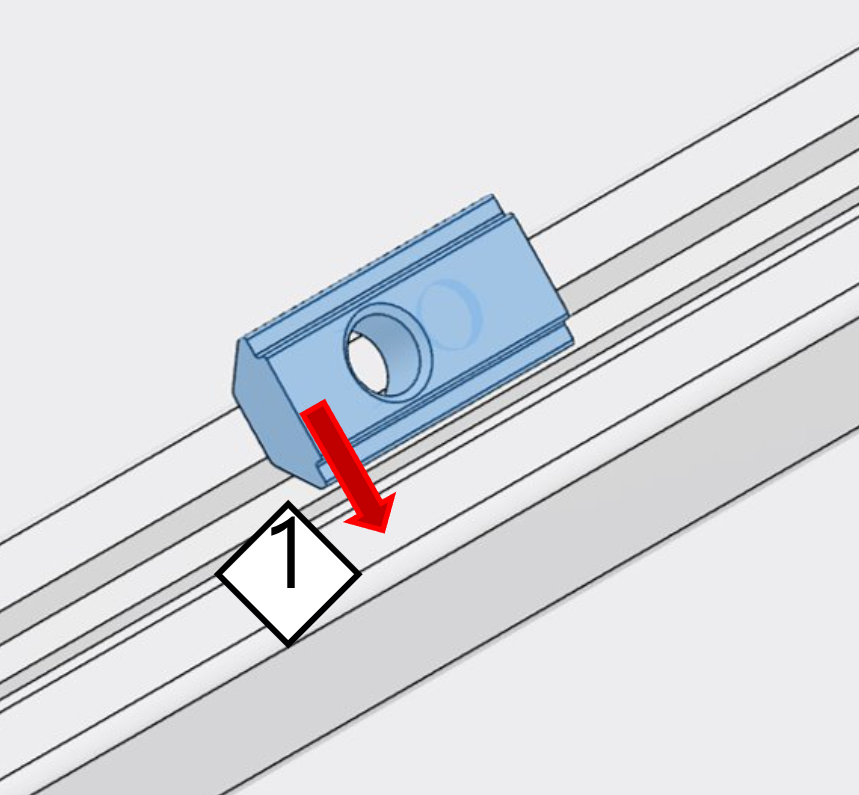
- Insert at an angle — slide the spring nut diagonally into the rail slot so it enters the internal channel.
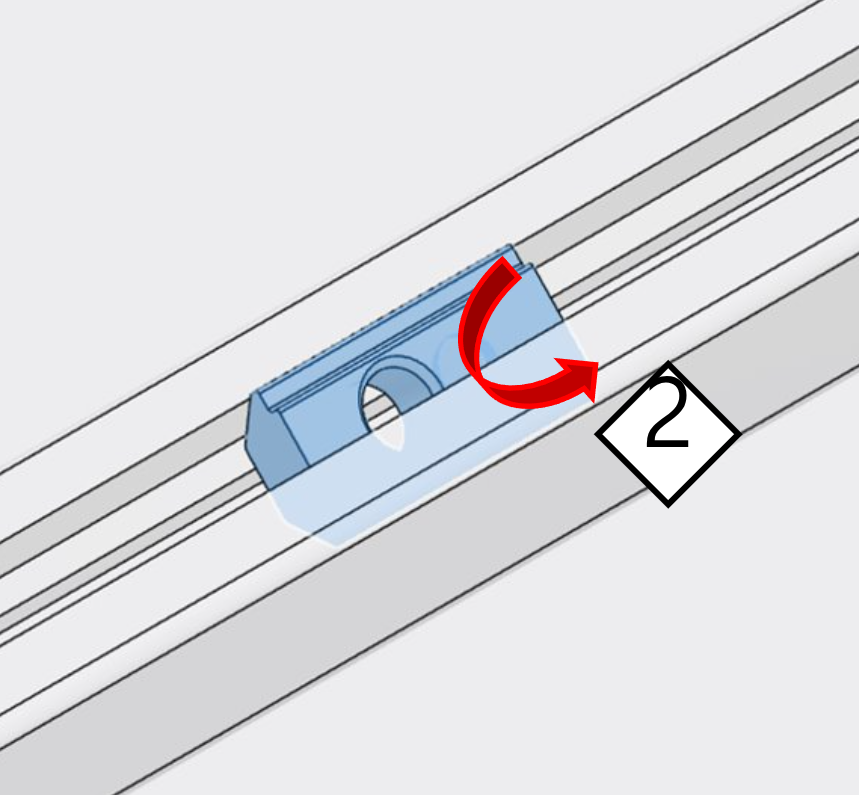
- Press the protruding section — a portion of the nut may sit proud of the slot; press it down so the nut seats fully.
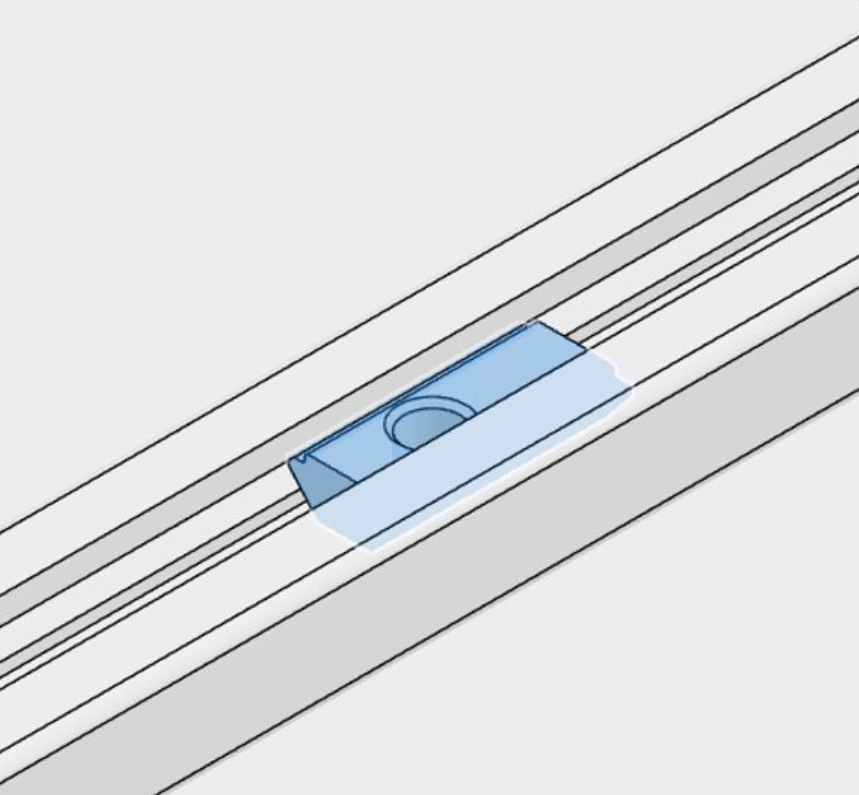
- Align with the rail — adjust the nut so it is aligned with the slot and can slide freely along the rail.


Slide the nut to the position where your add-on bracket should sit, then tighten the M5 bolt to fix the bracket.
Remove a Spring Nut
CAUTION
Tool diameter: use a rigid rod no larger than 4 mm in diameter. A thicker tool can damage the nut or mar the rail slot.
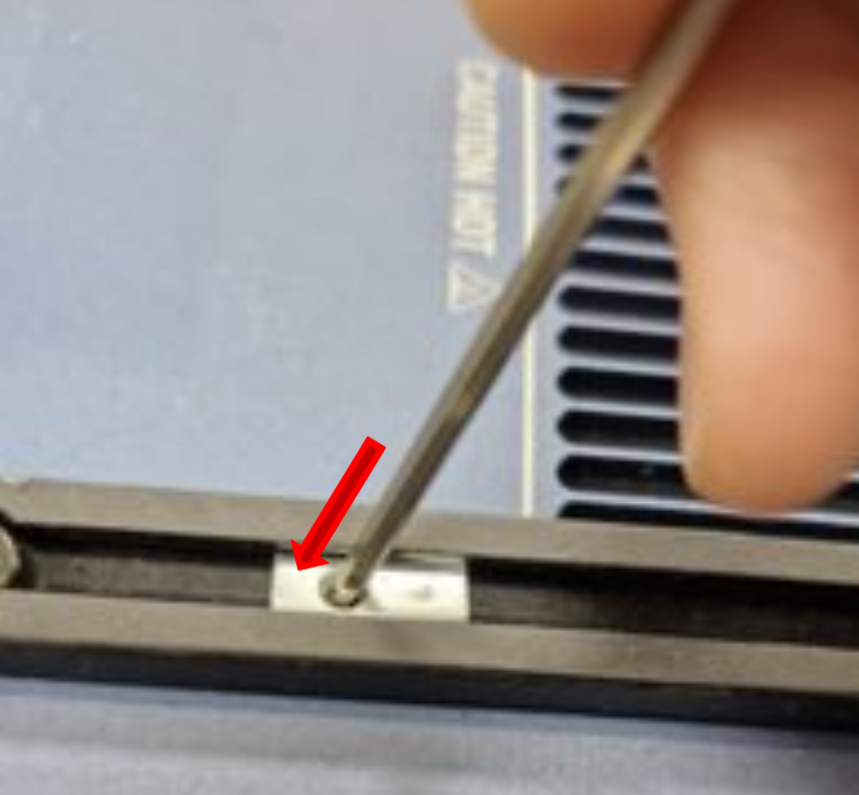
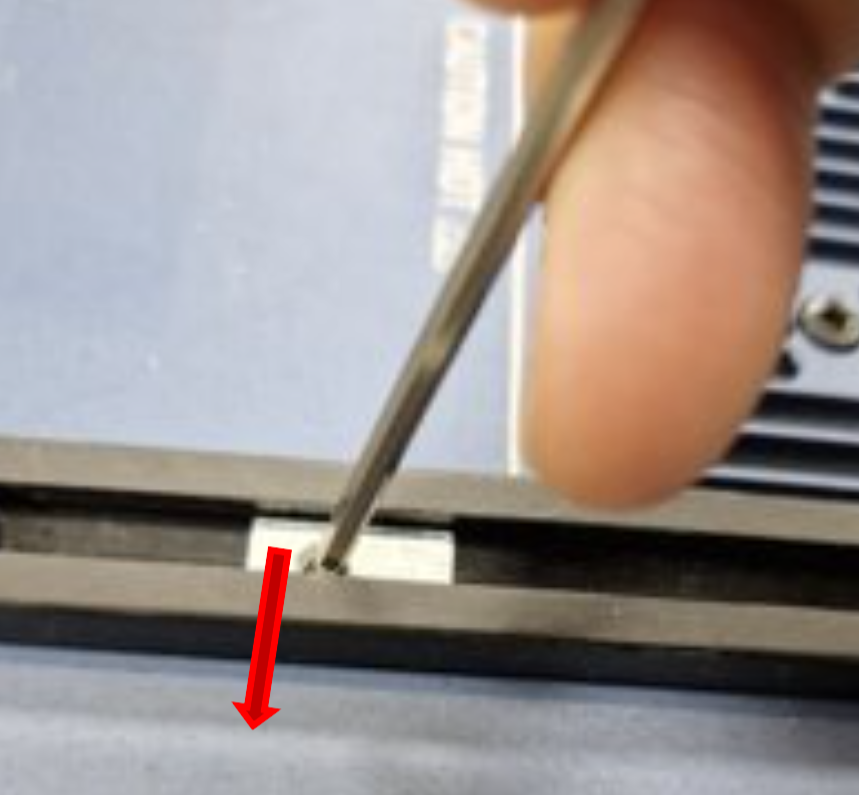
- Insert a rod — pass a rigid rod (≤ 4 mm) through the hole in the spring nut.
- Push against one wall — push the nut against one inner wall of the rail slot.
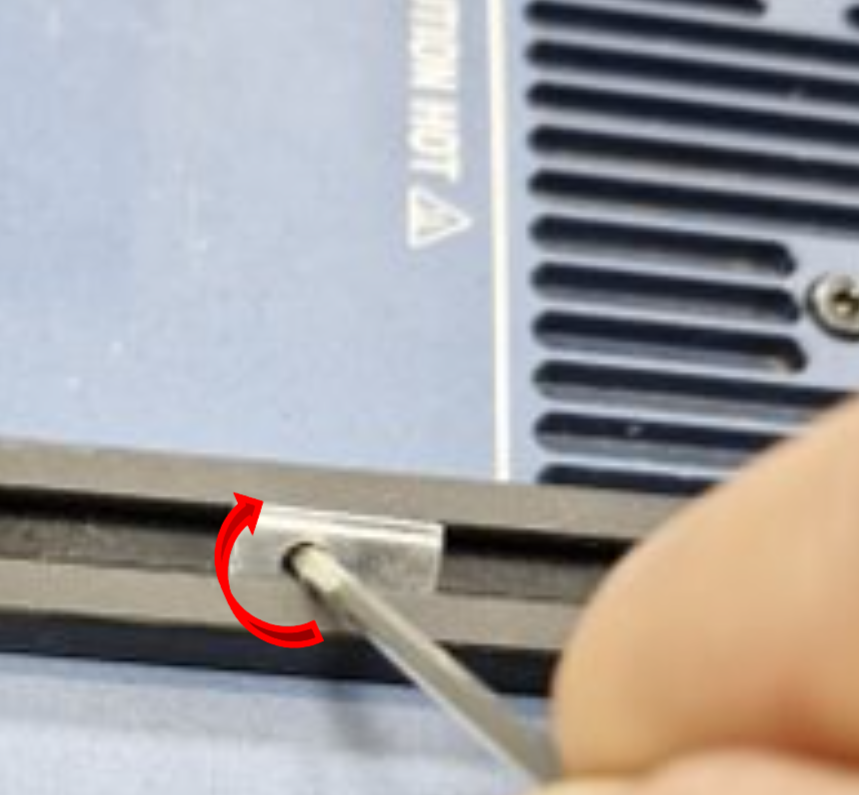
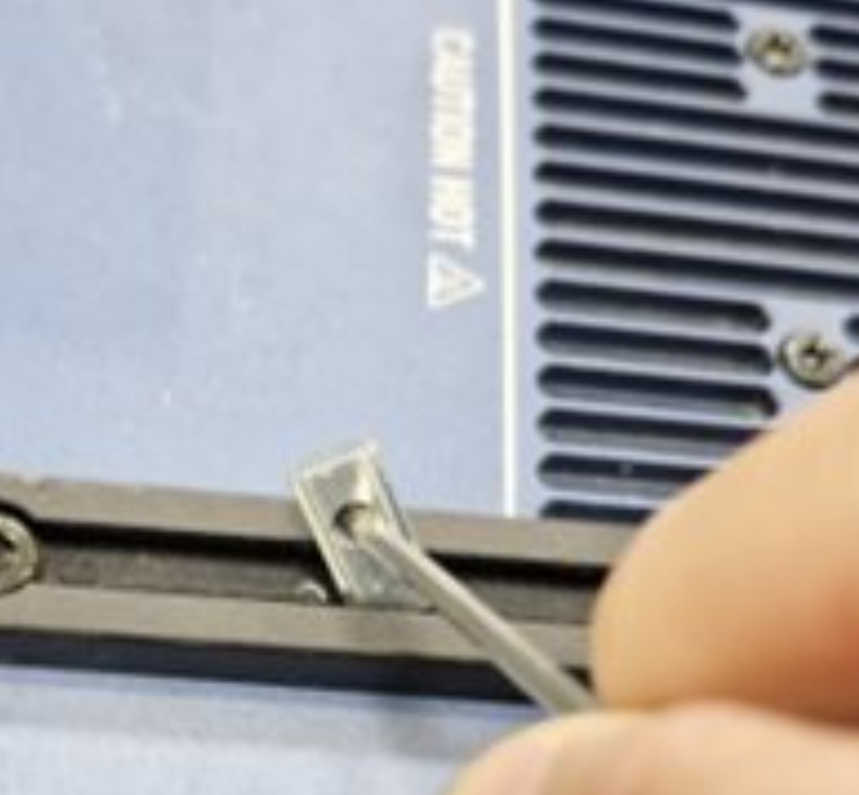
- Twist and lift — while holding it against that wall, twist and lift toward the opposite side so the nut clears the rail profile.
- Remove — withdraw the nut from the slot.


Next Step
Hardware is mounted. Now register the add-on's mass and offset in the GUI: