1. Initial Pose & Power On
Goal: Place the robot in the correct initial pose on a flat surface, then power it on.
REQUIRED READING
Before operating the robot, read the General Safety Guidelines and the Safety Indications.
Prerequisites
- A flat, stable floor with sufficient open space (minimum 2 m radius clearance around the robot)
- The robot battery is charged
- No people or animals within 2 m of the robot
Setting the Initial Pose
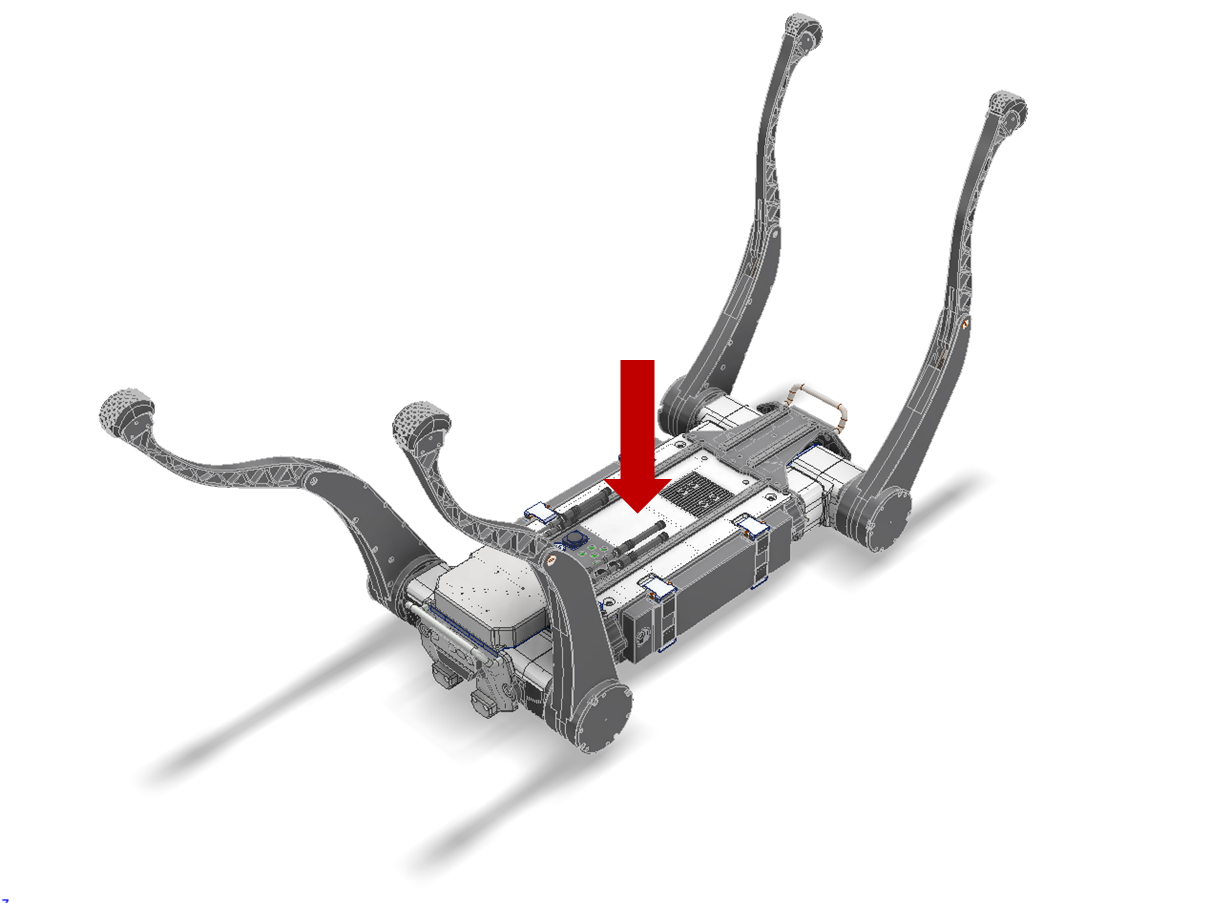
Place the robot on the floor so that all feet and knees contact the ground simultaneously.

Step 1. Choose a flat surface
Place the robot on a level floor. Uneven surfaces can cause Auto Start to fail.

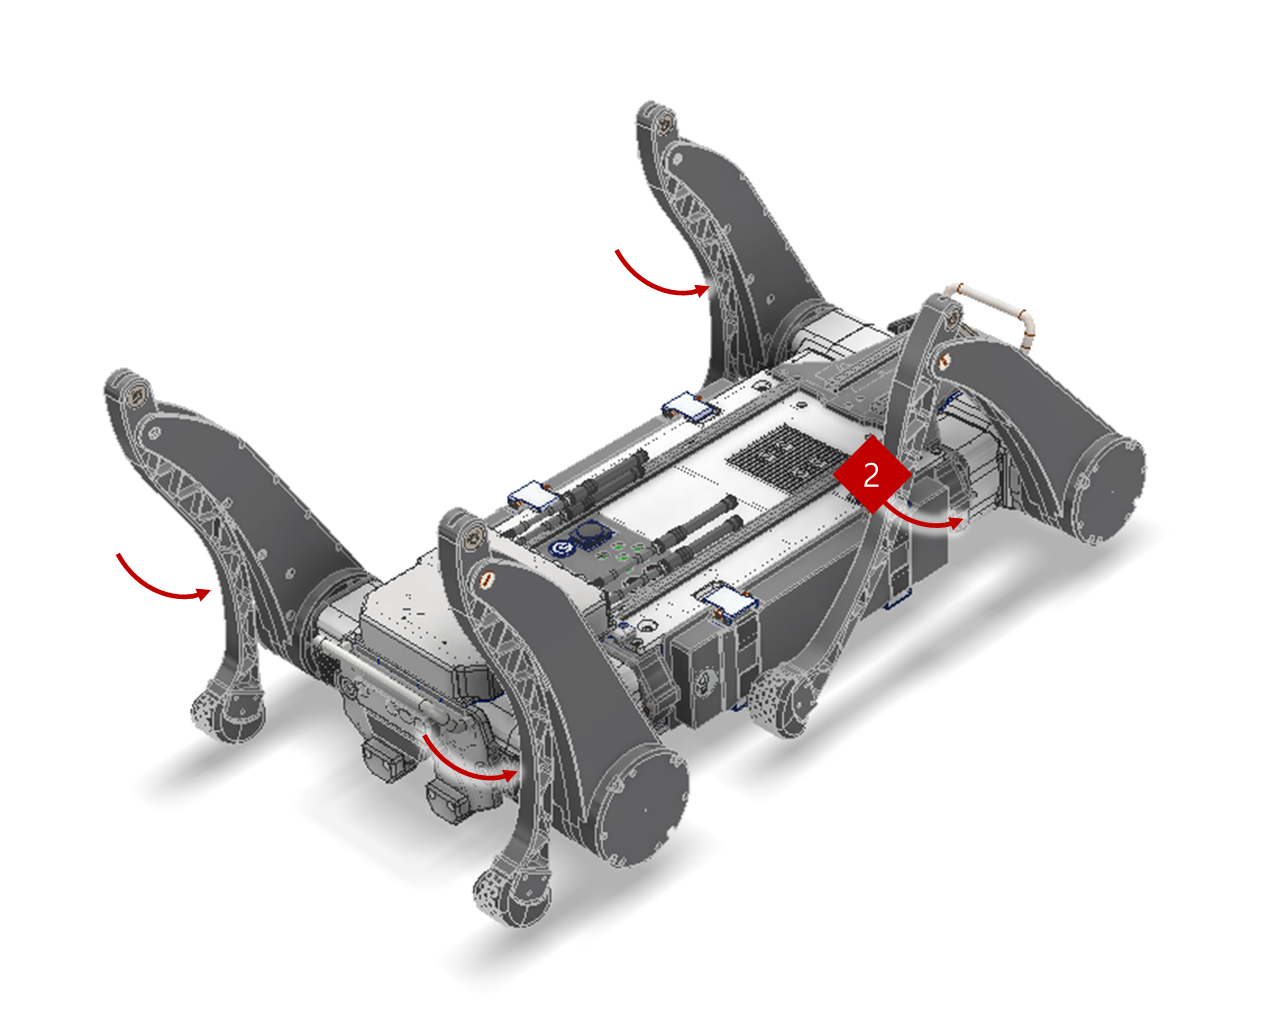
Step 2. Fully fold the knee joints
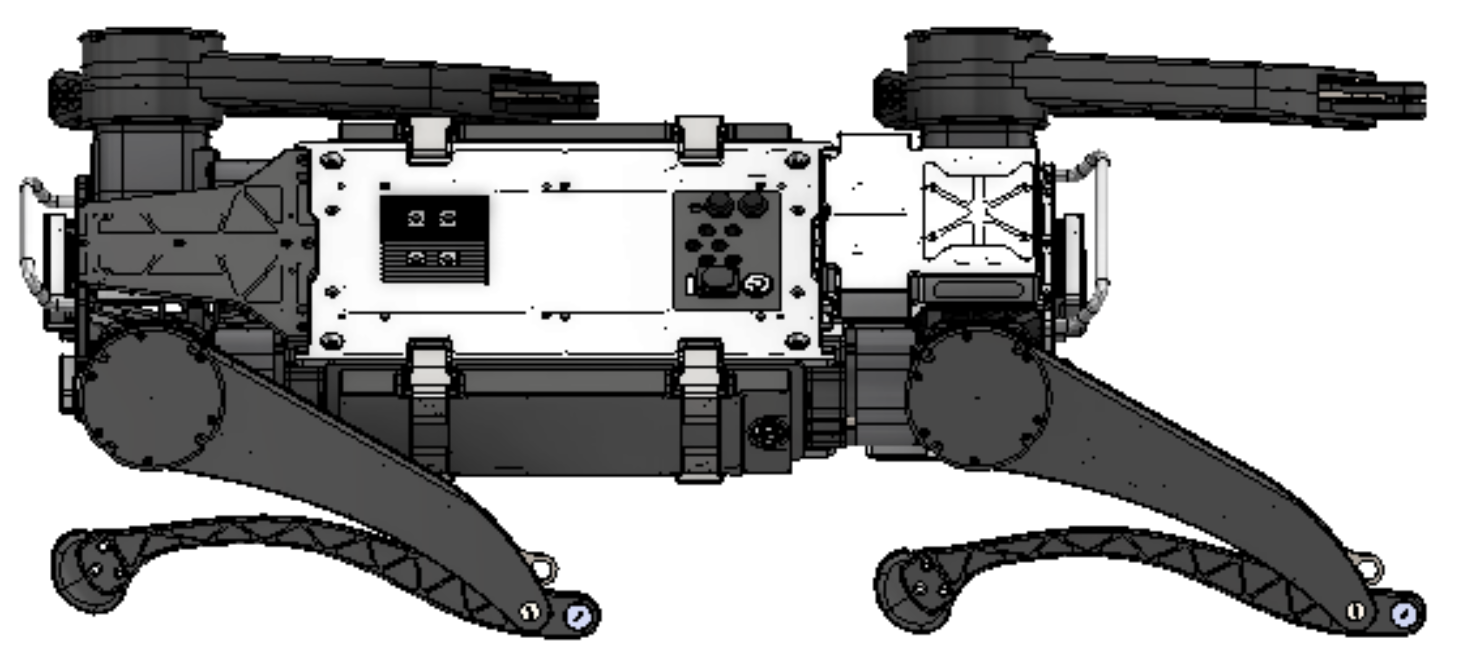
Fold all four knee joints completely so the knee pads are close to the ground.

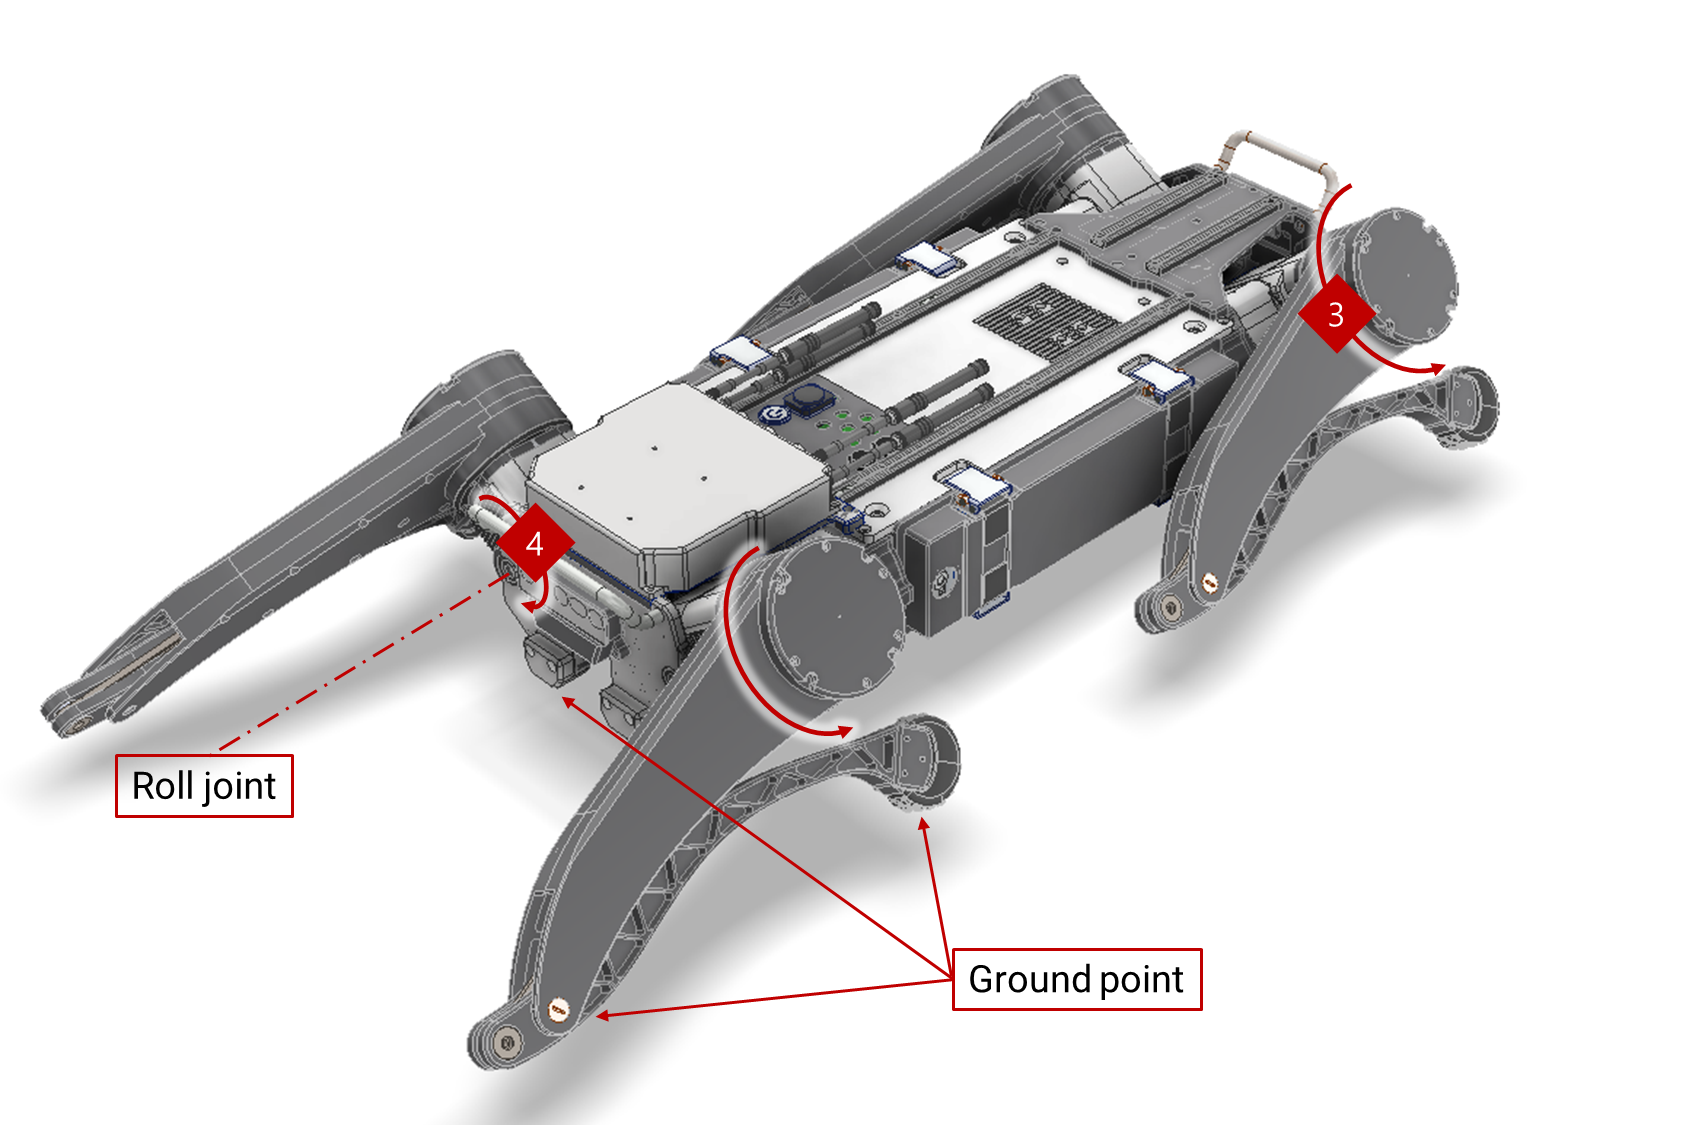
Step 3. Set all three ground contact points
Rotate the hip pitch and roll joints until three points per leg contact the floor: the body bumper, the knee joint, and the foot.

WARNING
If the initial pose is incorrect, Auto Start will fail and the robot may fall unexpectedly. Always confirm all contact points before powering on.
Power On

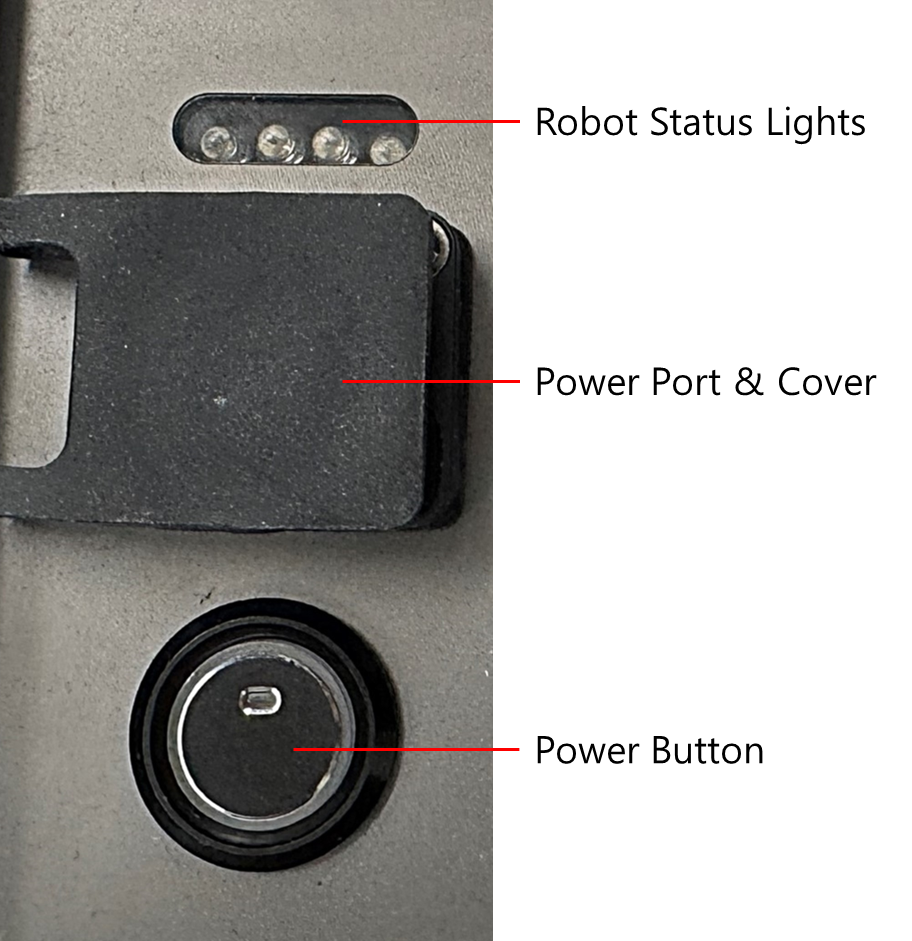
- Press the Power Button on the robot body.
- Confirm the red indicator light on the button turns on.
- Listen for the double-beep sound — this confirms the boot sequence has started.
The robot will take about 30–60 seconds to fully initialize. Do not attempt to move the robot during this time.
Next Step
Once the robot is on and initialized, proceed to connect the controller and Wi-Fi: