Skip to content

Isaac Gym

Introduction

Open-source Isaac Gym training environment for the RBQ robot

This guide explains how to train a locomotion policy for the RBQ robot in IsaacGym, evaluate it, and deploy it to the real robot.

Requirements

ItemRequirement
OSUbuntu 22.04 (x86_64)
CPUIntel Core i7 12th Gen or equivalent
RAM16 GB
Storage25 GB free
GPUNVIDIA RTX 4080 or equivalent

NOTE — GPU Compatibility

Isaac Gym does not support NVIDIA RTX 50 series (Blackwell) GPUs. Use RTX 40 series or earlier.

Workflow

Train → Play → Sim2Sim → Deploy

StepDescription
TrainIsaacGym + PPO — policy that maximizes designed rewards
PlayVerify the trained policy inside IsaacGym
Sim2SimRe-evaluate in MuJoCo via rbq_low_level
DeployRun on the real robot
Isaac GymMuJoCo
Isaac GymMuJoCo

Setup

Navigate to the rbq_gym directory inside the RBQ repository:

bash
cd <workspace>/rbq_simulator/rbq_gym

Run the environment setup script:

bash
bash scripts/setup.bash

Train

bash
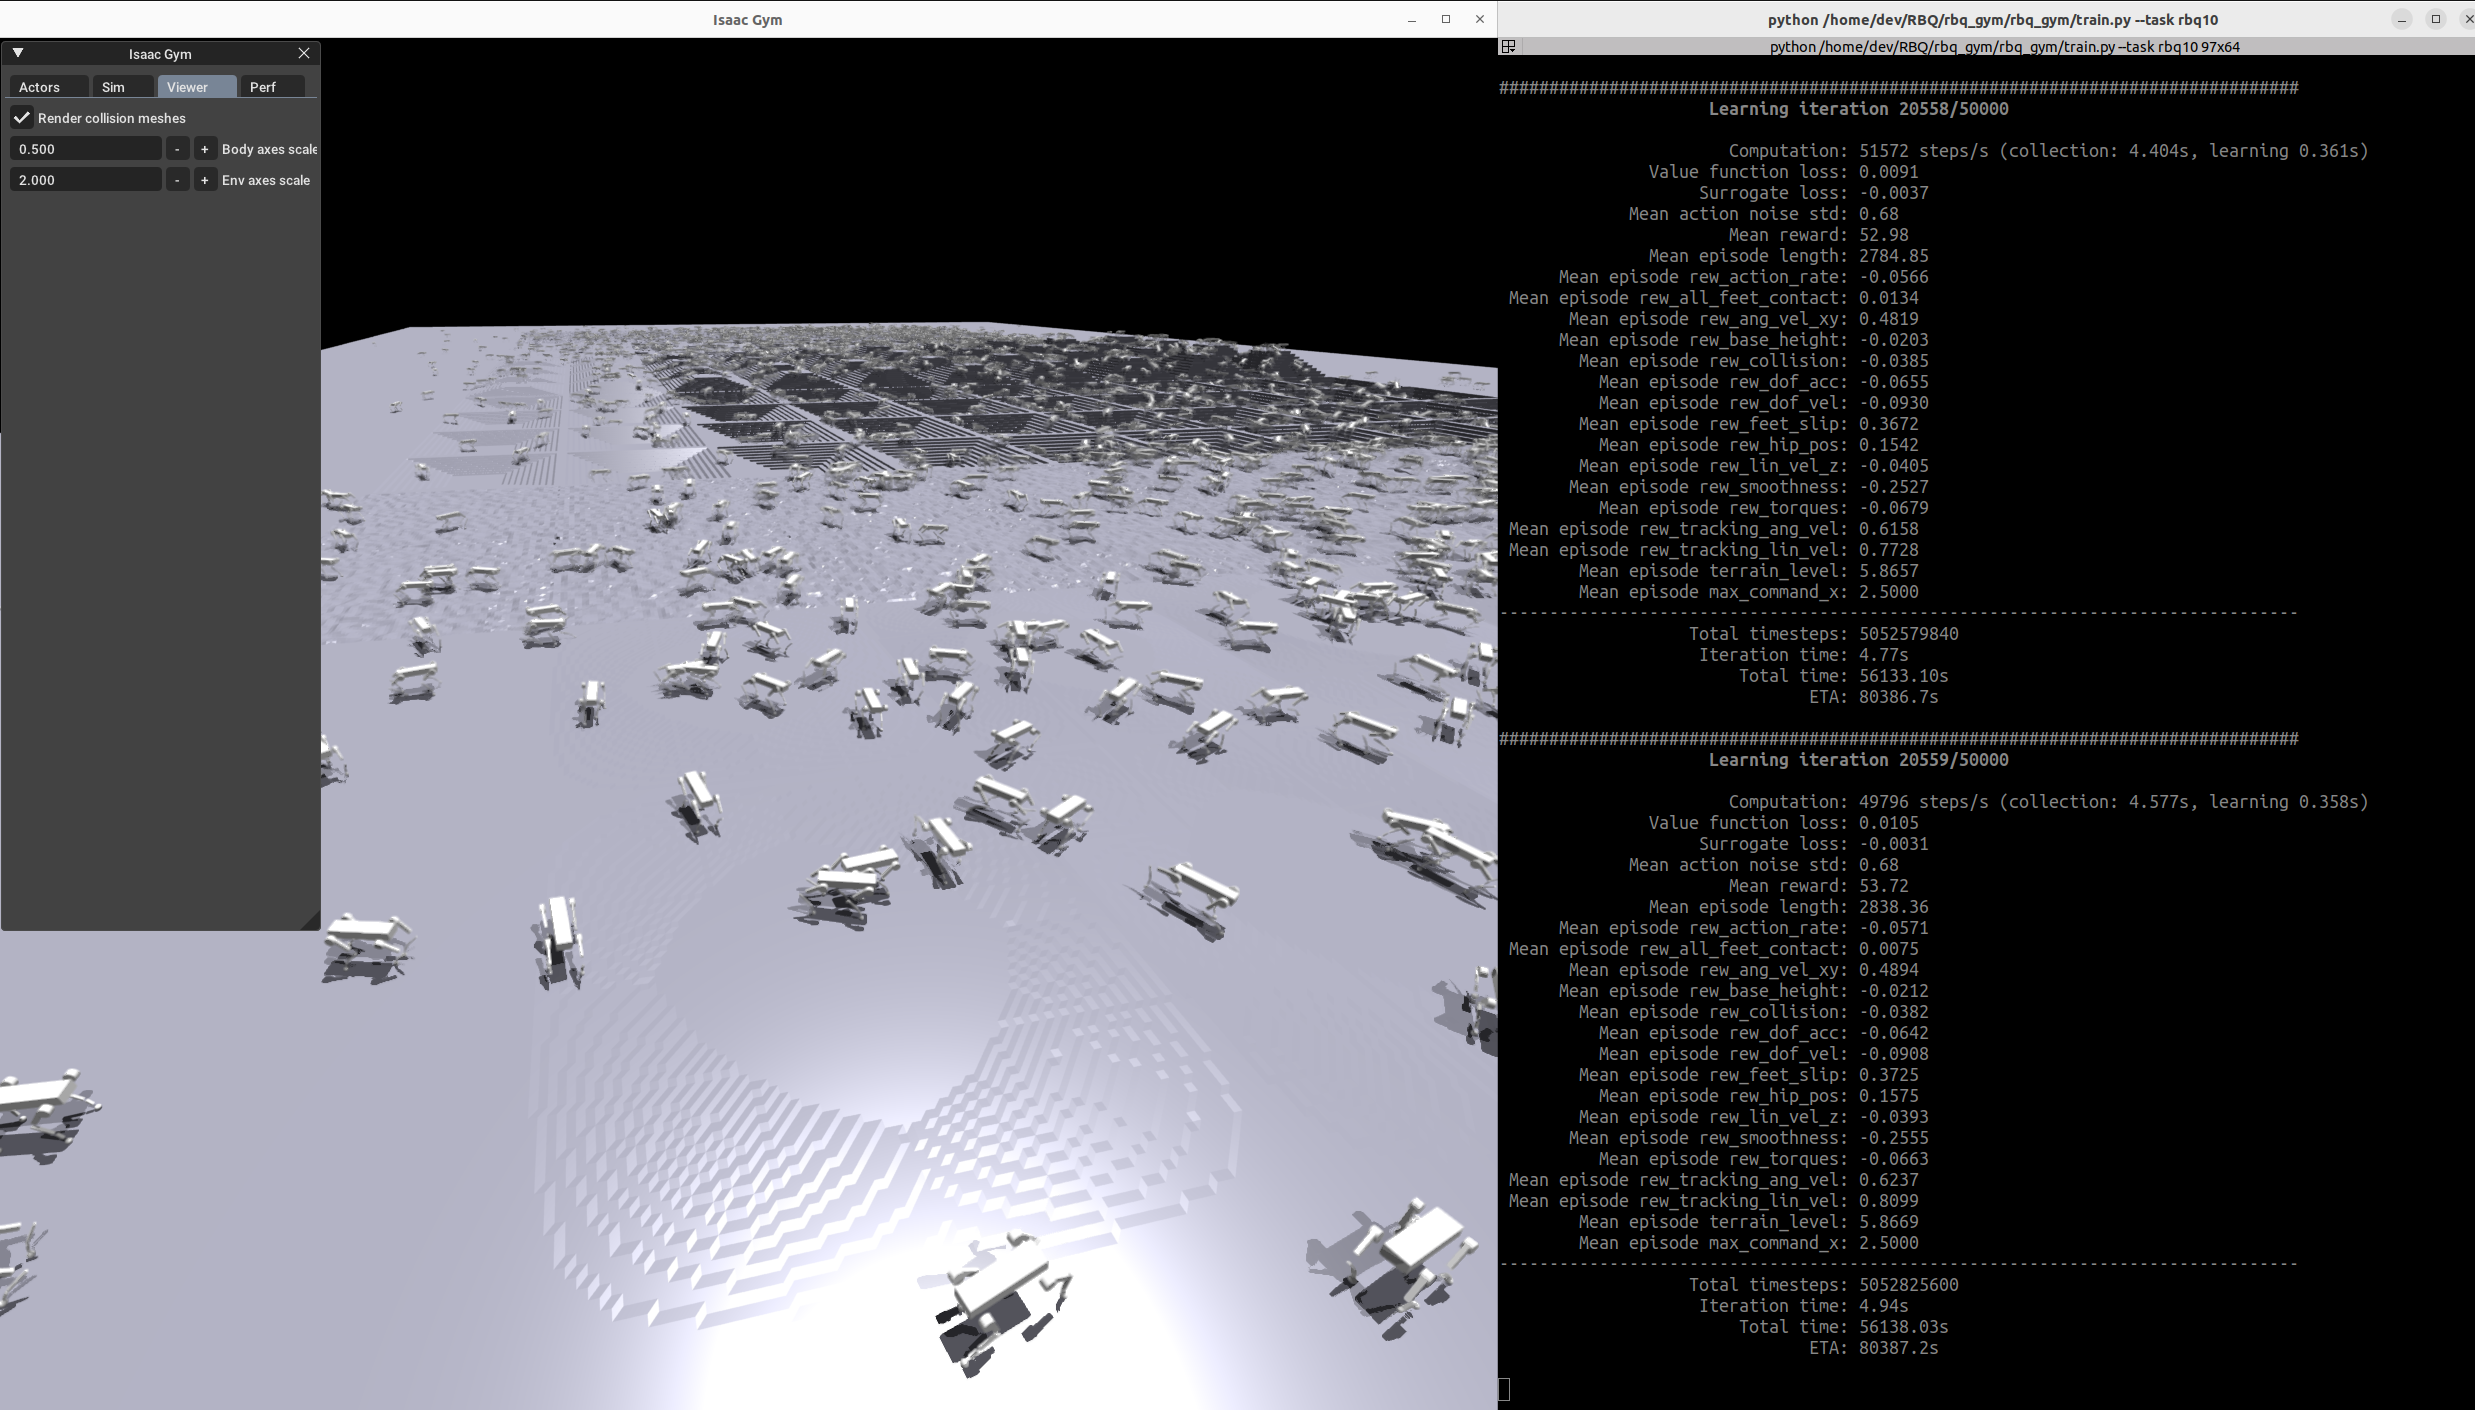
bash scripts/train.bash
  • Add --headless to disable the rendering window (faster training).
  • Press v during training to toggle the viewport rendering.
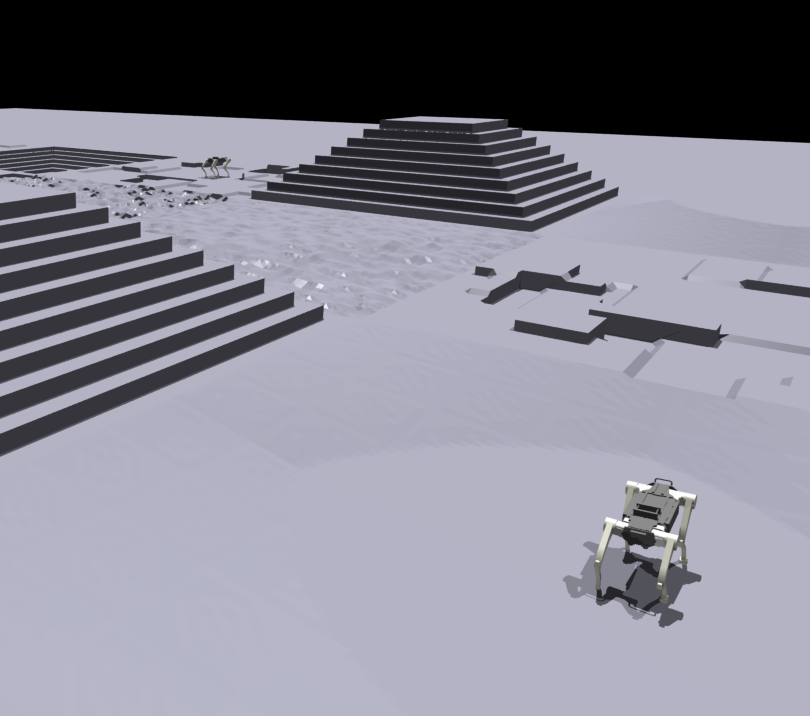
Train RBQ10
Isaac Gym Train

TIP

After training starts, press v to pause rendering and improve performance. You can re-enable it later to monitor progress.

Play

Verify the trained policy:

bash
bash scripts/play.bash

Options:

  • --sim_device=cpu — run on CPU instead of GPU.
  • --load_run <name> — specify a particular experiment run.
  • --checkpoint <n> — load a specific model iteration.

By default, the last model of the last run is loaded.

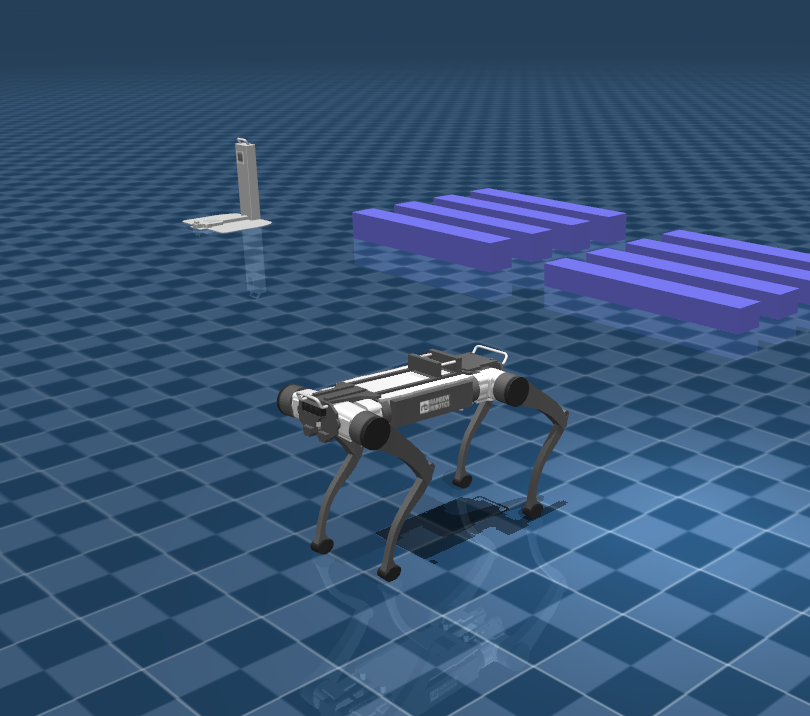
Play RBQ10

Sim2Sim & Deploy

After training, use the exported policy.onnx and info.json artifacts.
See Low Level (RL Policy) for the full MuJoCo evaluation and real-robot deployment workflow.

Pre-trained policies are located at:

rbq_simulator/rbq_gym/policy/rbq10/
├── info.json
└── policy.onnx

Directory structure

rbq_simulator/rbq_gym/
├── rbq_gym/
│   ├── envs/
│   │   ├── base/
│   │   │   ├── base_config.py
│   │   │   ├── base_task.py
│   │   │   ├── rbquad_config.py
│   │   │   └── rbquad_env.py
│   │   └── rbq10/
│   │       ├── rbq10_config.py
│   │       ├── rbq10_env.py
│   │       └── rewards.py
│   ├── model_test.py
│   ├── play.py
│   ├── train.py
│   └── utils/
│       ├── helpers.py, keyboard.py, logger.py,
│       ├── math.py, task_registry.py, terrain.py
├── policy/
│   └── rbq10/
│       ├── info.json
│       └── policy.onnx
├── scripts/
│   ├── setup.bash, train.bash, play.bash
│   ├── activate.bash, clear.bash, configure.bash
├── dependencies.yaml
└── setup.py

Adding a new environment

  1. Add a new folder to rbq_gym/envs/ with <env>_config.py (inherit from existing configs).
  2. If adding a new robot: add assets to resources/, configure asset path, body names, default joint positions, and PD gains in the config.
  3. Implement the environment in <env>_env.py (inherit from an existing env, override reward functions as needed).
  4. Register the environment in rbq_gym/envs/__init__.py.
  5. Tune parameters. To disable a reward, set its scale to 0 — do not modify other environments.

See also

This user manual is intended for RBQ users.