Skip to content

Robot Initial Pose Setting ​

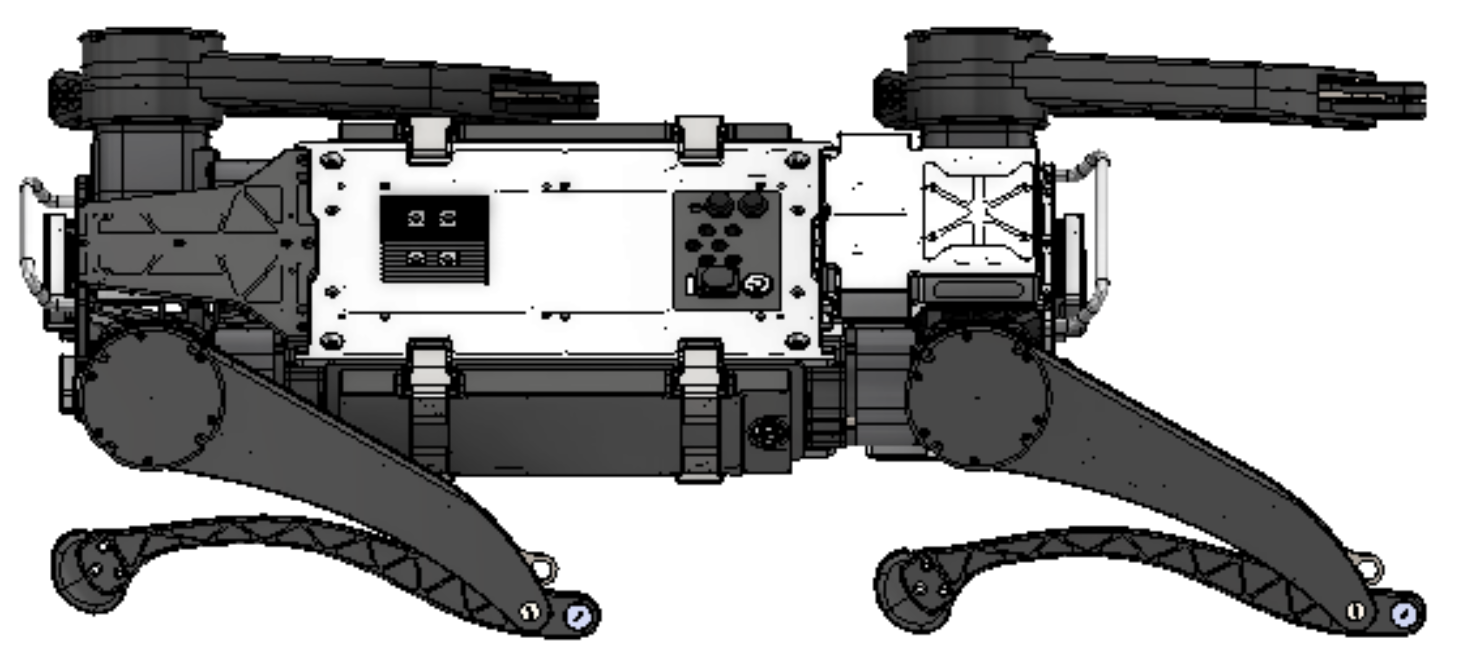
Place the robot on a flat floor so that all feet and knees contact the ground. Refer to the robot posture in the image below.

Initial pose setup step 1
[ RBQ10 Initial Pose ]

Step 1. A flat surface is required. ​

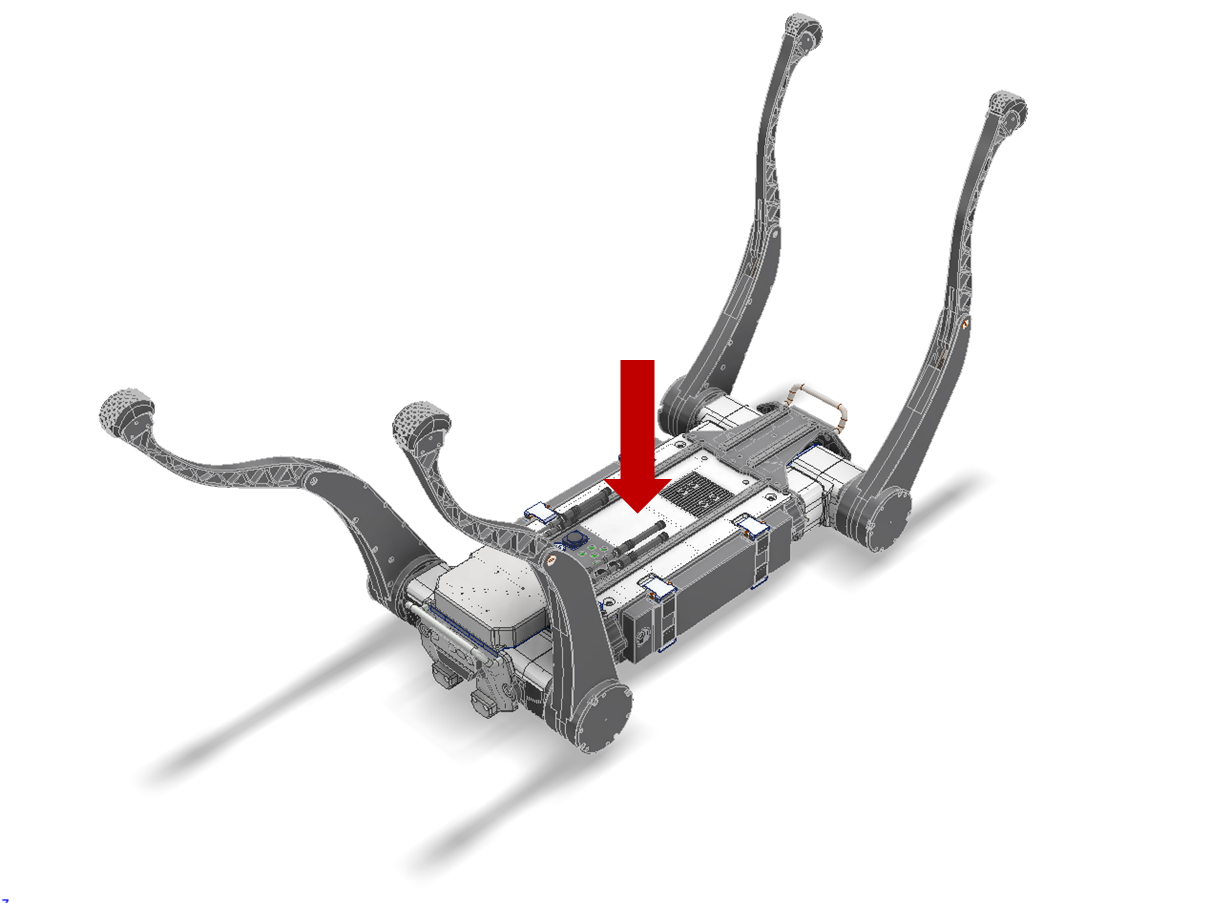
Initial pose setup step 2

Step 2. Fully fold the knee joint. ​

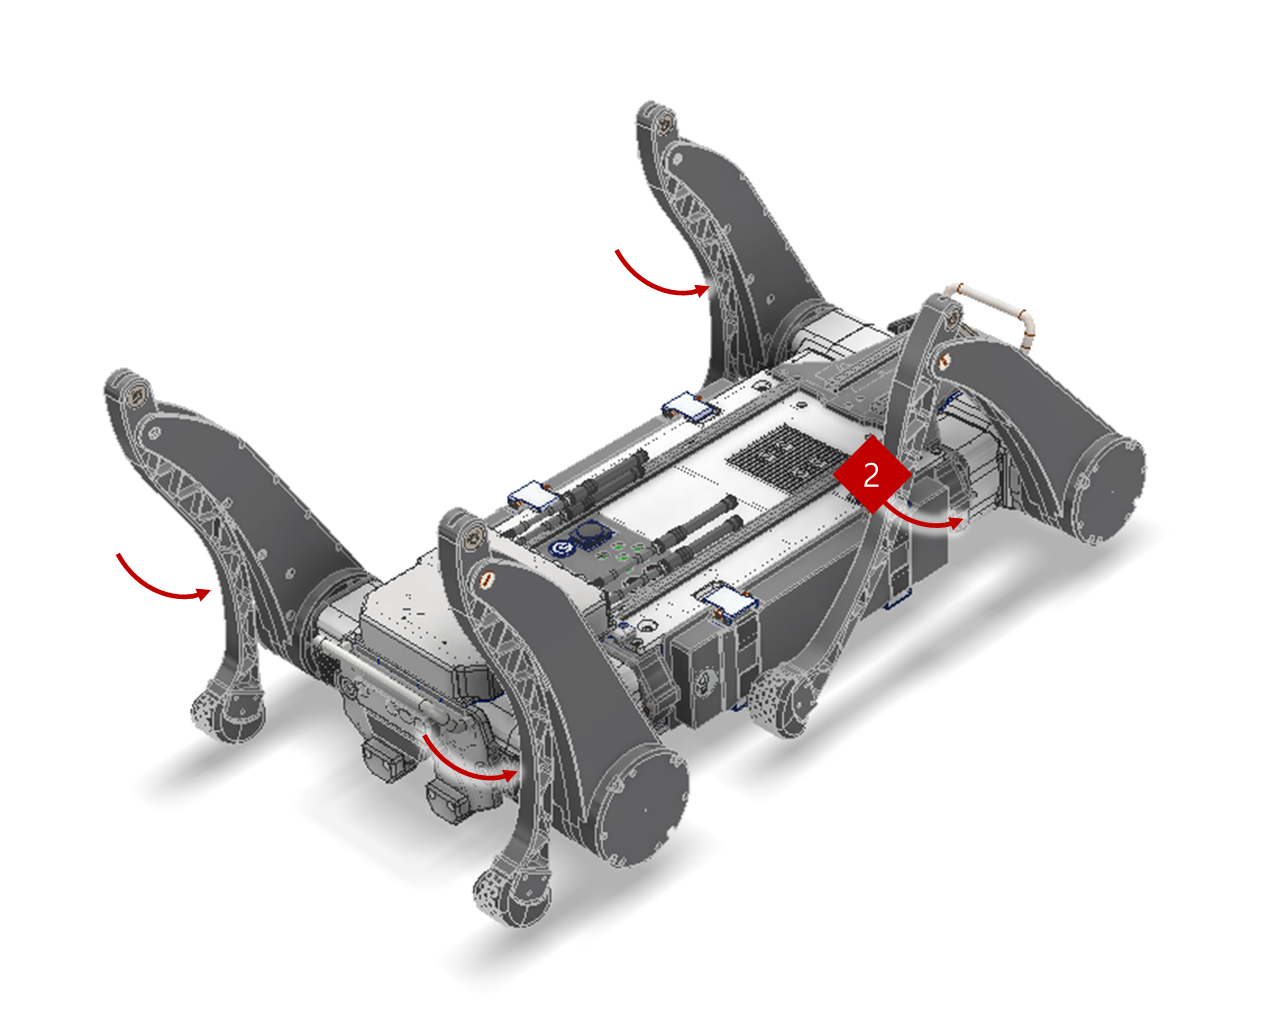
Initial pose setup step 3

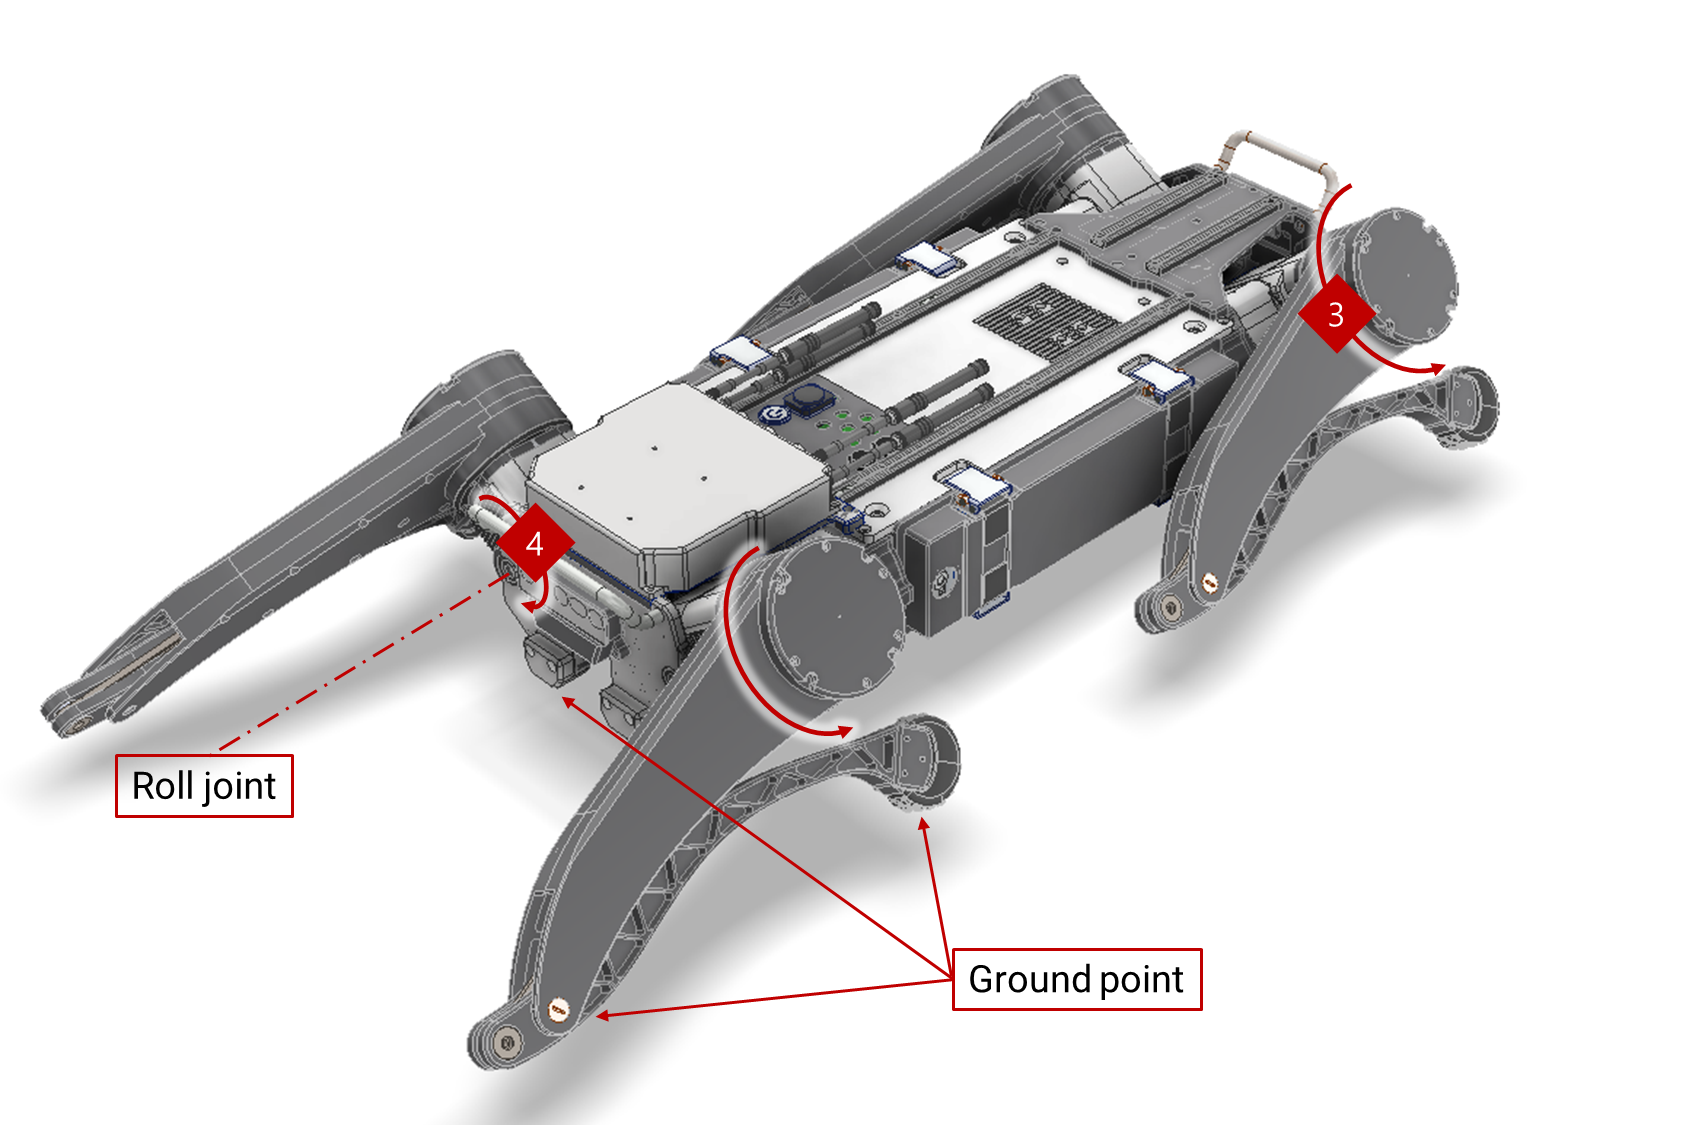
Step 3. Rotate the hip pitch and roll joints so that the “feet” and “knee” joints touch the ground. There are three ground points. (Body Bumper, Knee Joint, Foot) ​

Initial pose setup step 4

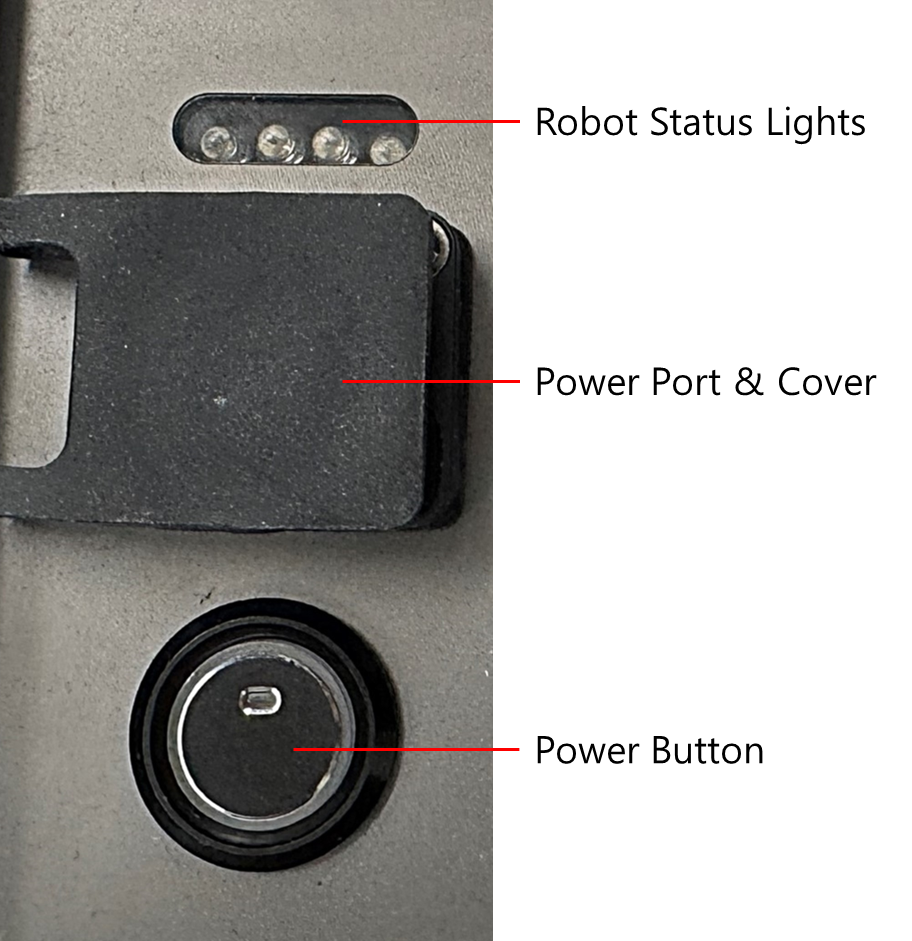
Turn On the Robot ​

Power button

- Press Power Button and check the red light on the button

- Check for double-beep sound

This user manual is intended for RBQ users.