How to setup RoboDK basics v1.5
How to setup RoboDK OLP
RoboDK is a commercial/free robot offline programming tool.
1. RoboDK Download
Access the RoboDK website. (https://robodk.com)
After logging in/registering, download the appropriate version for the operating system of your PC.
2. RoboDK Install & Run
Install RoboDK through the downloaded RoboDK installation file and run RoboDK.
3. Insert/Import background/work environment 3D file


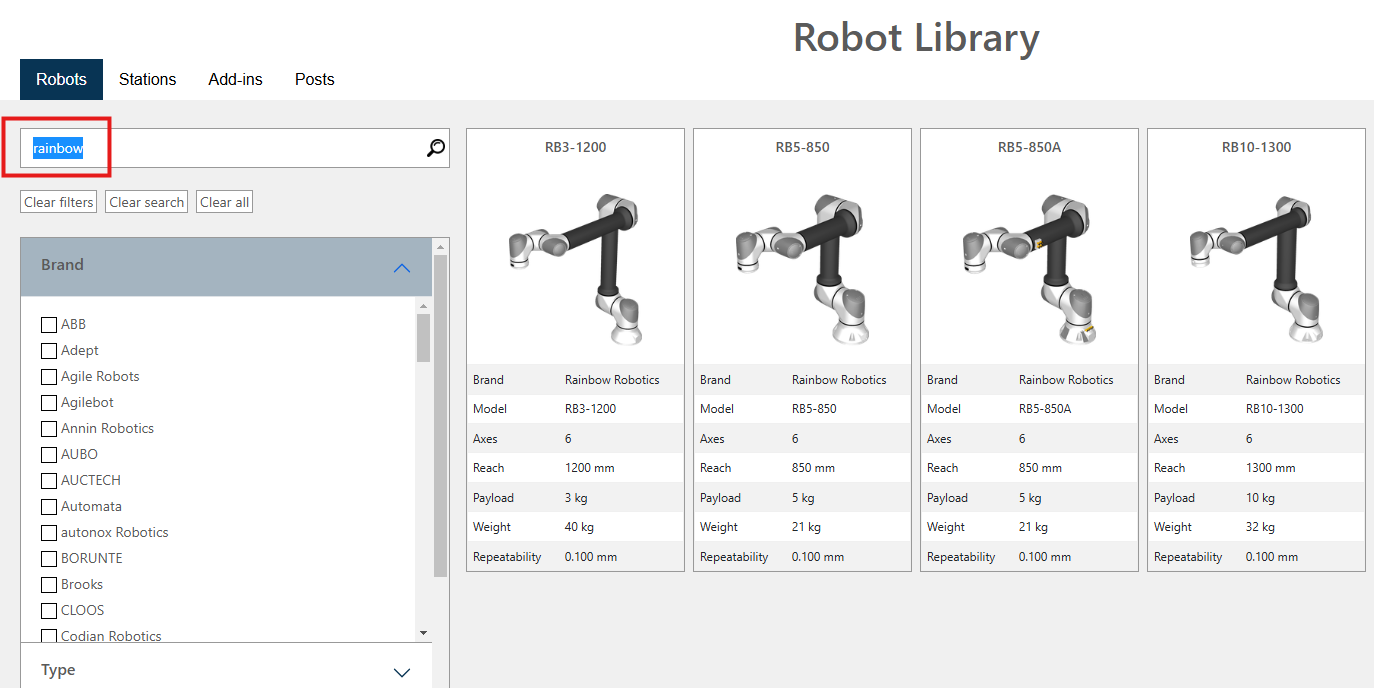
4. Download and load the robot model you want to use.

(Search Rainbow) 


5. Load the tool/gripper model you want to use.
After loading the file, set the tool modeling file as a sub-item of the robot arm in the tree view on the left.


6. Align the position and orientation of the background 3D file
Double-click the background (frame). Change the X, Y, Z, Rx, Ry, Rz to adjust the position and rotation of the workspace 3D file.


7. Positioning and Orienting the Robot Arm
Double-click the robot arm object to set the attachment position of the robot arm to the desired position and rotation.


8. Position and Orient the Tool
Double-click the 3D file of the inserted tool.

As shown in the figure below, the setting window is displayed on the right, and click [More Options].

In the figure below, in the setting screen on the right, the upper area is the place to set the TCP coordinate system, and the lower area is the column to set the attachment location and direction of the tool.

Adjust the lower area to set the position and orientation of the tool to the desired shape.

Adjust the upper area to set the desired TCP position and direction.

9. Robot Jog
After completing steps 1 to 8 above, double-click the robot model.

The jog window is displayed on the right as shown below, and TCP-based or joint-based jogs are possible.


10. Testing using various functions of RoboDK
The basic setting is complete.
RoboDK has various built-in functions, such as creating a virtual target point, testing Move J / Move L motions, etc.
For detailed instructions on how to use RoboDK, refer to RoboDK's website.


 Rainbow Robotics