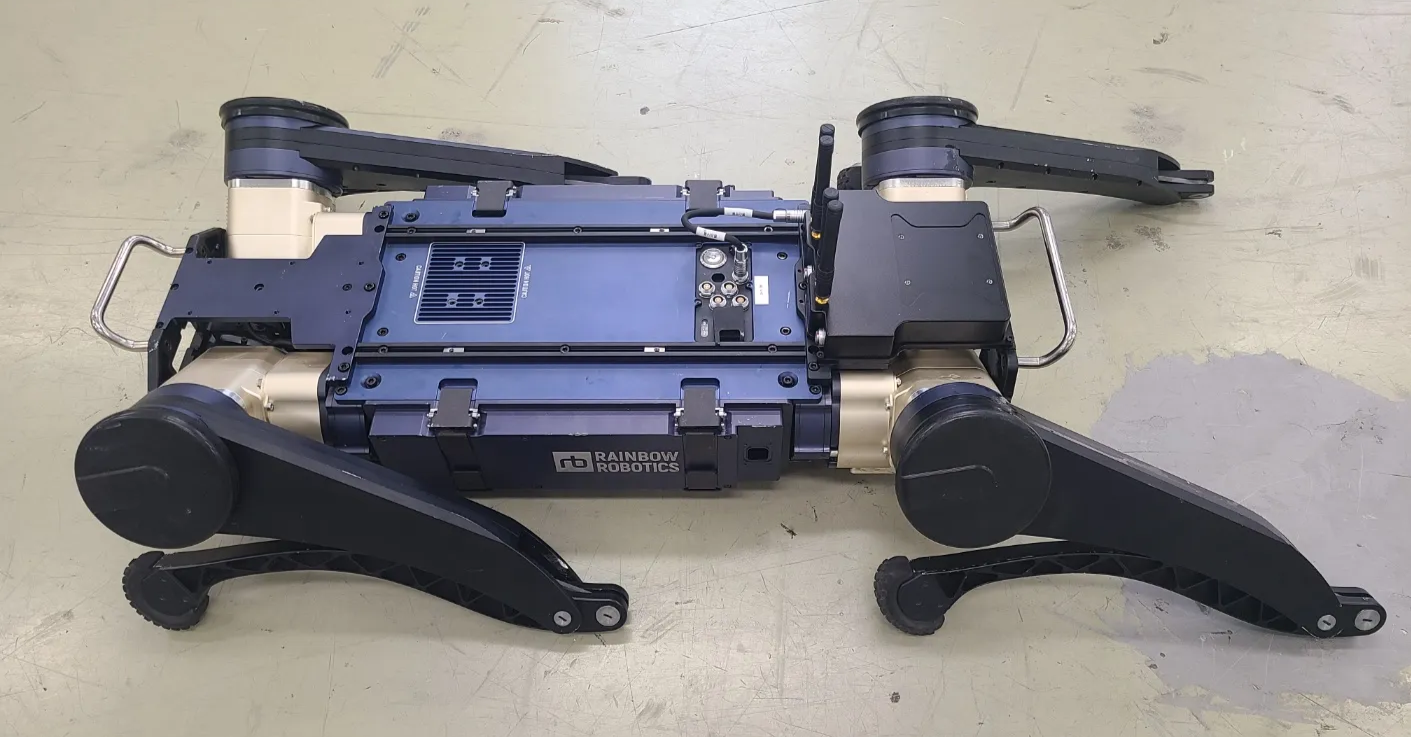
Robot Quick Start
Robot Initial Pose Setting
Place the robot on a flat surface, ensuring that all of its feet and knees are in contact with the ground. Refer to the robot posture shown in the image below.
Step 1. A flat surface is required.
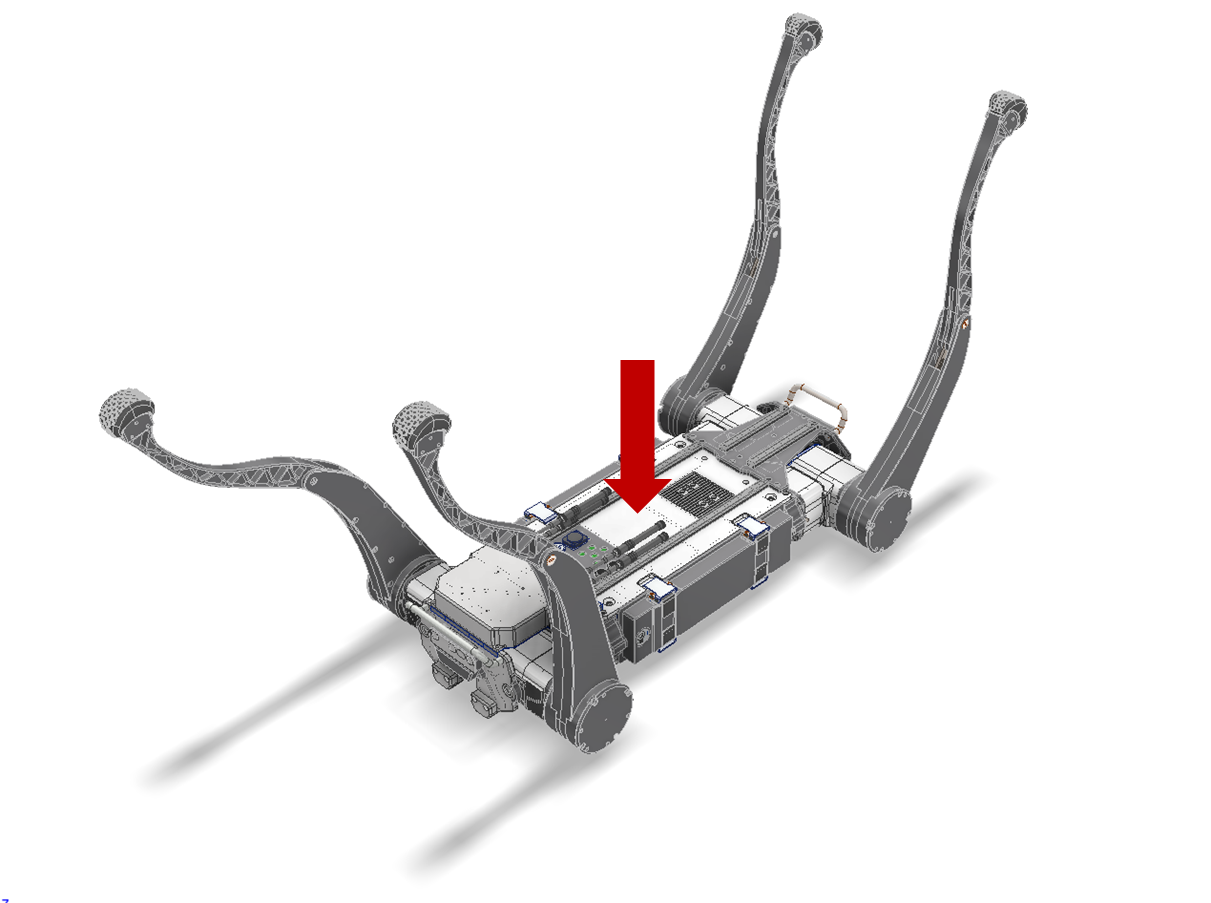
Step 2. Fully fold the knee joint.
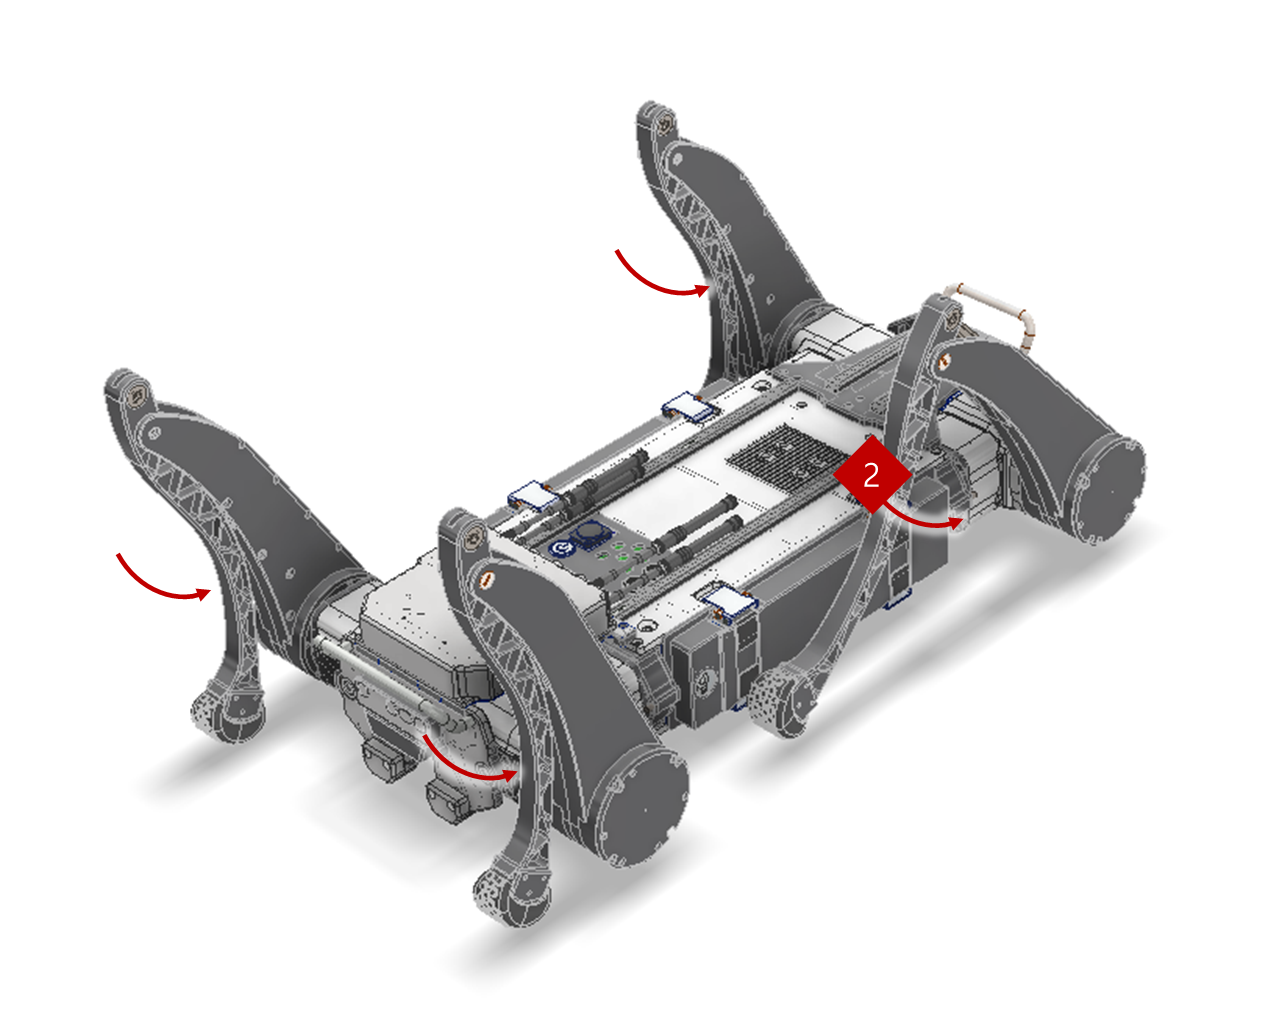
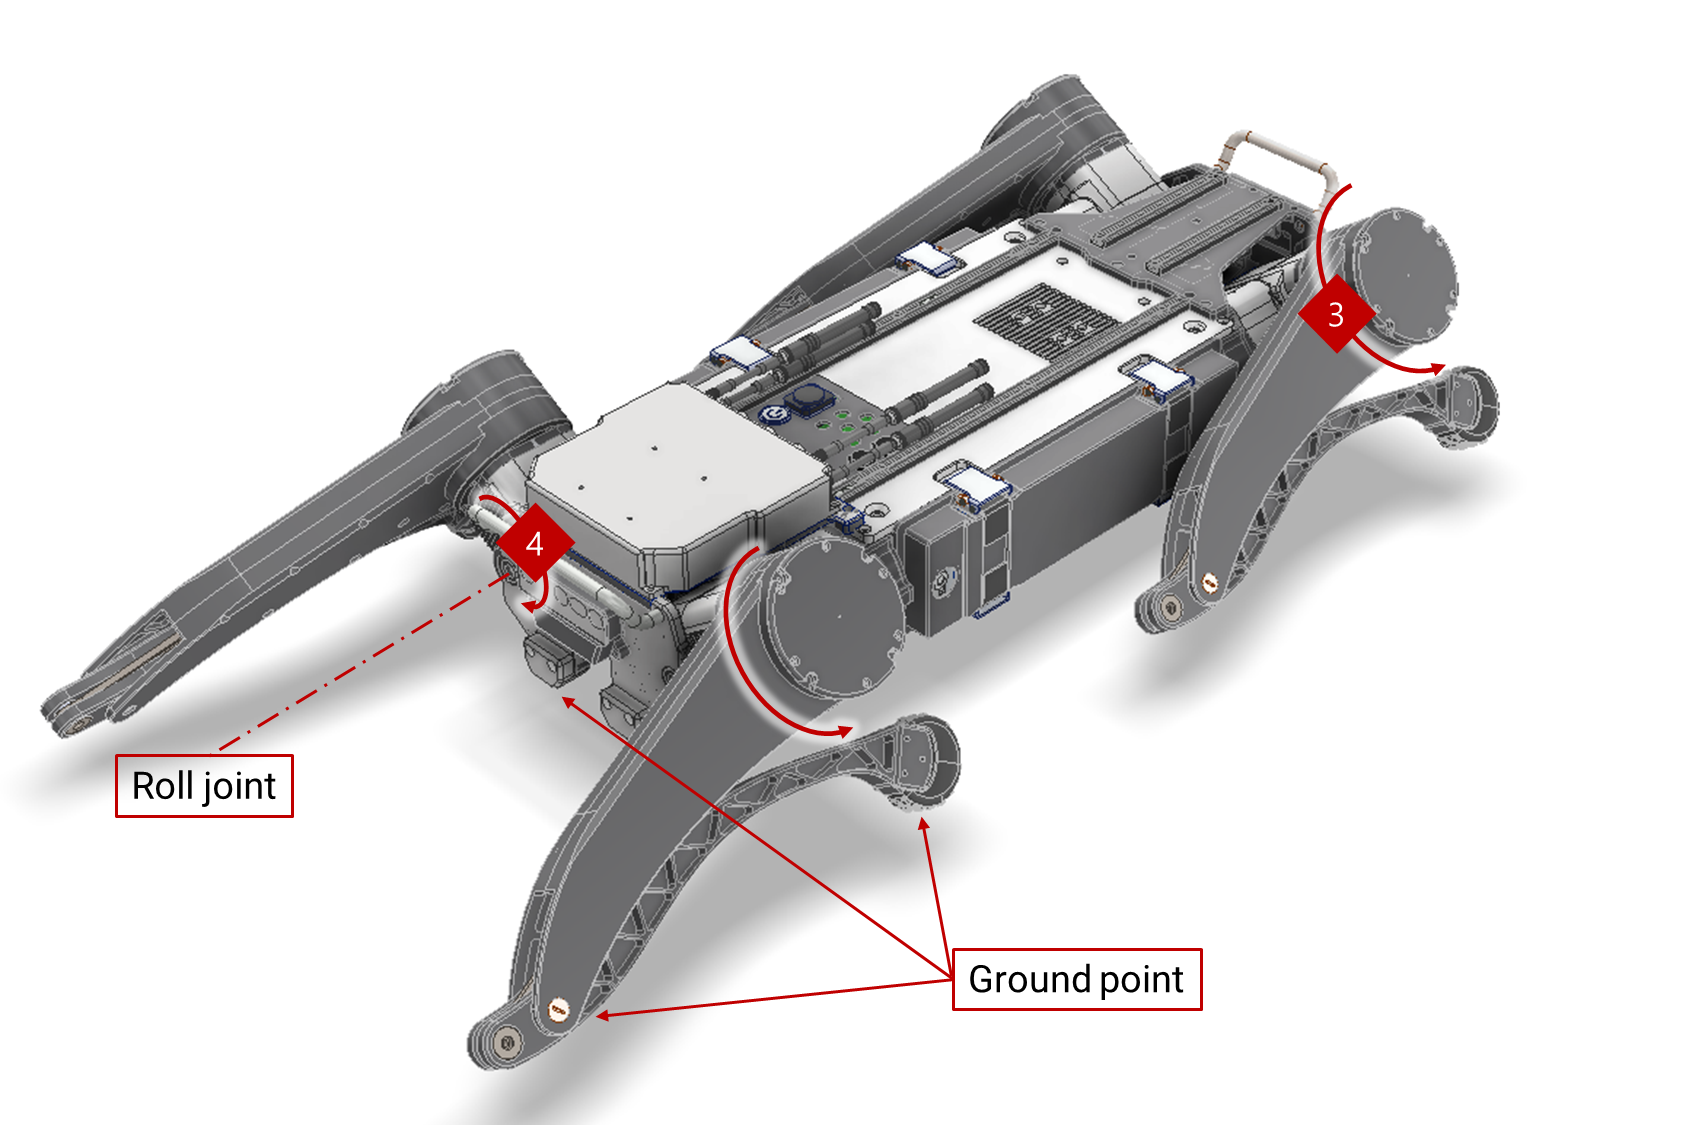
Step 3. Rotate the hip pitch and roll joints so that the “feet” and “knee” joints touch the ground/ There are three ground point.(Body Bumper, Knee Joint, Foot)
Turn On the Robot
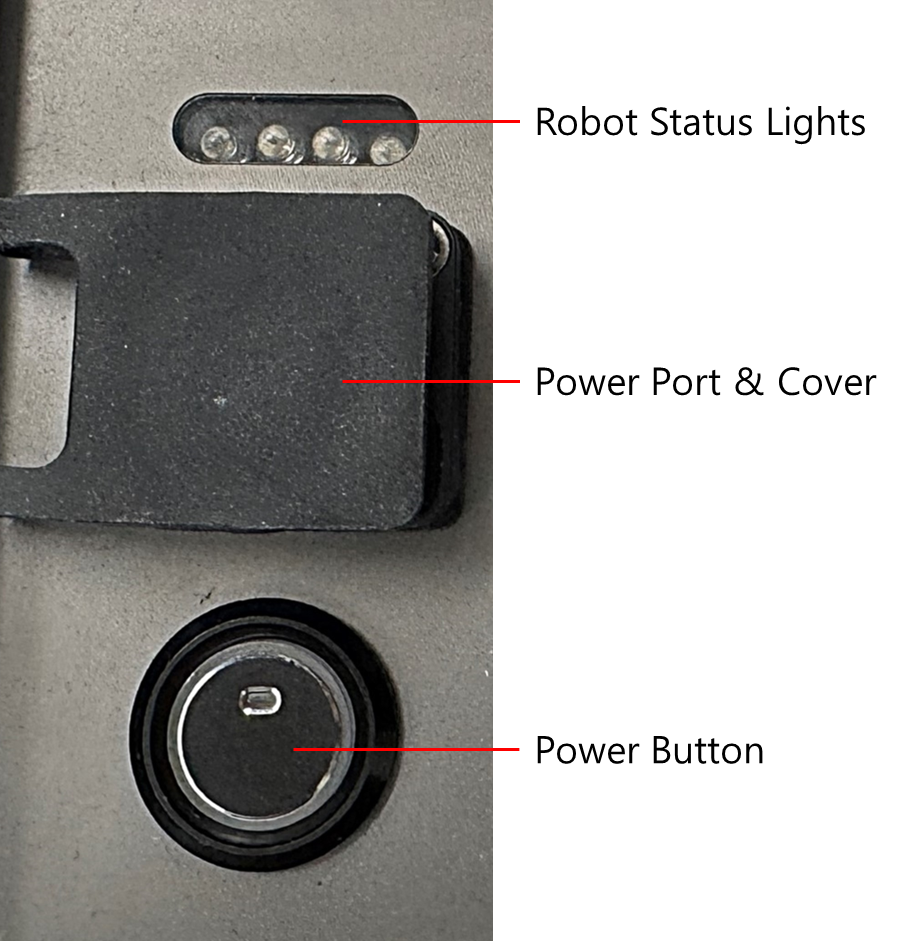
- Press Power Button and check the red light on the button
- Check for double-beep sound
Wifi Connection with Controller (Steam Deck)
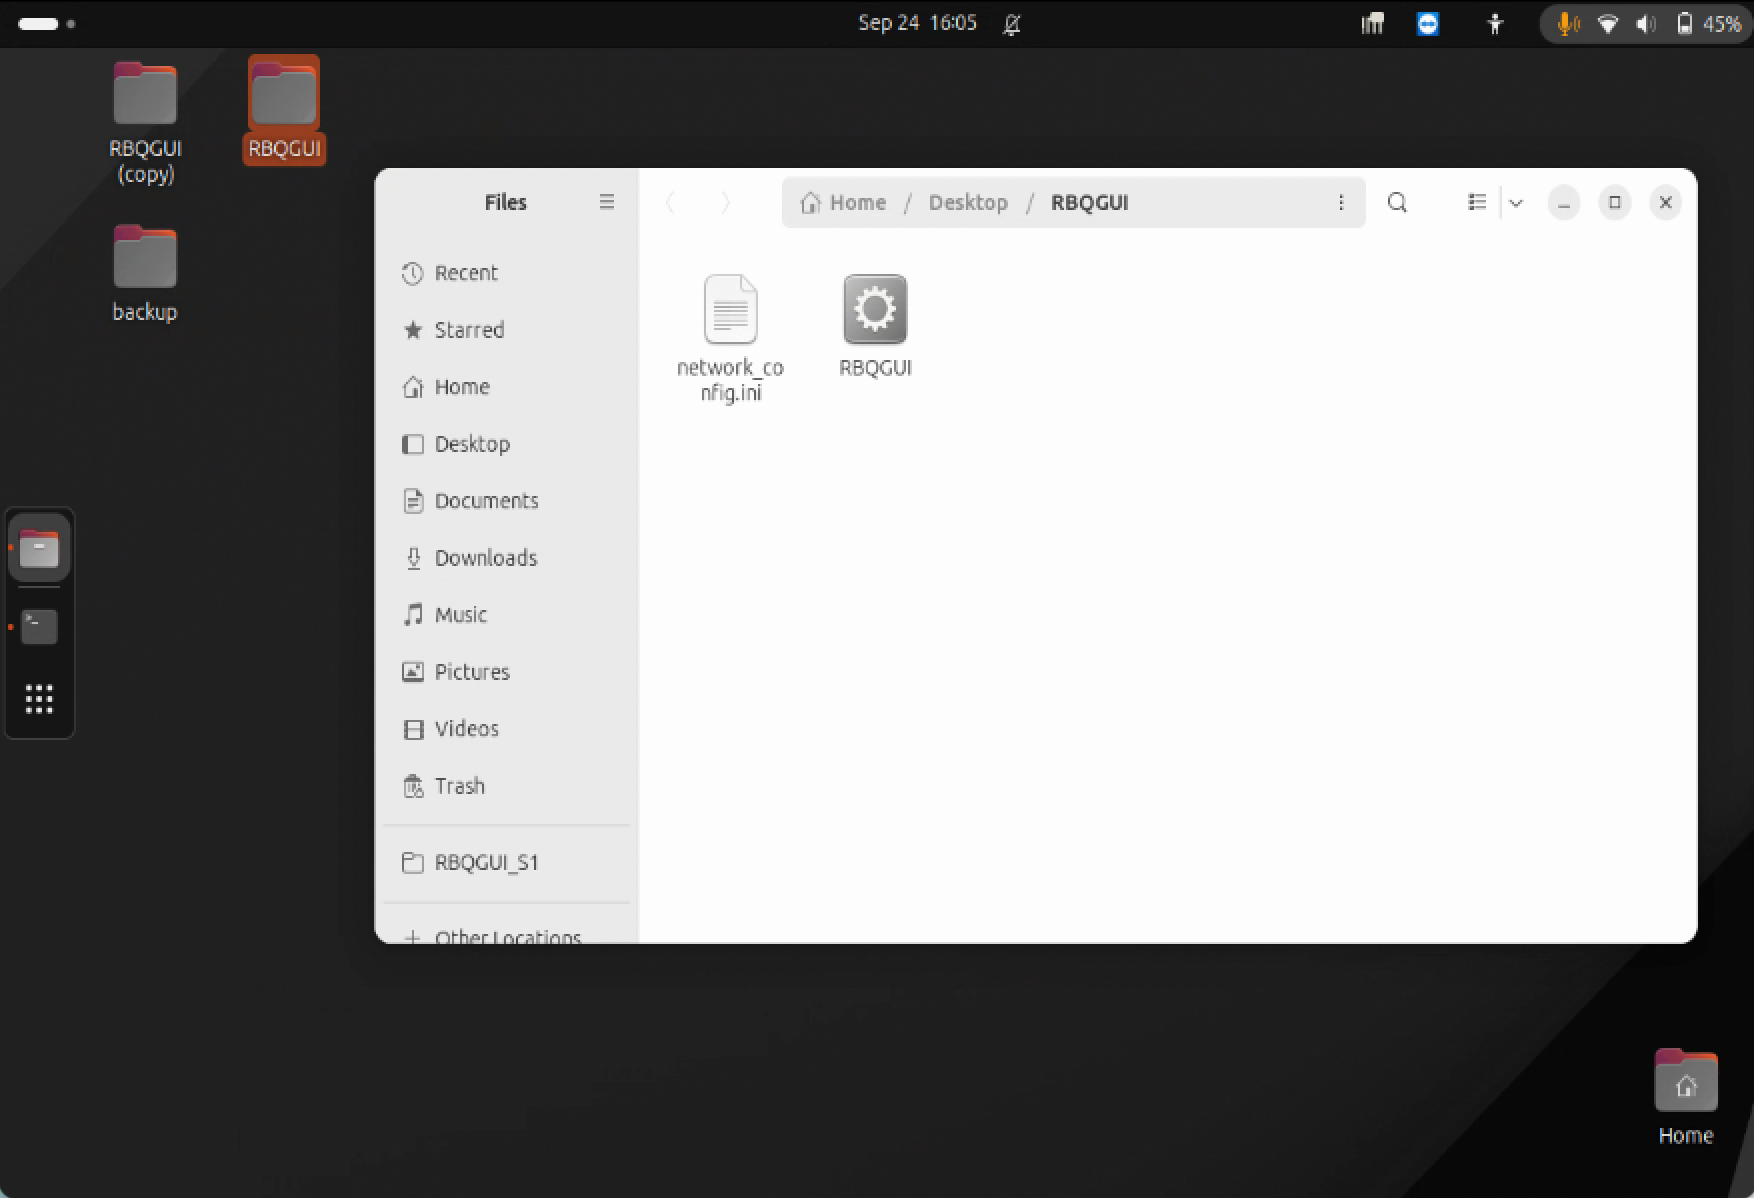
Step 1: Open RBQGUI APP
Open the application named RBQGUI on the Desktop of STEAM DECK.
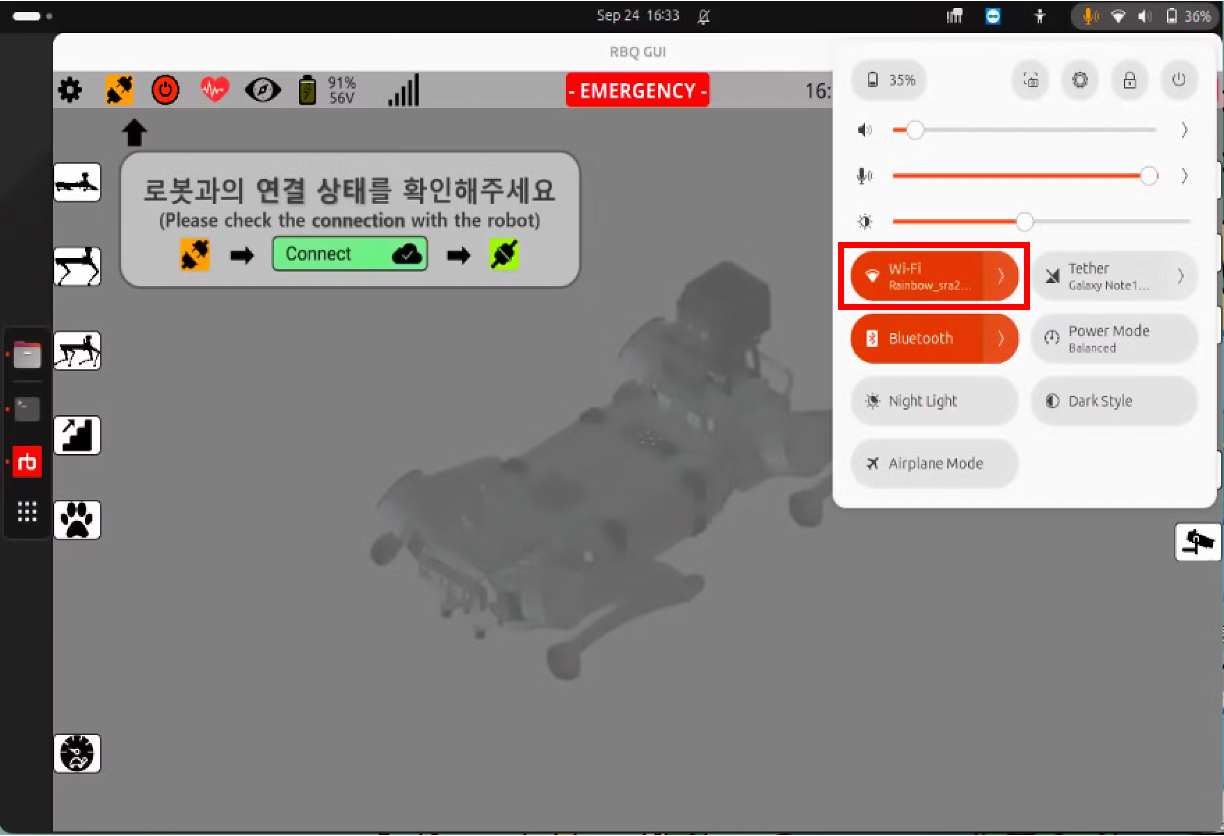
Step 2: Connect Wi-Fi
Connect Wi-Fi of STEAM DECK to the Wi-Fi named RBQ_{XX}.
Step 3: Connect Robot with STEAM DECK
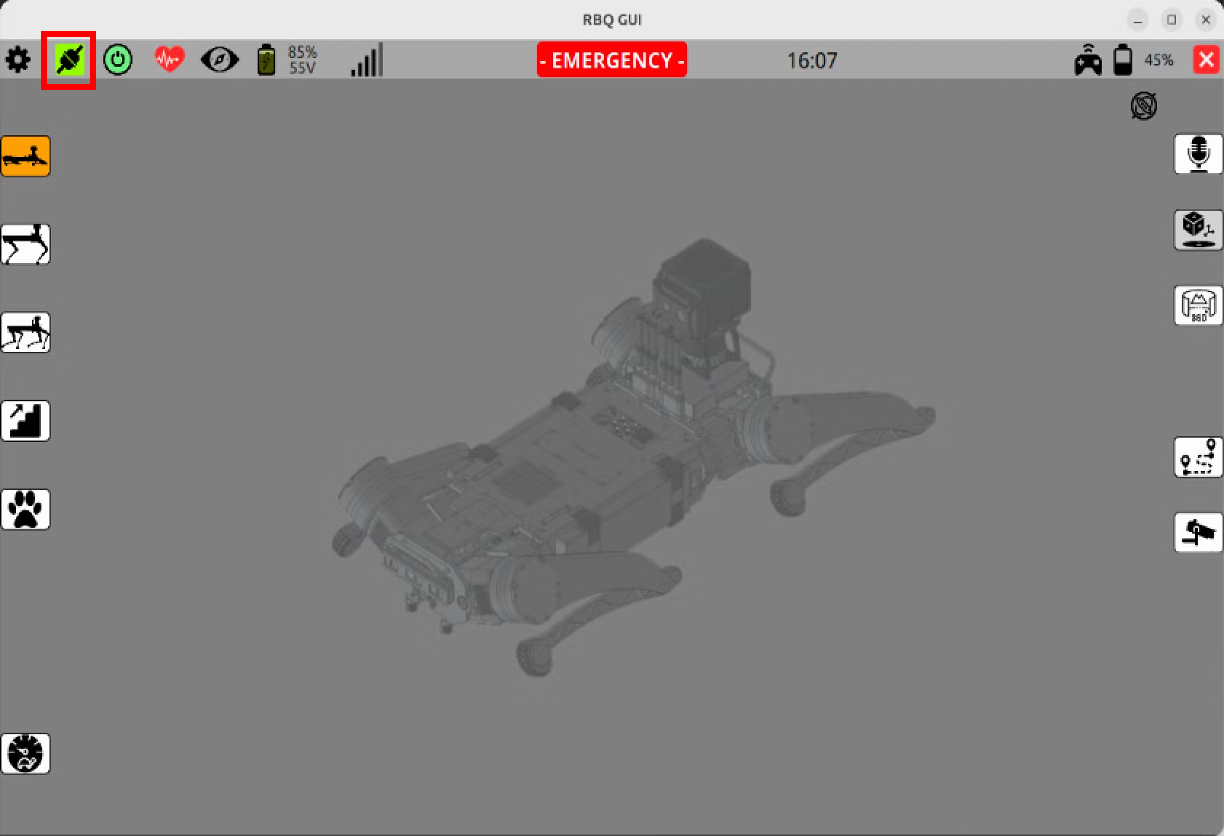
- Press
Remote Controller-Robot Communication Connectionbutton (orange) at the top bar left. Then, the pop-up window will be activated.
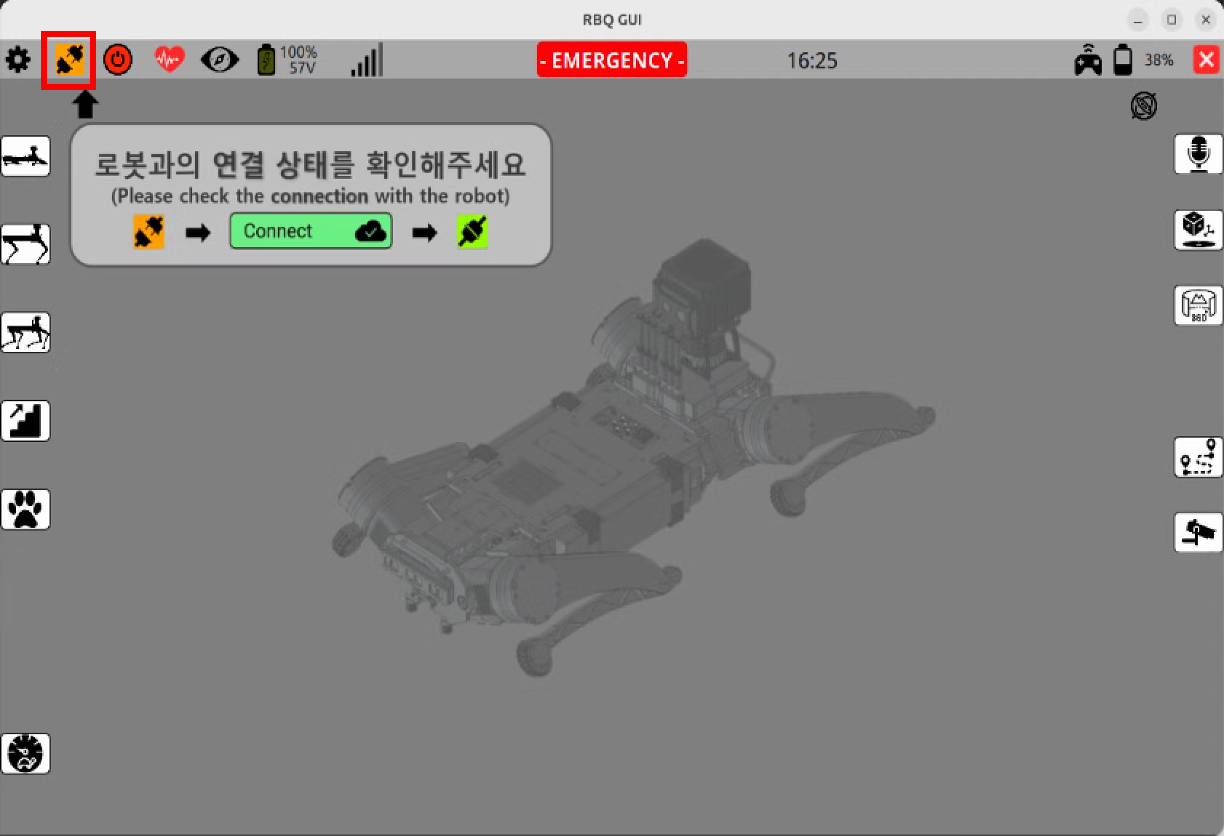
- Press
Connectbutton at the pop-up window.
If STEAM DECK and the robot are properly connected,Remote Controller-Robot Communication Connectionbutton will turn to green.

Step 4: Auto Start
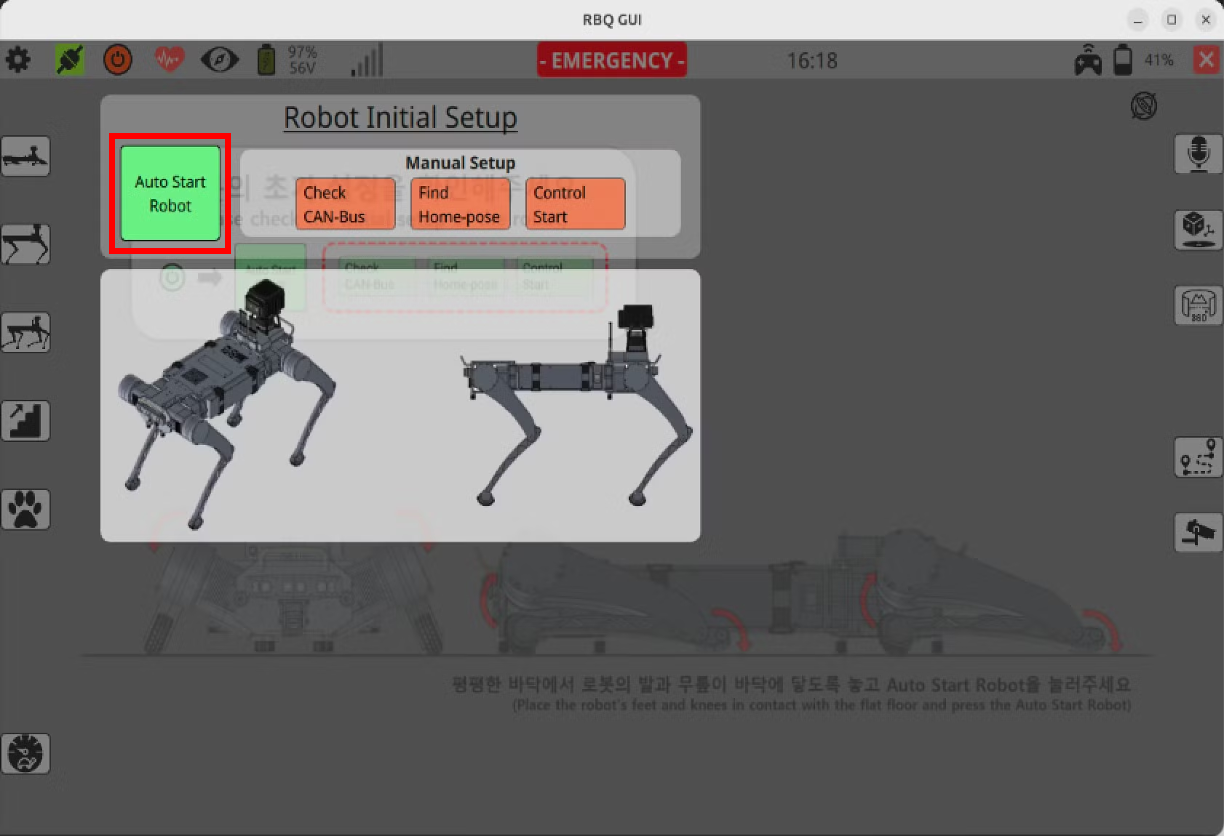
- Press
Robot Initial Setupbutton (red) at the top bar left. Then, the pop-up window will be activated.
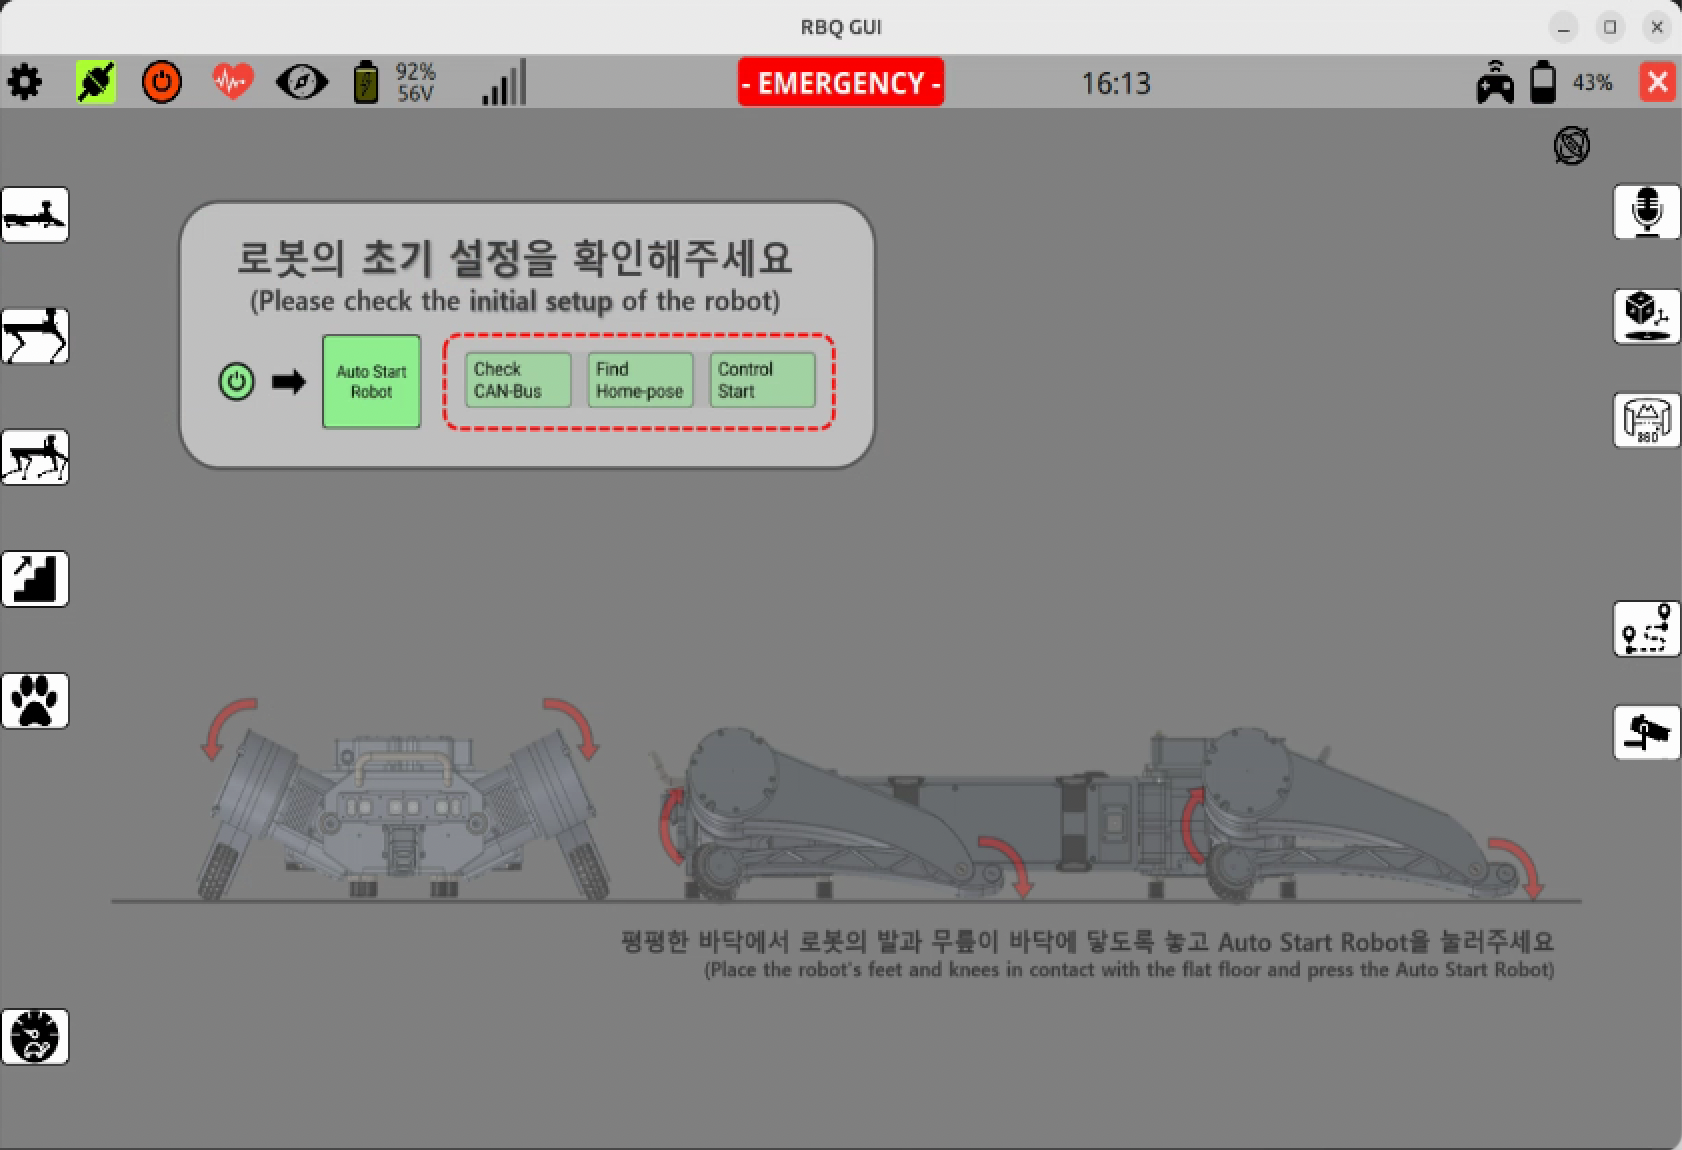
- Press
Auto Start Robotbutton at the pop-up window.
- Confirm that three
Manual Setupbuttons all change to green.
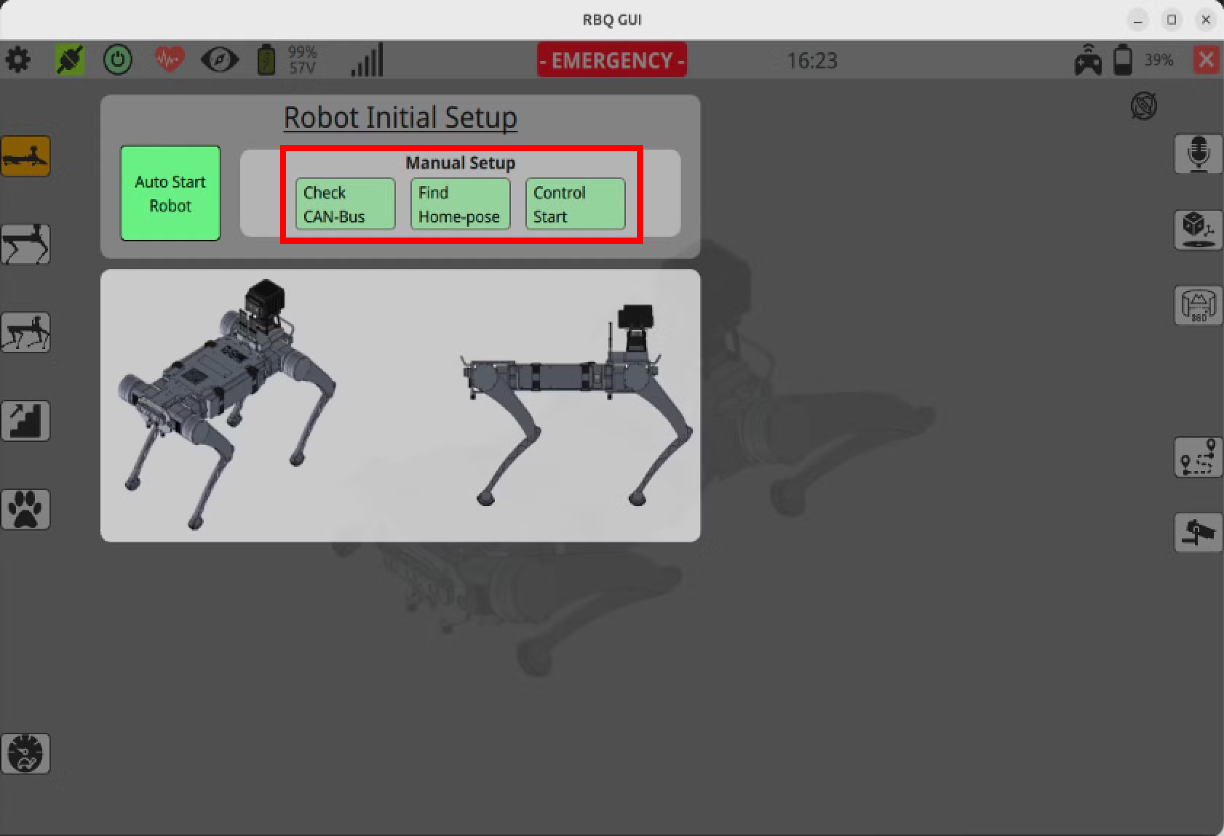
⚠️ If any one of three
Manual Setupbuttons doesn’t change to green,
follow the instructions:
- If
Check CAN-Busfailed, restart the robot.- If
Find Home-posefailed, check the leg poses of the robot and restart the robot again.