Skip to content

Camera & Vision ​

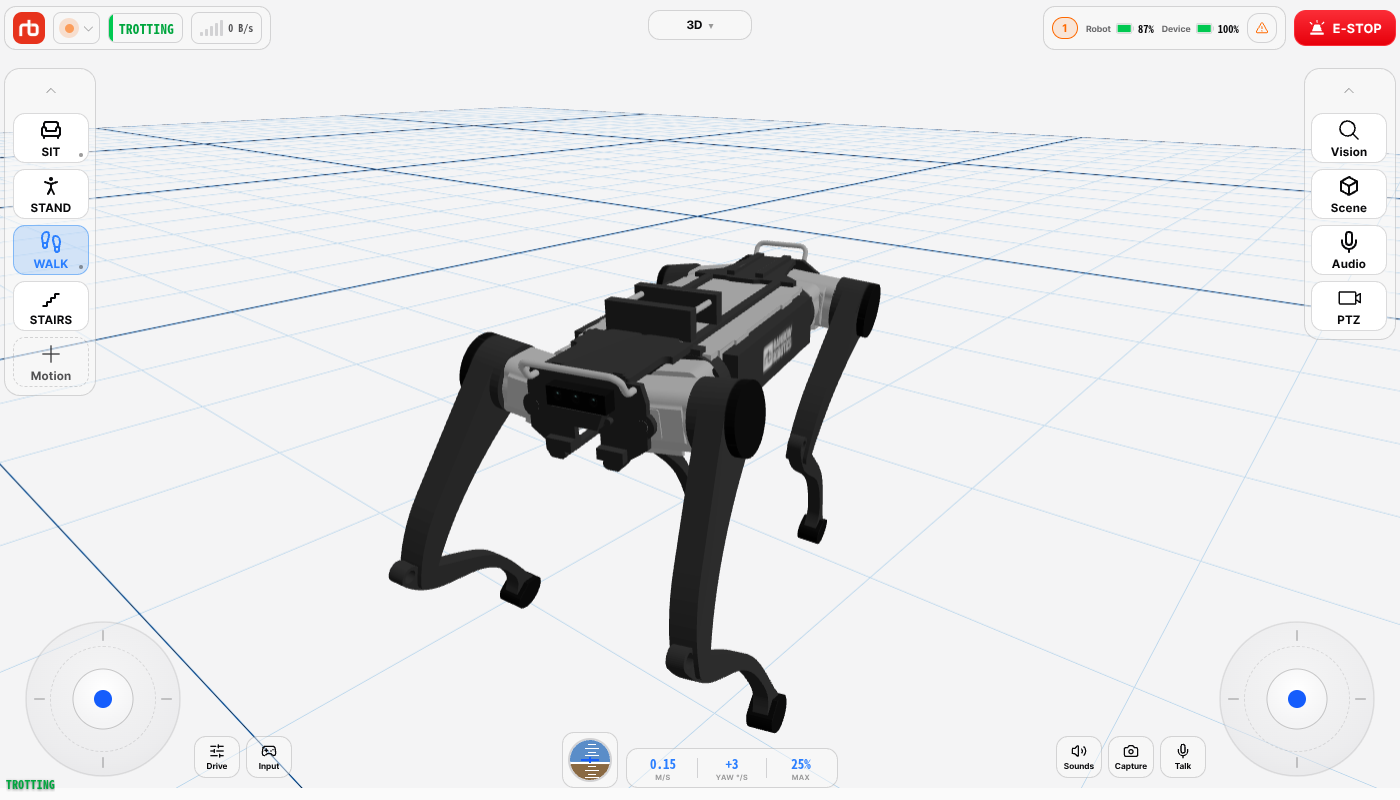
The center of the control home is the viewport. It shows either the live 3D pose of the robot or one of its camera streams, and it is where tap-to-go and the vision overlays live.

Control home with the viewport

Switching the viewport source ​

Tap the source name at the top center of the viewport to open the source list. The list shows only the sources whose cameras the robot actually reports, so it is shorter on robots with fewer cameras.

SourceShowsNeeds
3DLive 3D pose of the robot (always available)—
Front / Rear / Left / RightA single body cameraThat camera
StairsStair-climbing view composed from the front, rear, and belly camerasFront, rear, and all four belly cameras
QuadFour body cameras in one 2×2 frameFront, rear, left, and right cameras
PanoramaFour body cameras stitched horizontallyFront, rear, left, and right cameras
CCTVThe optional PTZ unit's color cameraPTZ color camera (see PTZ camera)
ThermalThe PTZ unit's thermal cameraPTZ thermal sensor
PTZ MixColor and thermal combinedPTZ color camera and thermal sensor
SLAMLive SLAM mapLiDAR

What developer mode adds here is collected on Developer mode.

The video keeps its 16:9 shape and fits into the space below the top bar. On wide screens, the leftover side gutters hold the cards and virtual joysticks. The source list never covers the top bar, so the E-STOP stays reachable while the menu is open.

While another device is driving and this one is spectating, the list holds only 3D and Driver's view — the driving device picks the camera. See Spectating.

View options (right card) ​

The right card, titled OBSERVE, holds what you look at and listen to. Tap its round button to fold the card into a circle or open it again. The card starts open, and the app remembers your choice.

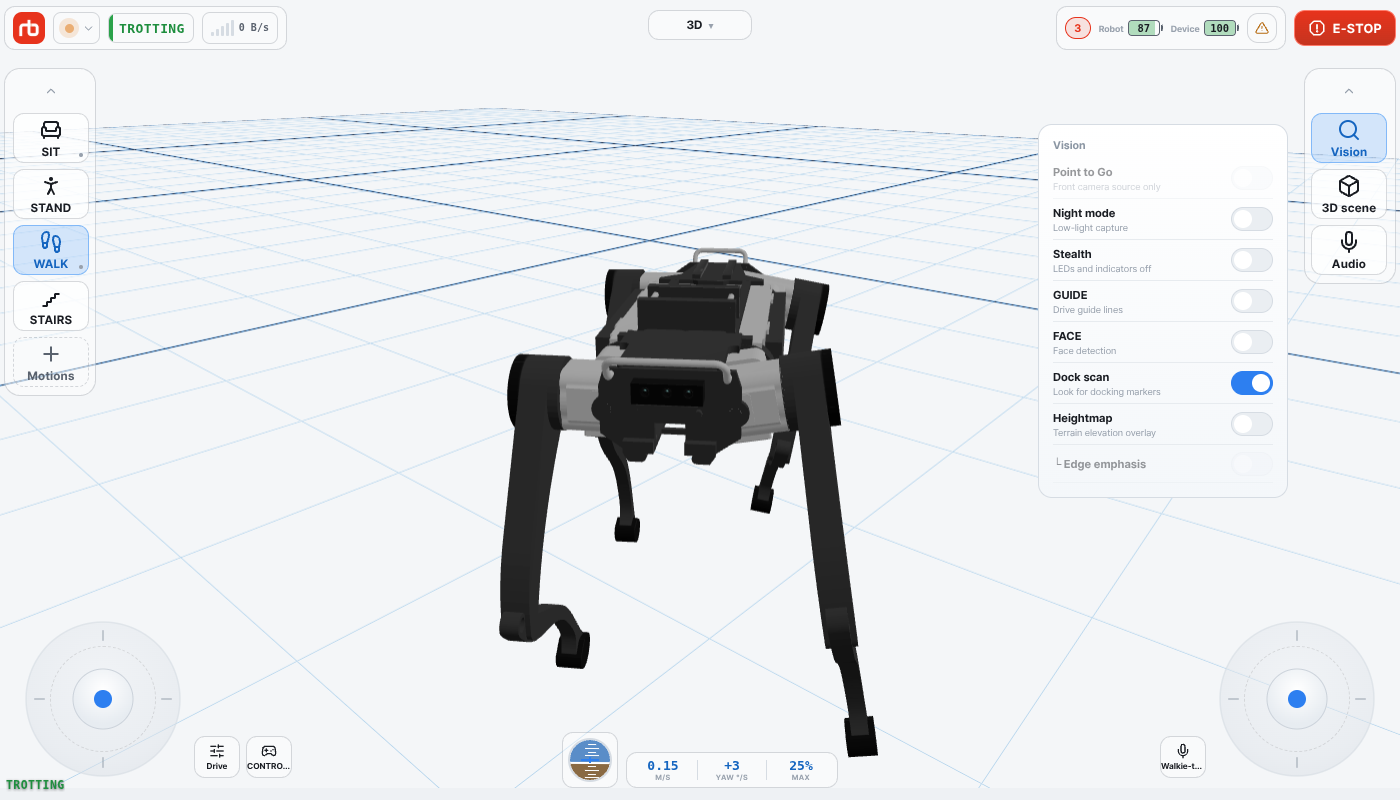
  • Vision — opens the Vision popover: the Point to Go switch (see below) and vision toggles such as Night mode and Dock scan.
RowEffect
Night modeLow-light capture
StealthLEDs and indicators off
GUIDEDrive guide lines drawn into the video
FACEFace detection boxes
Dock scanLook for docking markers
HeightmapTerrain elevation overlay. └ Edge emphasis below it is enabled only while Heightmap is on
IR projectorProjects an infrared dot pattern for the depth camera, so it can measure depth on plain walls and floors. Shown only on robots whose depth camera has a projector
Video resolutionThe robot's video output: 720p / 540p / 360p — lower it on a weak link

IR projector and Video resolution show the state the robot reports.

  • Scene — opens 3D scene settings. Shown only while the 3D source is selected.
  • Audio — opens the walkie-talkie (see Audio).

Speed HUD and Gyro widget are in Settings › App settings.

3D scene settings holds:

  • Grid — Grid ON / Grid OFF plus a grid size in meters (− / + or type a value).
  • Scene theme — background color presets.
  • Camera behavior — Top, Robot, or 3D camera follow mode.
  • LiDAR (display) — Off / On for the point cloud.

Tap-to-go (P2G) ​

With Point to Go on, tapping a point on the ground in the front camera makes the robot walk to it. An aim marker appears where you press and follows your finger as you drag, and the command goes to wherever you lift your finger, so you can line the point up before you let go. Drag off the video before you release and nothing is sent — that is how you cancel a press you did not mean. The robot itself draws the path and target on the video it streams, so the marker is only momentary feedback.

A tap moves the robot only when all four of these are true:

  1. Point to Go is switched on in the Vision popover (the viewport shows a blue border while it is on).
  2. The viewport source is Front. On every other source the switch is grayed out and reads Front camera source only, because the app reads the tap in front-camera coordinates.
  3. The robot is standing and ready to walk. The app does not check this — the robot decides whether to act on the command.
  4. You tapped ground that is visible in the image. The app sends every tap, but the robot walks only when the point lands on ground it can see. A tap on the horizon, a wall, or the sky shows the marker and does nothing else.

WARNING

While Point to Go is on, the whole video area is a tap target — an accidental touch sends a walk command. Turn it off as soon as you are done.

Docking-marker overlay ​

Docking-marker overlay on the front camera

When the robot sees a docking marker (ArUco), a Start docking button appears over the video — on 3D and on every camera source, including Front, Rear and Stairs. On the sources that show the camera which found it, the app draws a box around the marker itself. The other sources show a picture of the docking marker at the bottom of the screen instead — tapping it also starts docking.

Dock scan in the Vision popover switches the robot's marker detection on and off; the detection itself runs on the camera images. It is on by default. While docking runs, the marker is drawn no matter what this toggle says — watching it is the whole point.

Dock View ​

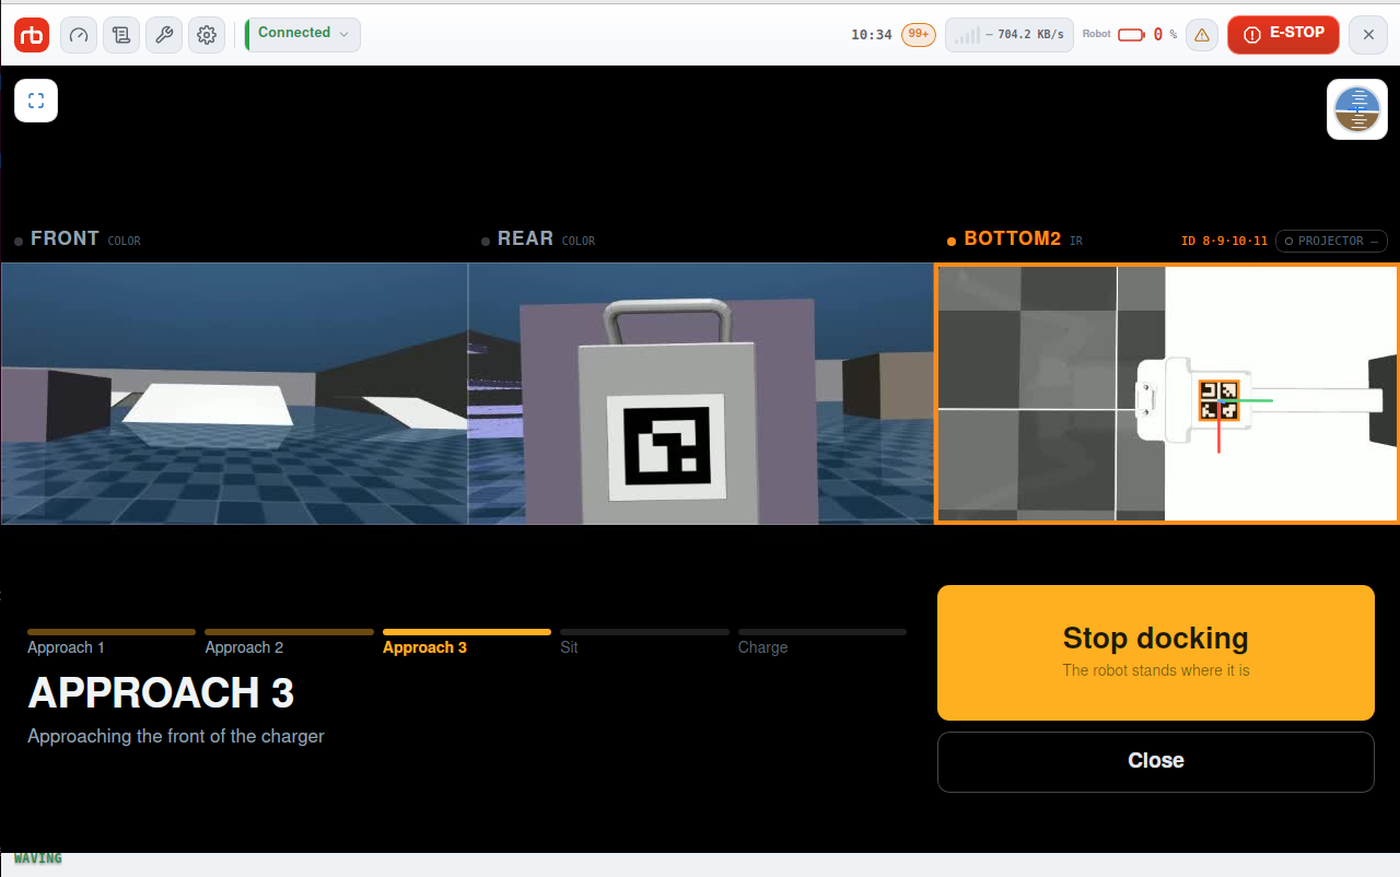
Dock View during a docking run

Starting docking opens Dock View. It replaces the viewport with the three cameras the robot uses for docking and shows what the robot detects, so you can tell why a docking run succeeds or fails.

Closing it does not stop docking. While the run is under way, the docking banner stays at the top of the screen, and Tap to view on the banner opens Dock View again.

WARNING

Dock View exists only during a docking run. The banner disappears four seconds after docking completes, and it is not shown at all once a run has failed — from then on there is no way back into the screen. Watch a run while it is happening — to see the cameras again, you have to start another docking run.

The video band holds three panes: FRONT, REAR, and BOTTOM2 (the downward infrared camera). The pane whose camera found the marker is outlined in orange, and a box and the marker axes are drawn on the marker. The pane label also shows the marker IDs used and, for BOTTOM2, whether the IR projector is on.

Below the band:

  • Progress — Approach 1, Approach 2, Approach 3, Sit, Charge. Charge lights up only once the robot measures charging current.
  • Status — the current step in words, and the reason when a run fails.
  • Detection hints — shown when the robot keeps discarding the marker, for example Marker detection quality is low. When a run has ended because no marker was found, the hint also says what to do.
  • Buttons — Stop docking while docking runs; Undock once the robot is charging; Resume docking after a failed run; Stand up when all retries are used; Close at any time.

Undock and Stand up lift a seated robot, so they are press-and-hold buttons. Hold one and it fills from the left. The command goes out the moment the fill reaches the far edge, about a second later. Let go before it is full and nothing is sent.

While the robot retries on its own, the buttons read Retrying automatically and there is nothing for you to do.

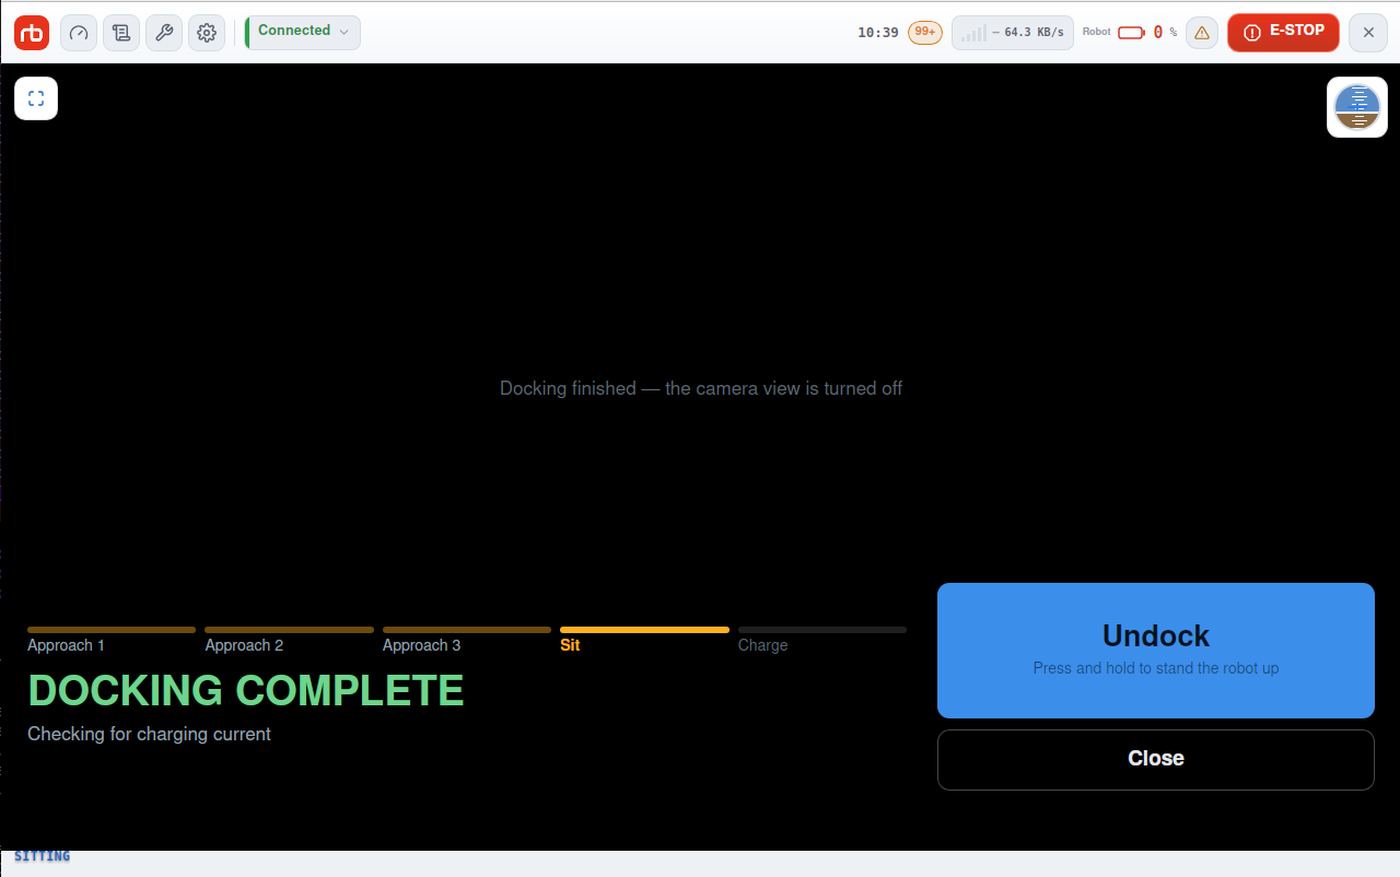
Once docking finishes, the charge level appears after three seconds. Five seconds later the cameras turn themselves off and the band reads Docking finished — the camera view is turned off. A docked robot sits on the charger for hours, so there is nothing left to watch.

Dock View after the cameras are turned off

This user manual is intended for RBQ users.