Skip to content

Sheet Sticker Production ​

How to prepare the sheet stickers applied to the robot's exterior — design, material and placement. Follow the steps below when preparing your print files.

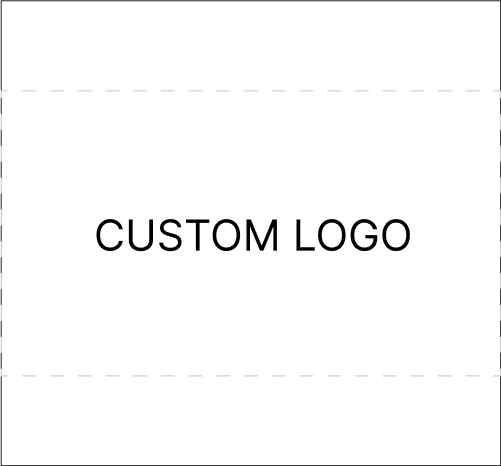
Robot exterior with a custom logo sheet sticker applied
[ Custom logo example ]

1. Download the Illustrator template ​

Download the RBQ sheet template (.ai) from the Sheet Sticker folder in the shared SharePoint folder, then edit it as needed — adjust the colors or add your logo according to your design requirements.

2. Design editing guidelines ​

  • You may freely change the colors to match your brand identity.
  • Logos, text and graphic elements must stay within the designated template area.
  • Do not delete the guide layers — hide them if they are not needed.

3. Sheet material ​

Print on one of the following materials.

  • Glossy sheet sticker
  • Matte sheet sticker

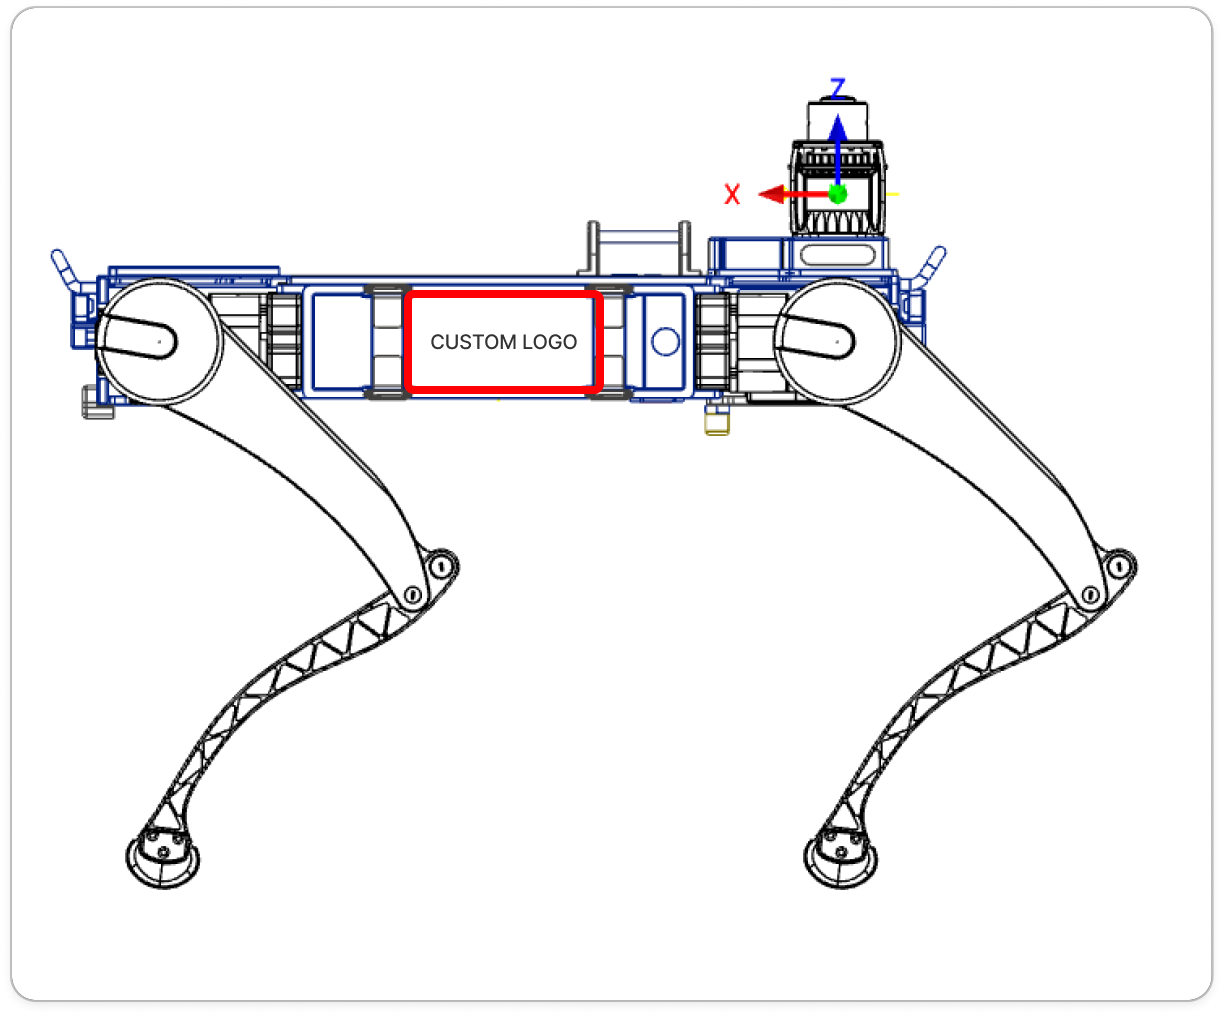
4. Placement ​

Refer to the photo below for the placement area.

Sheet sticker placement area on the robot
[ Sheet sticker placement ]

NOTE

Double-check the orientation and size before applying the sticker.

This user manual is intended for RBQ users.