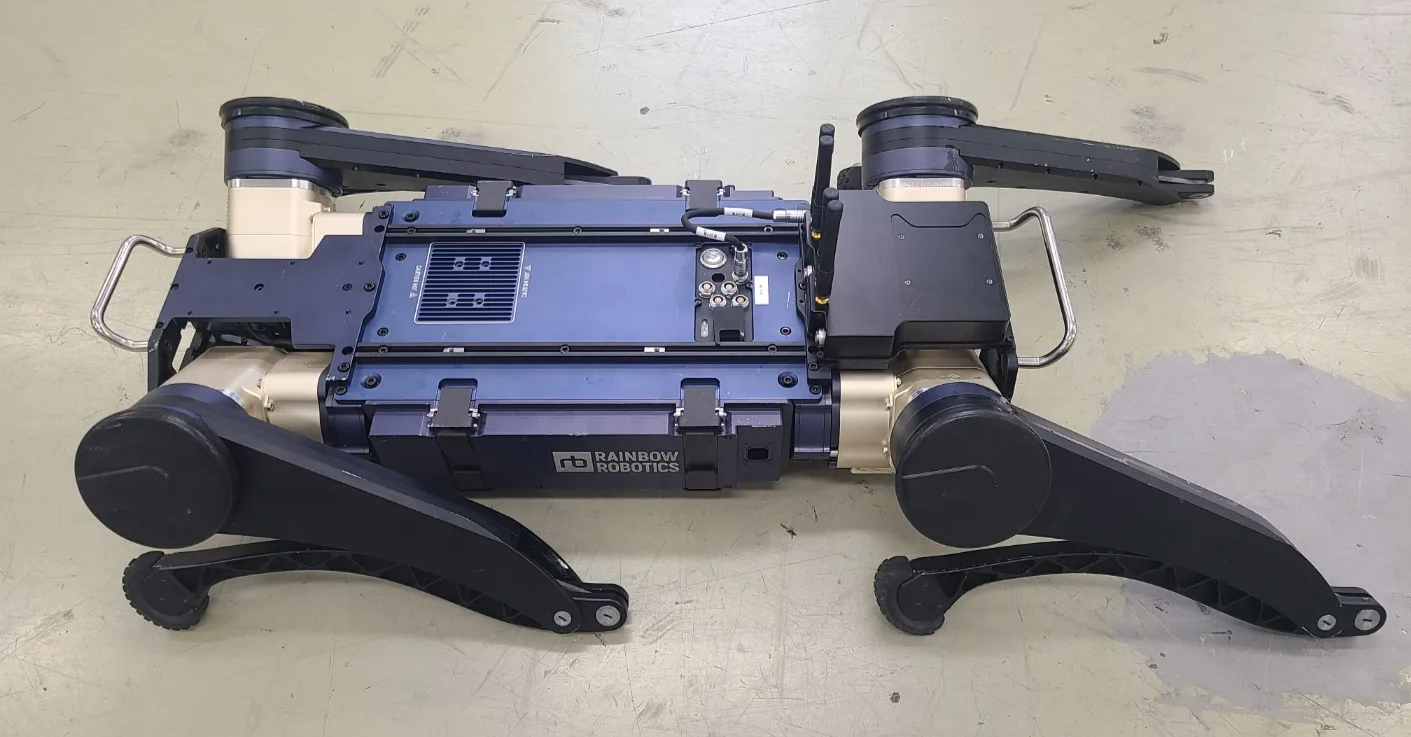
Robot Initial Pose Setting
Place the robot on a flat floor so that all feet and knees contact the ground. Refer to the robot posture in the image below.
Step 1. A flat surface is required.
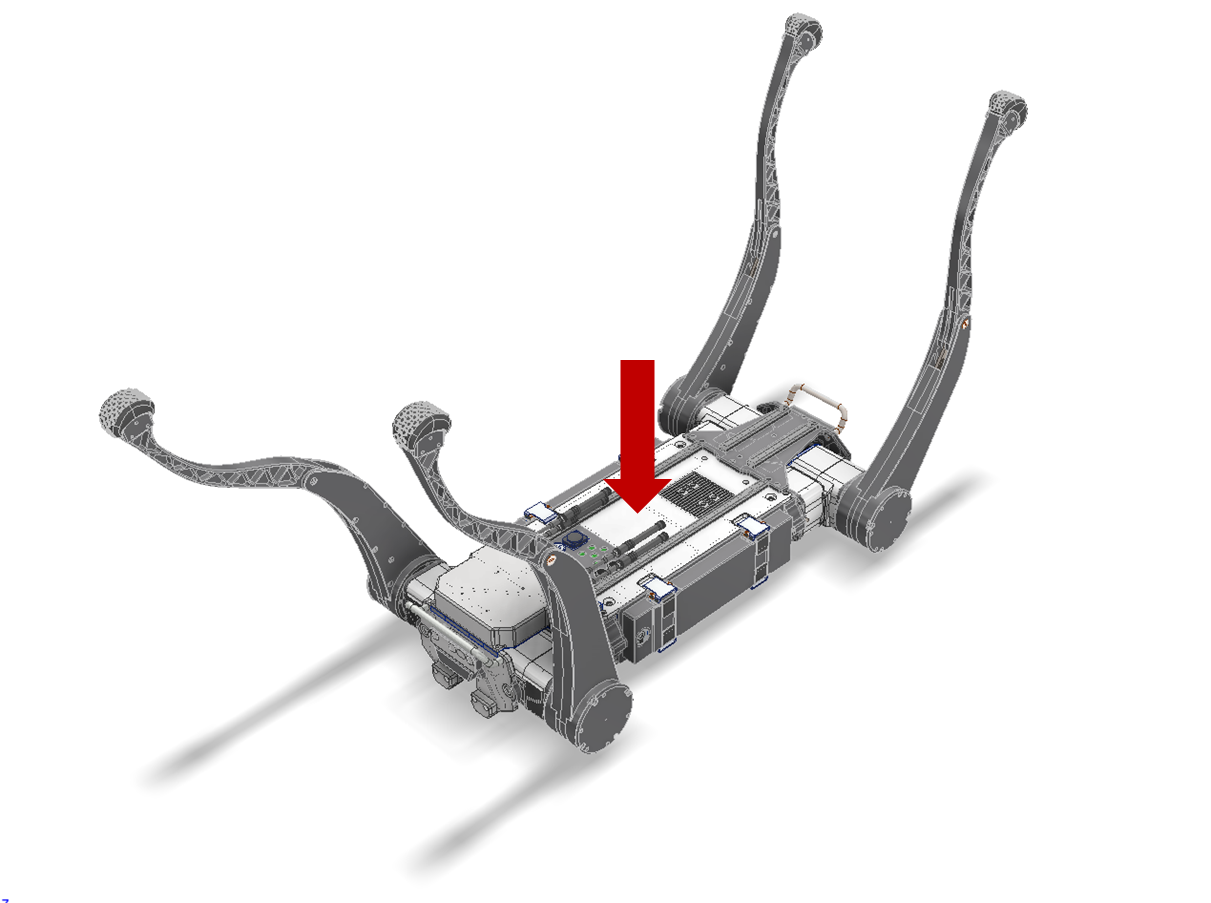
Step 2. Fully fold the knee joint.
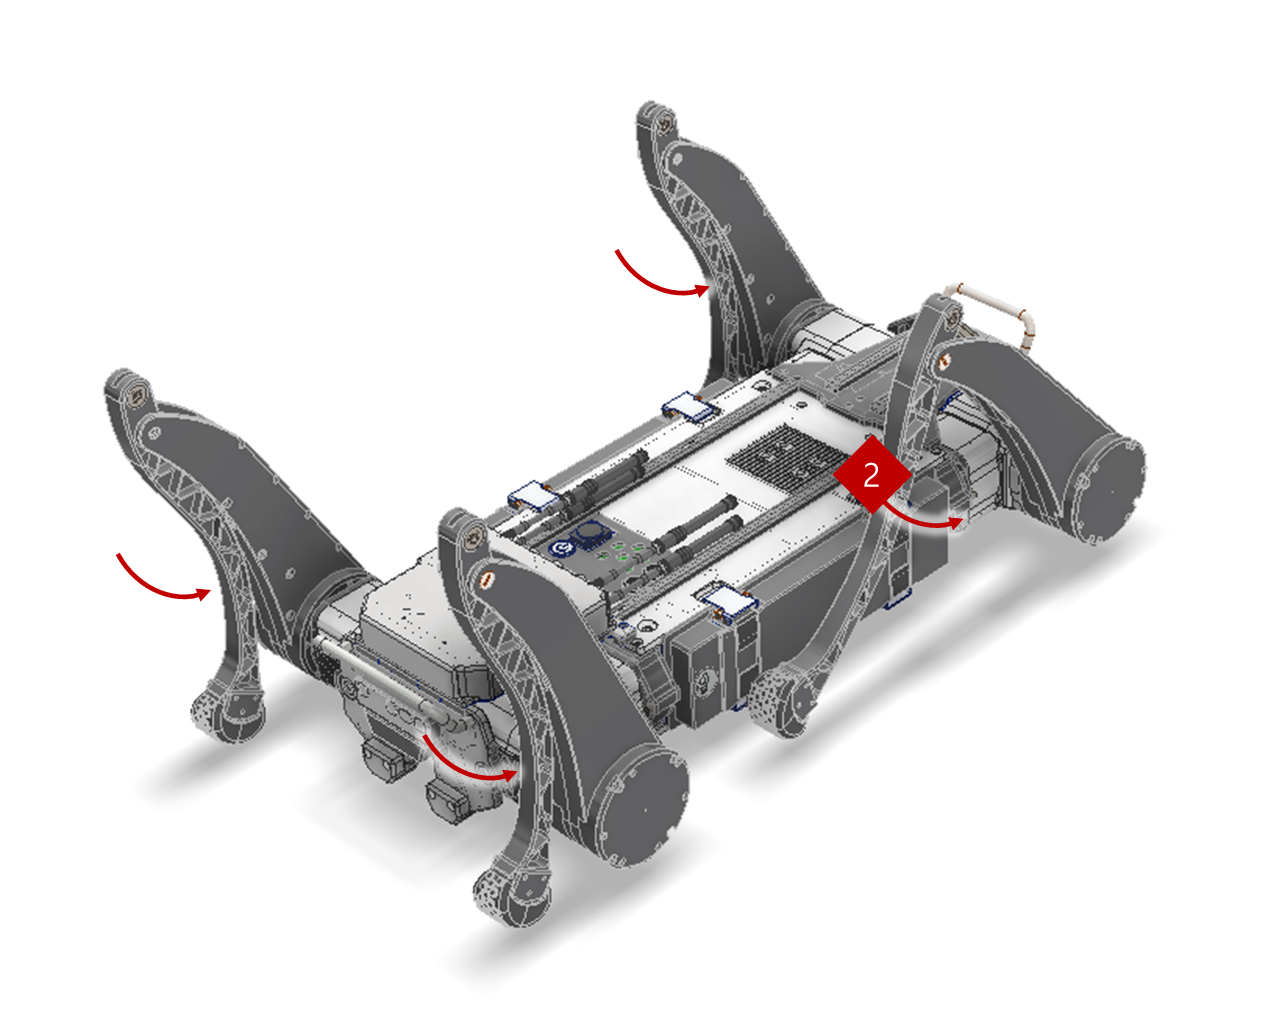
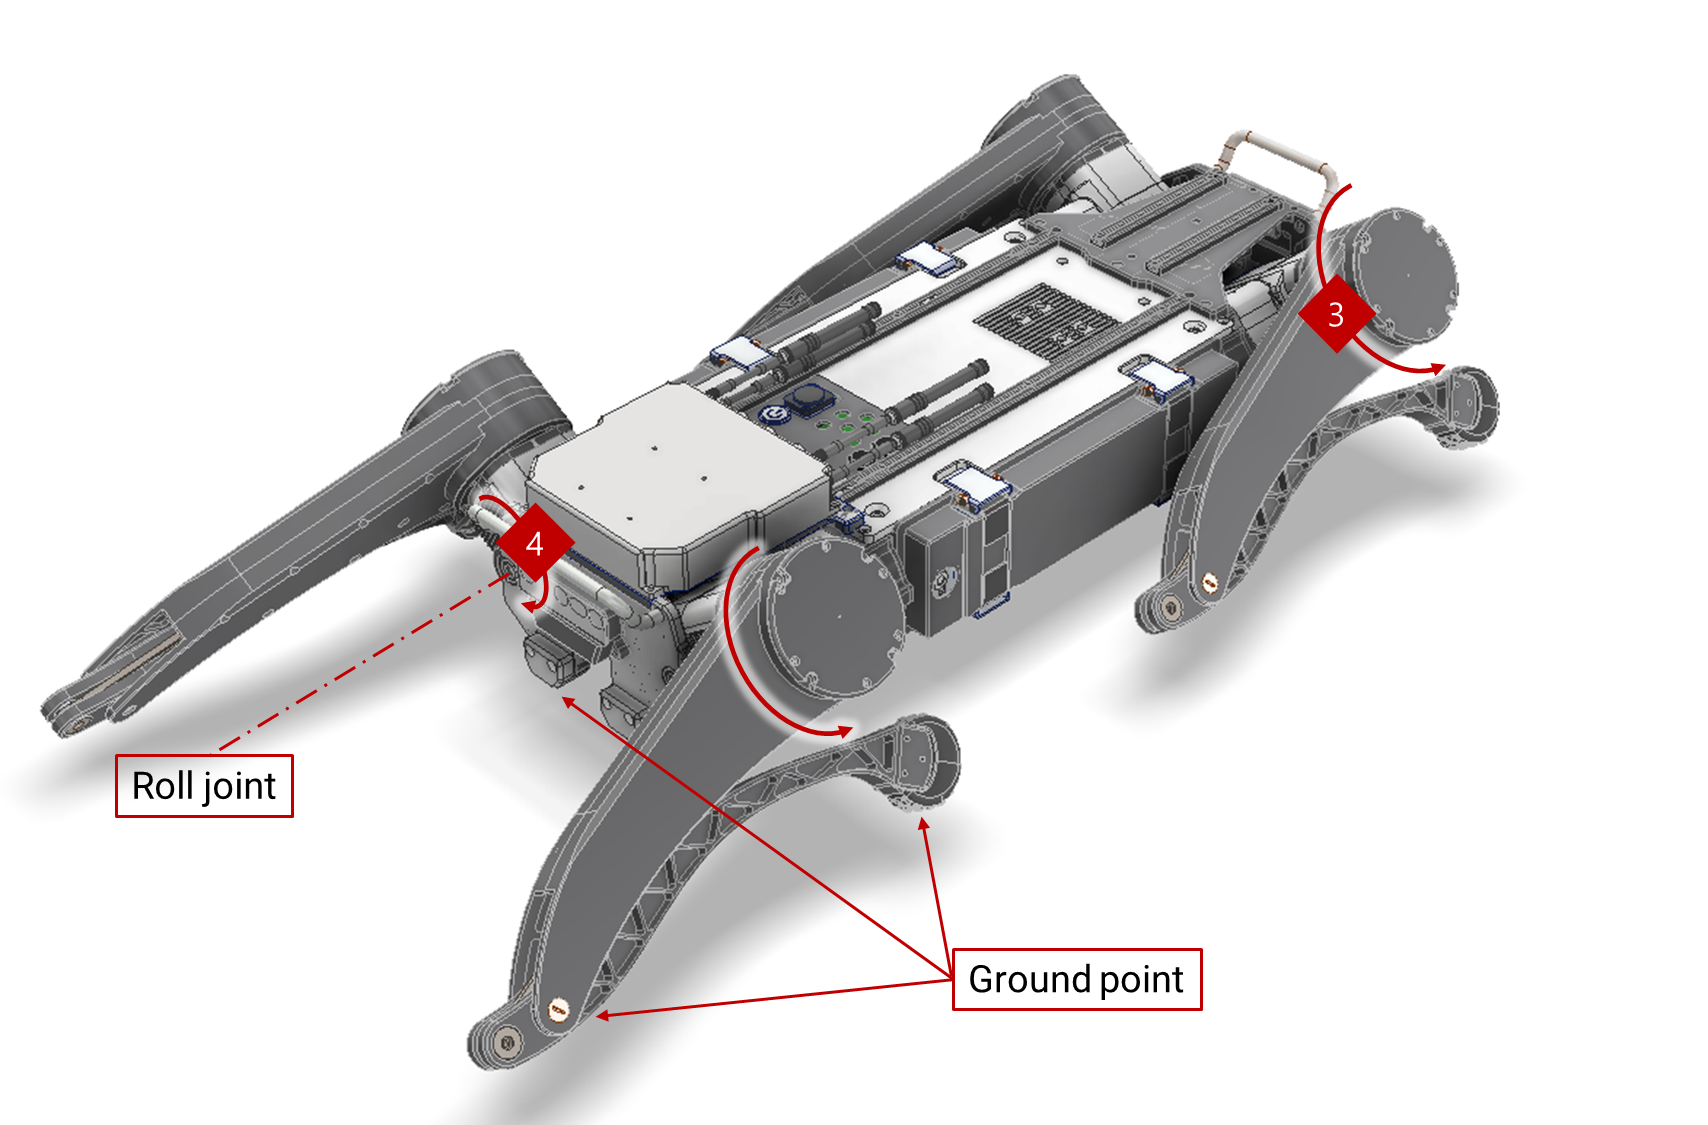
Step 3. Rotate the hip pitch and roll joints so that the “feet” and “knee” joints touch the ground. There are three ground points. (Body Bumper, Knee Joint, Foot)
Turn On the Robot
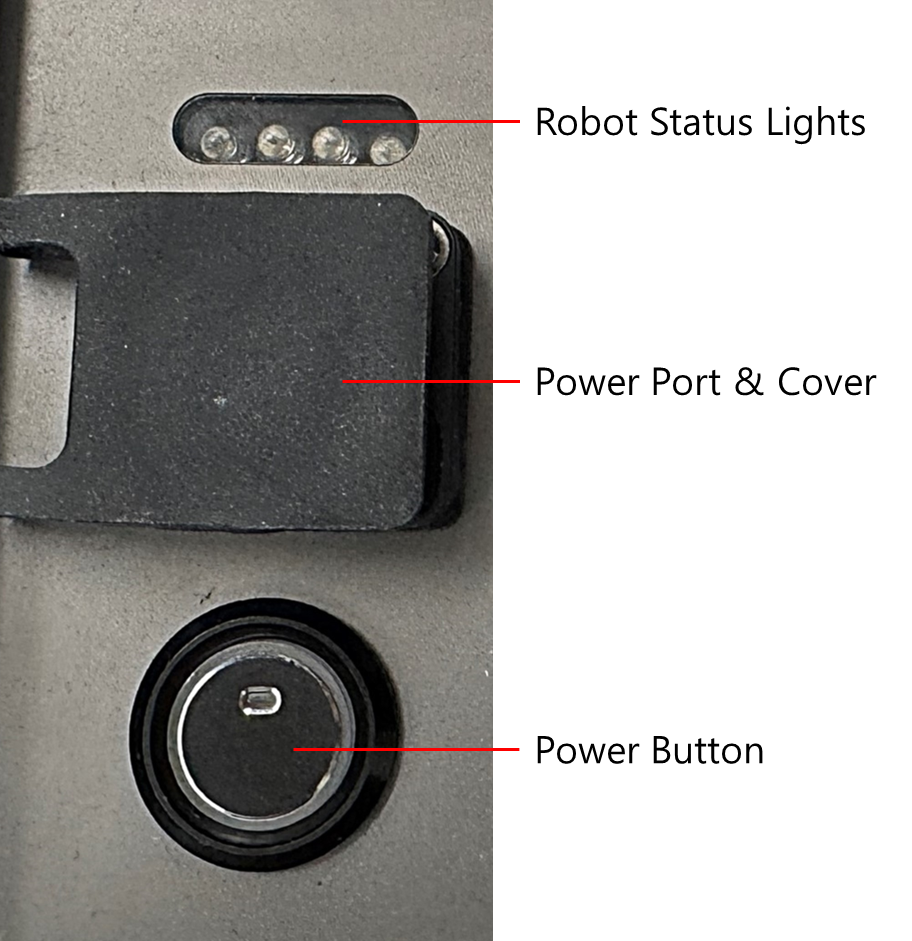
- Press Power Button and check the red light on the button
- Check for double-beep sound