2. Connect to Hotspot & Check Web UI
There are several ways to connect to the robot. The simplest method is to use the hotspot function to join the robot’s network and access the Web UI for initial setup. Through the Web UI, you can also check the robot’s basic status, power it on, and move it into the zero pose
2.1. Steps
Turn on the RPC power.
Once the RPC is power on, press the HOTSPOT button on top of the backpack.
If the button is already active, release it and press again.
On your laptop, join the robot’s hotspot SSID (e.g.,
RBY1).Default password:
RBY1@@@@.
Connecting via QR Code
Press the HOTSPOT button on the top of the robot’s backpack to activate the hotspot.
A QR code will be displayed; scan it to automatically connect to the network.
The hotspot will remain active only while the HOTSPOT button is pressed.
Open the Web UI in a browser:
http://192.168.12.1:5173. The dashboard shows the robot’s current status (power, joint angles, etc.).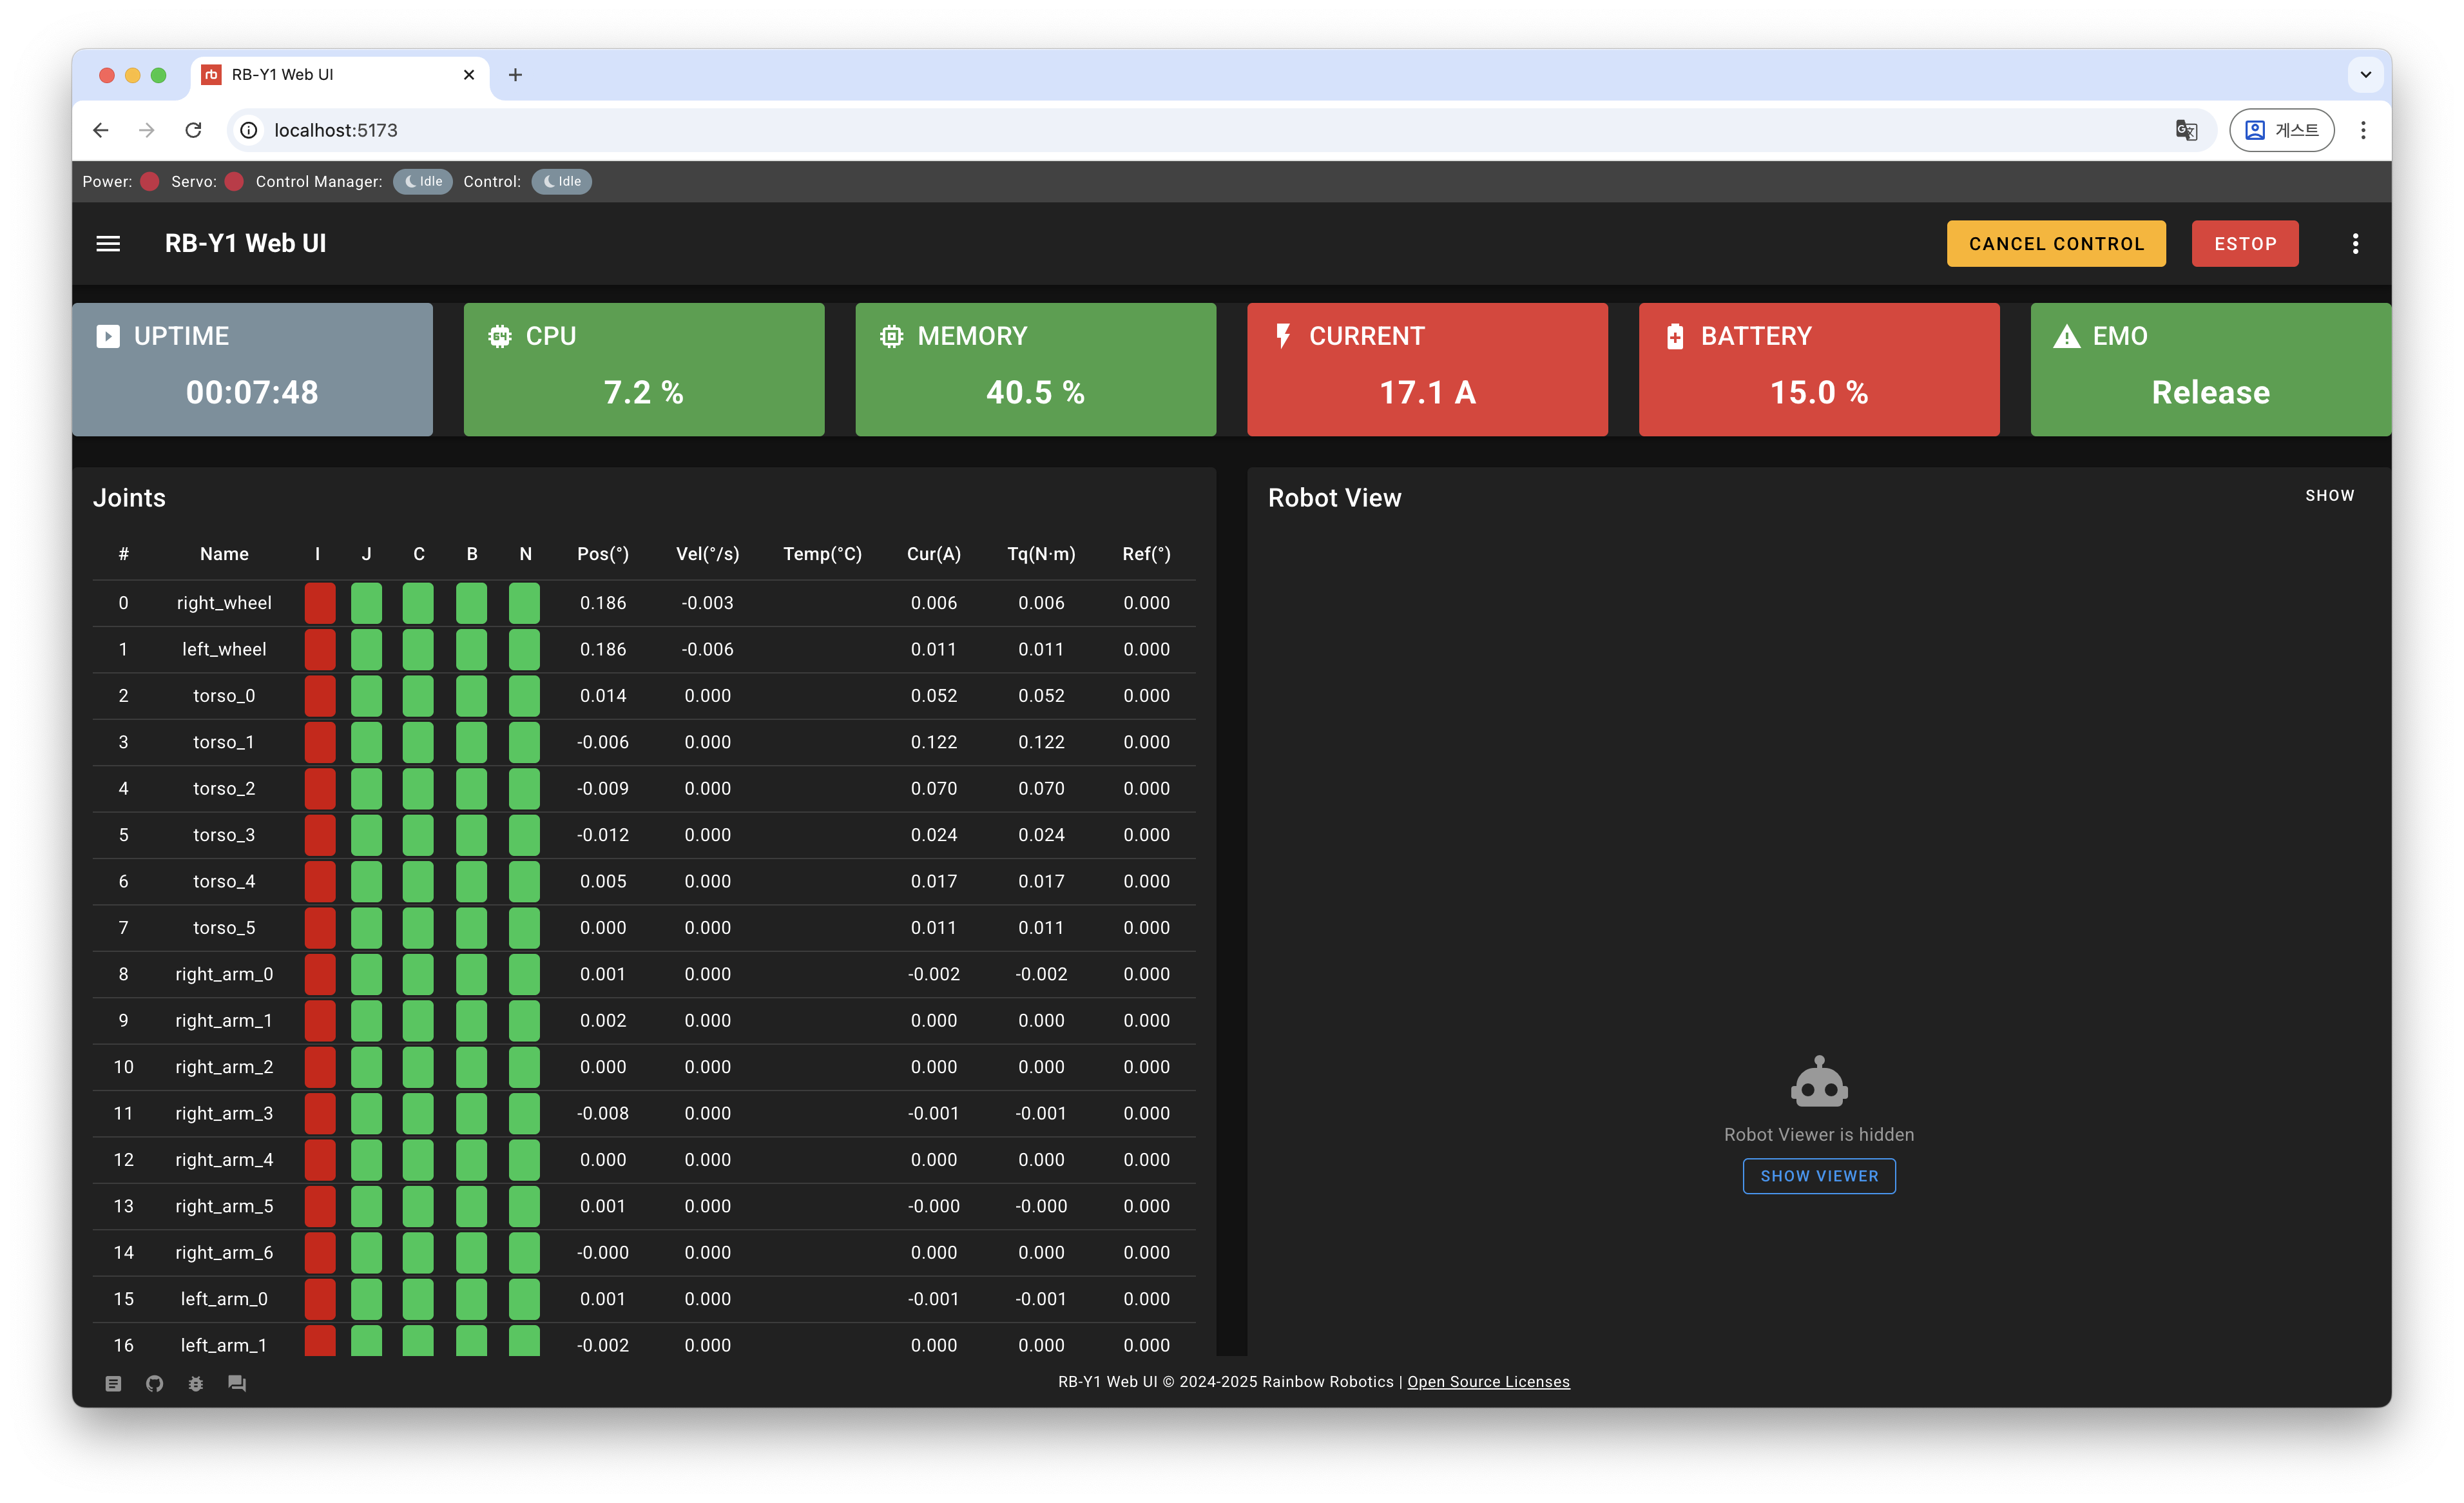
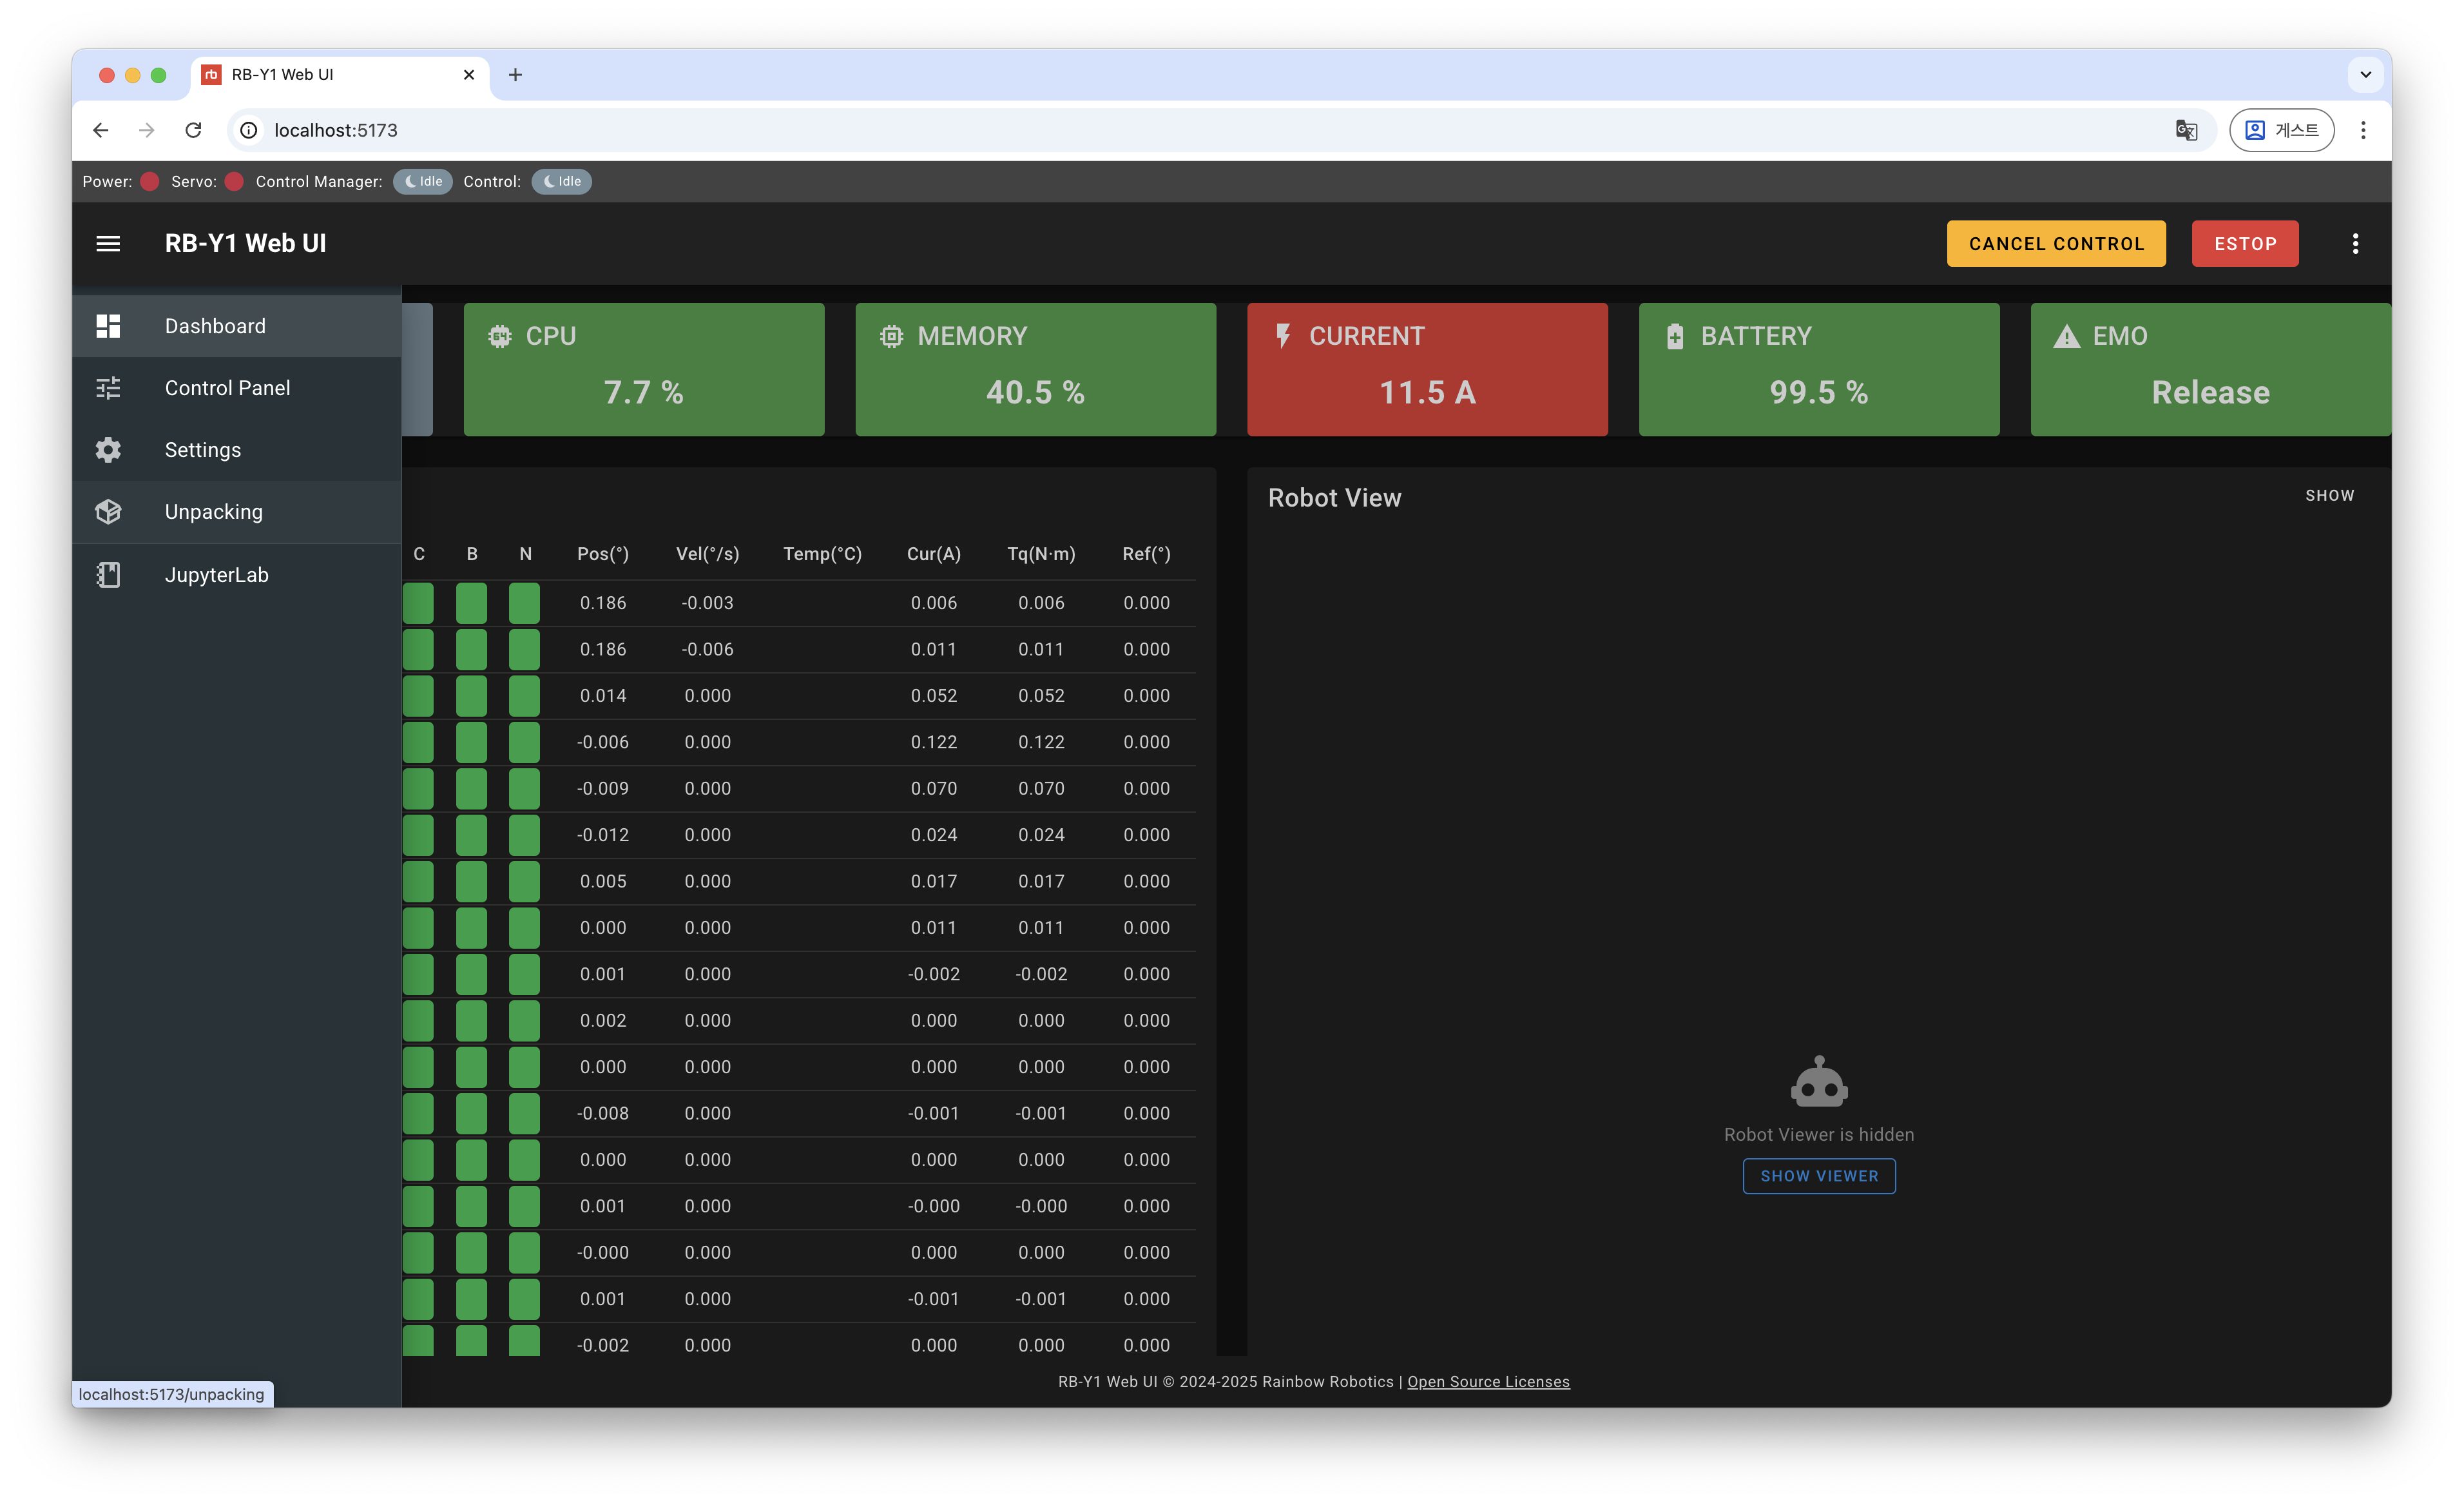
From the left sidebar, select Unpacking to open the setup tab.
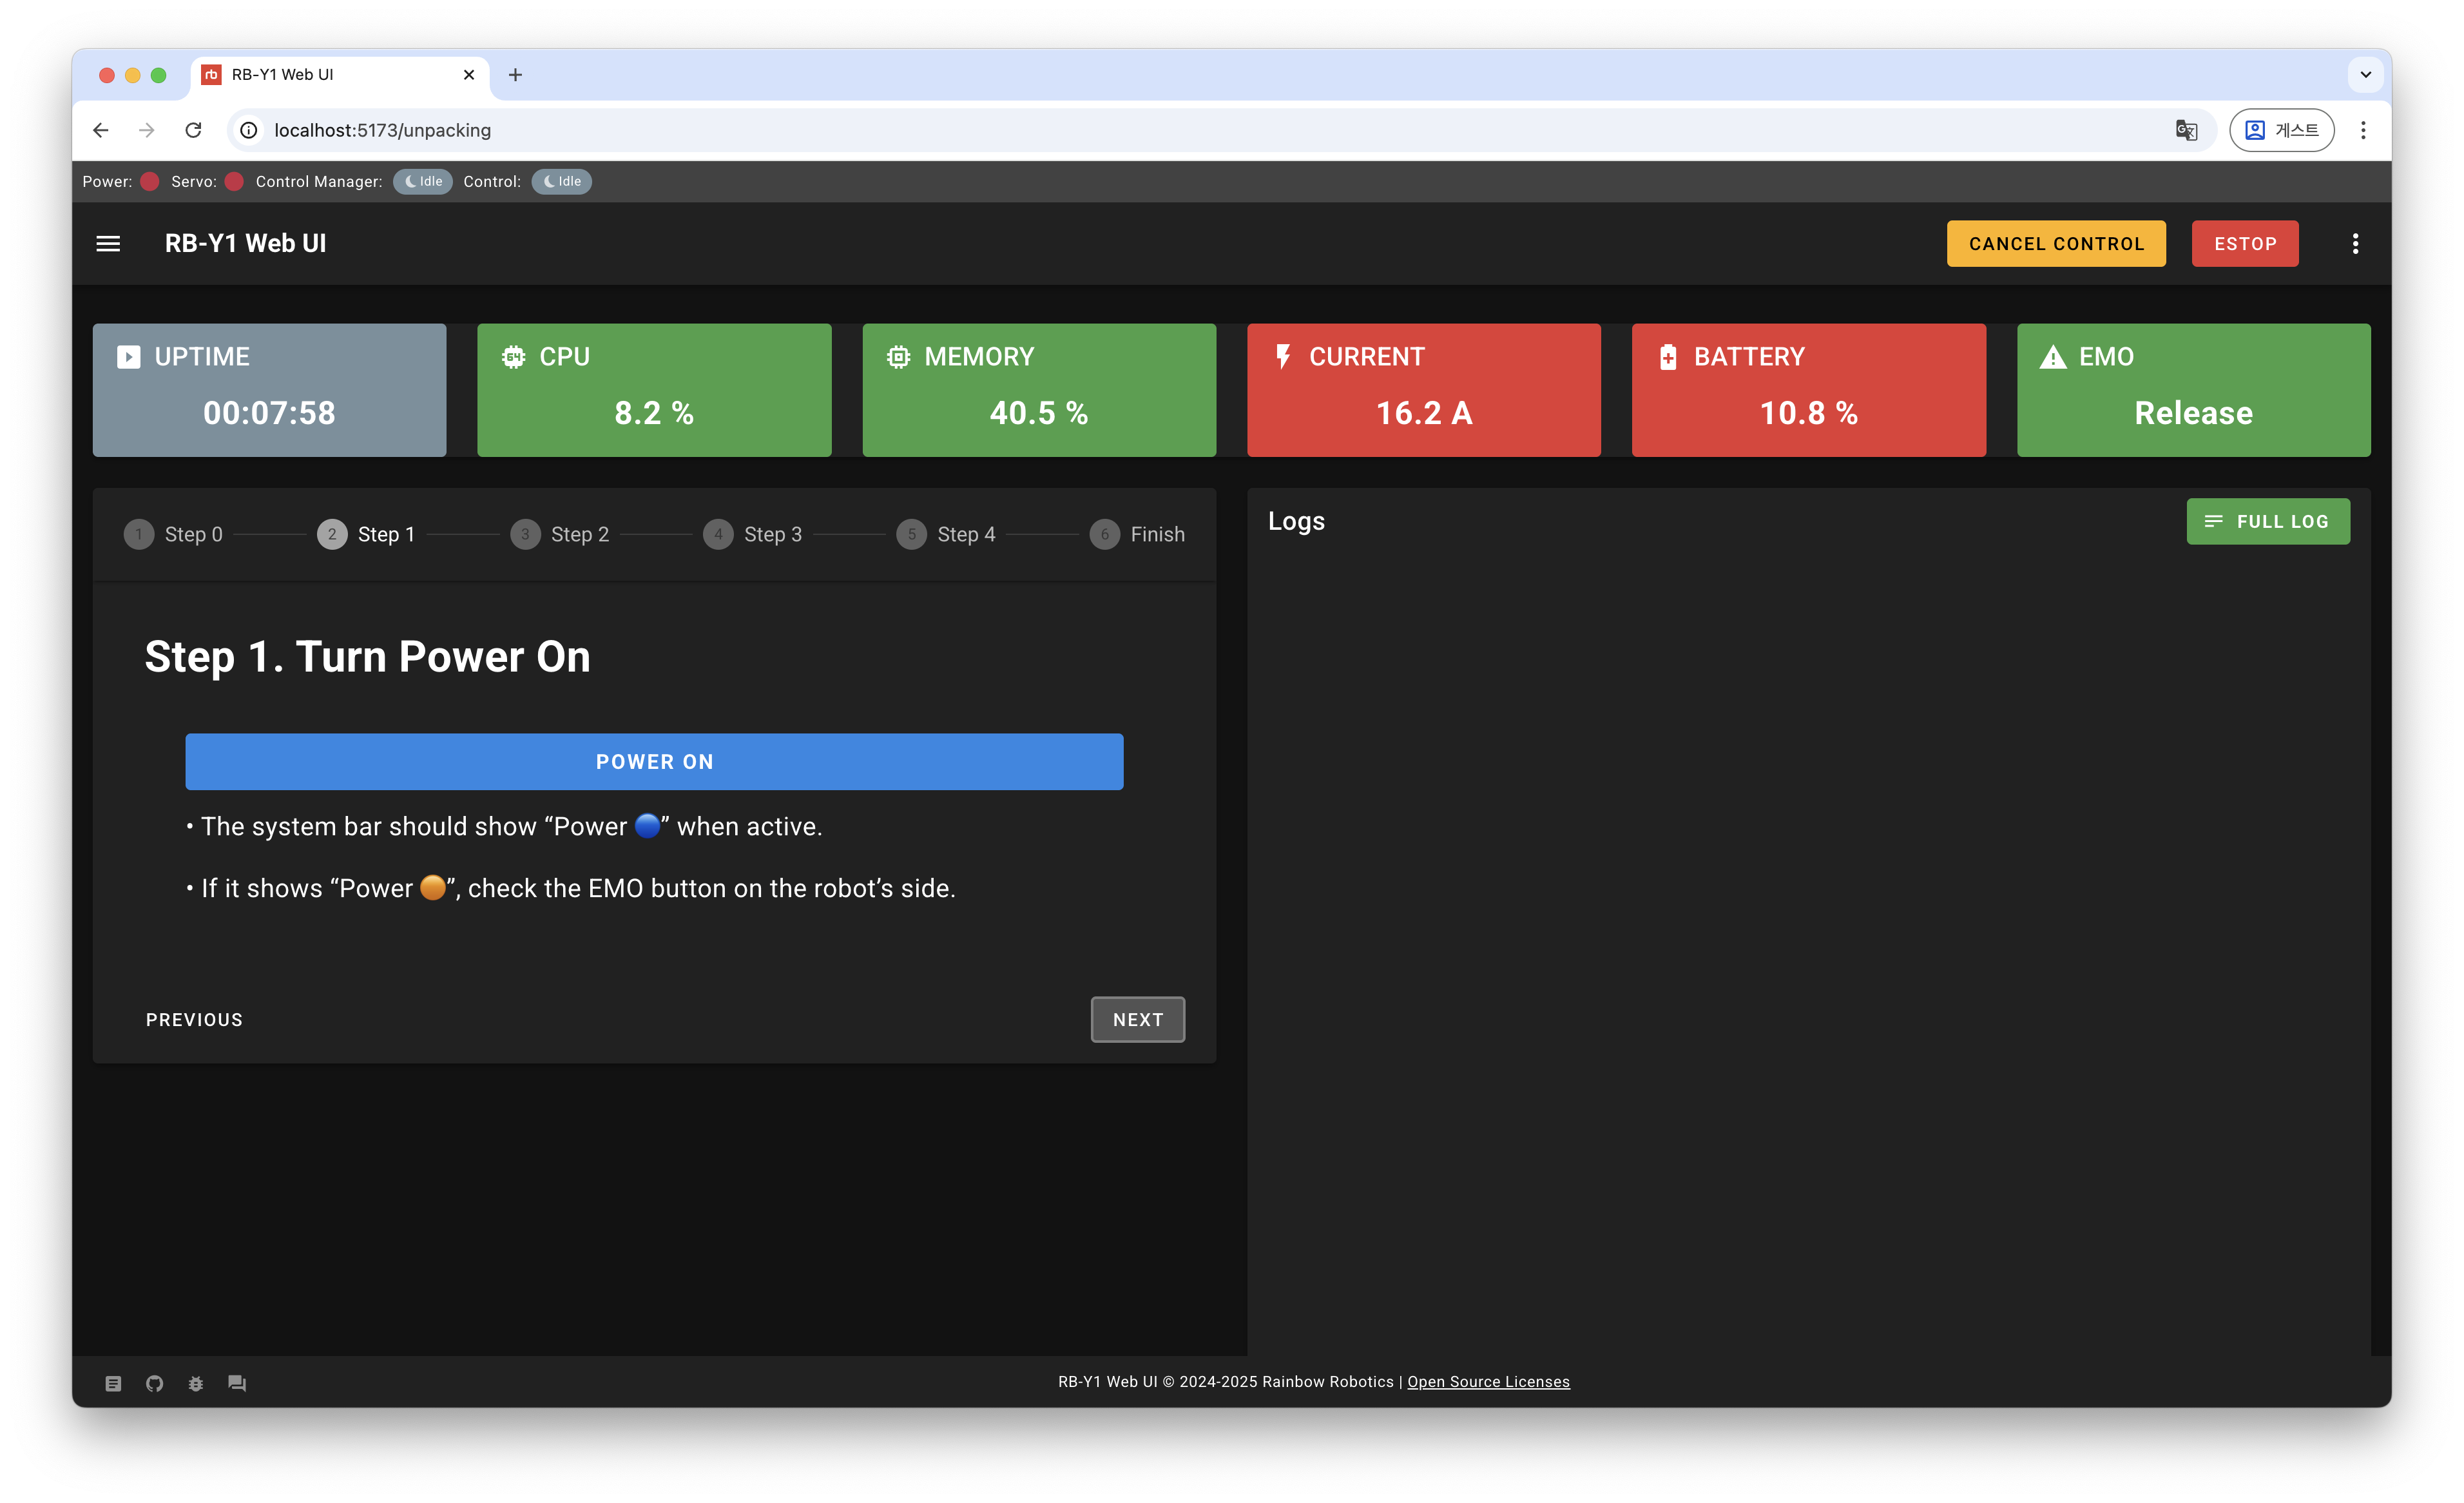
Step 1. Turn Power On
Click the POWER ON button to supply power to the robot.
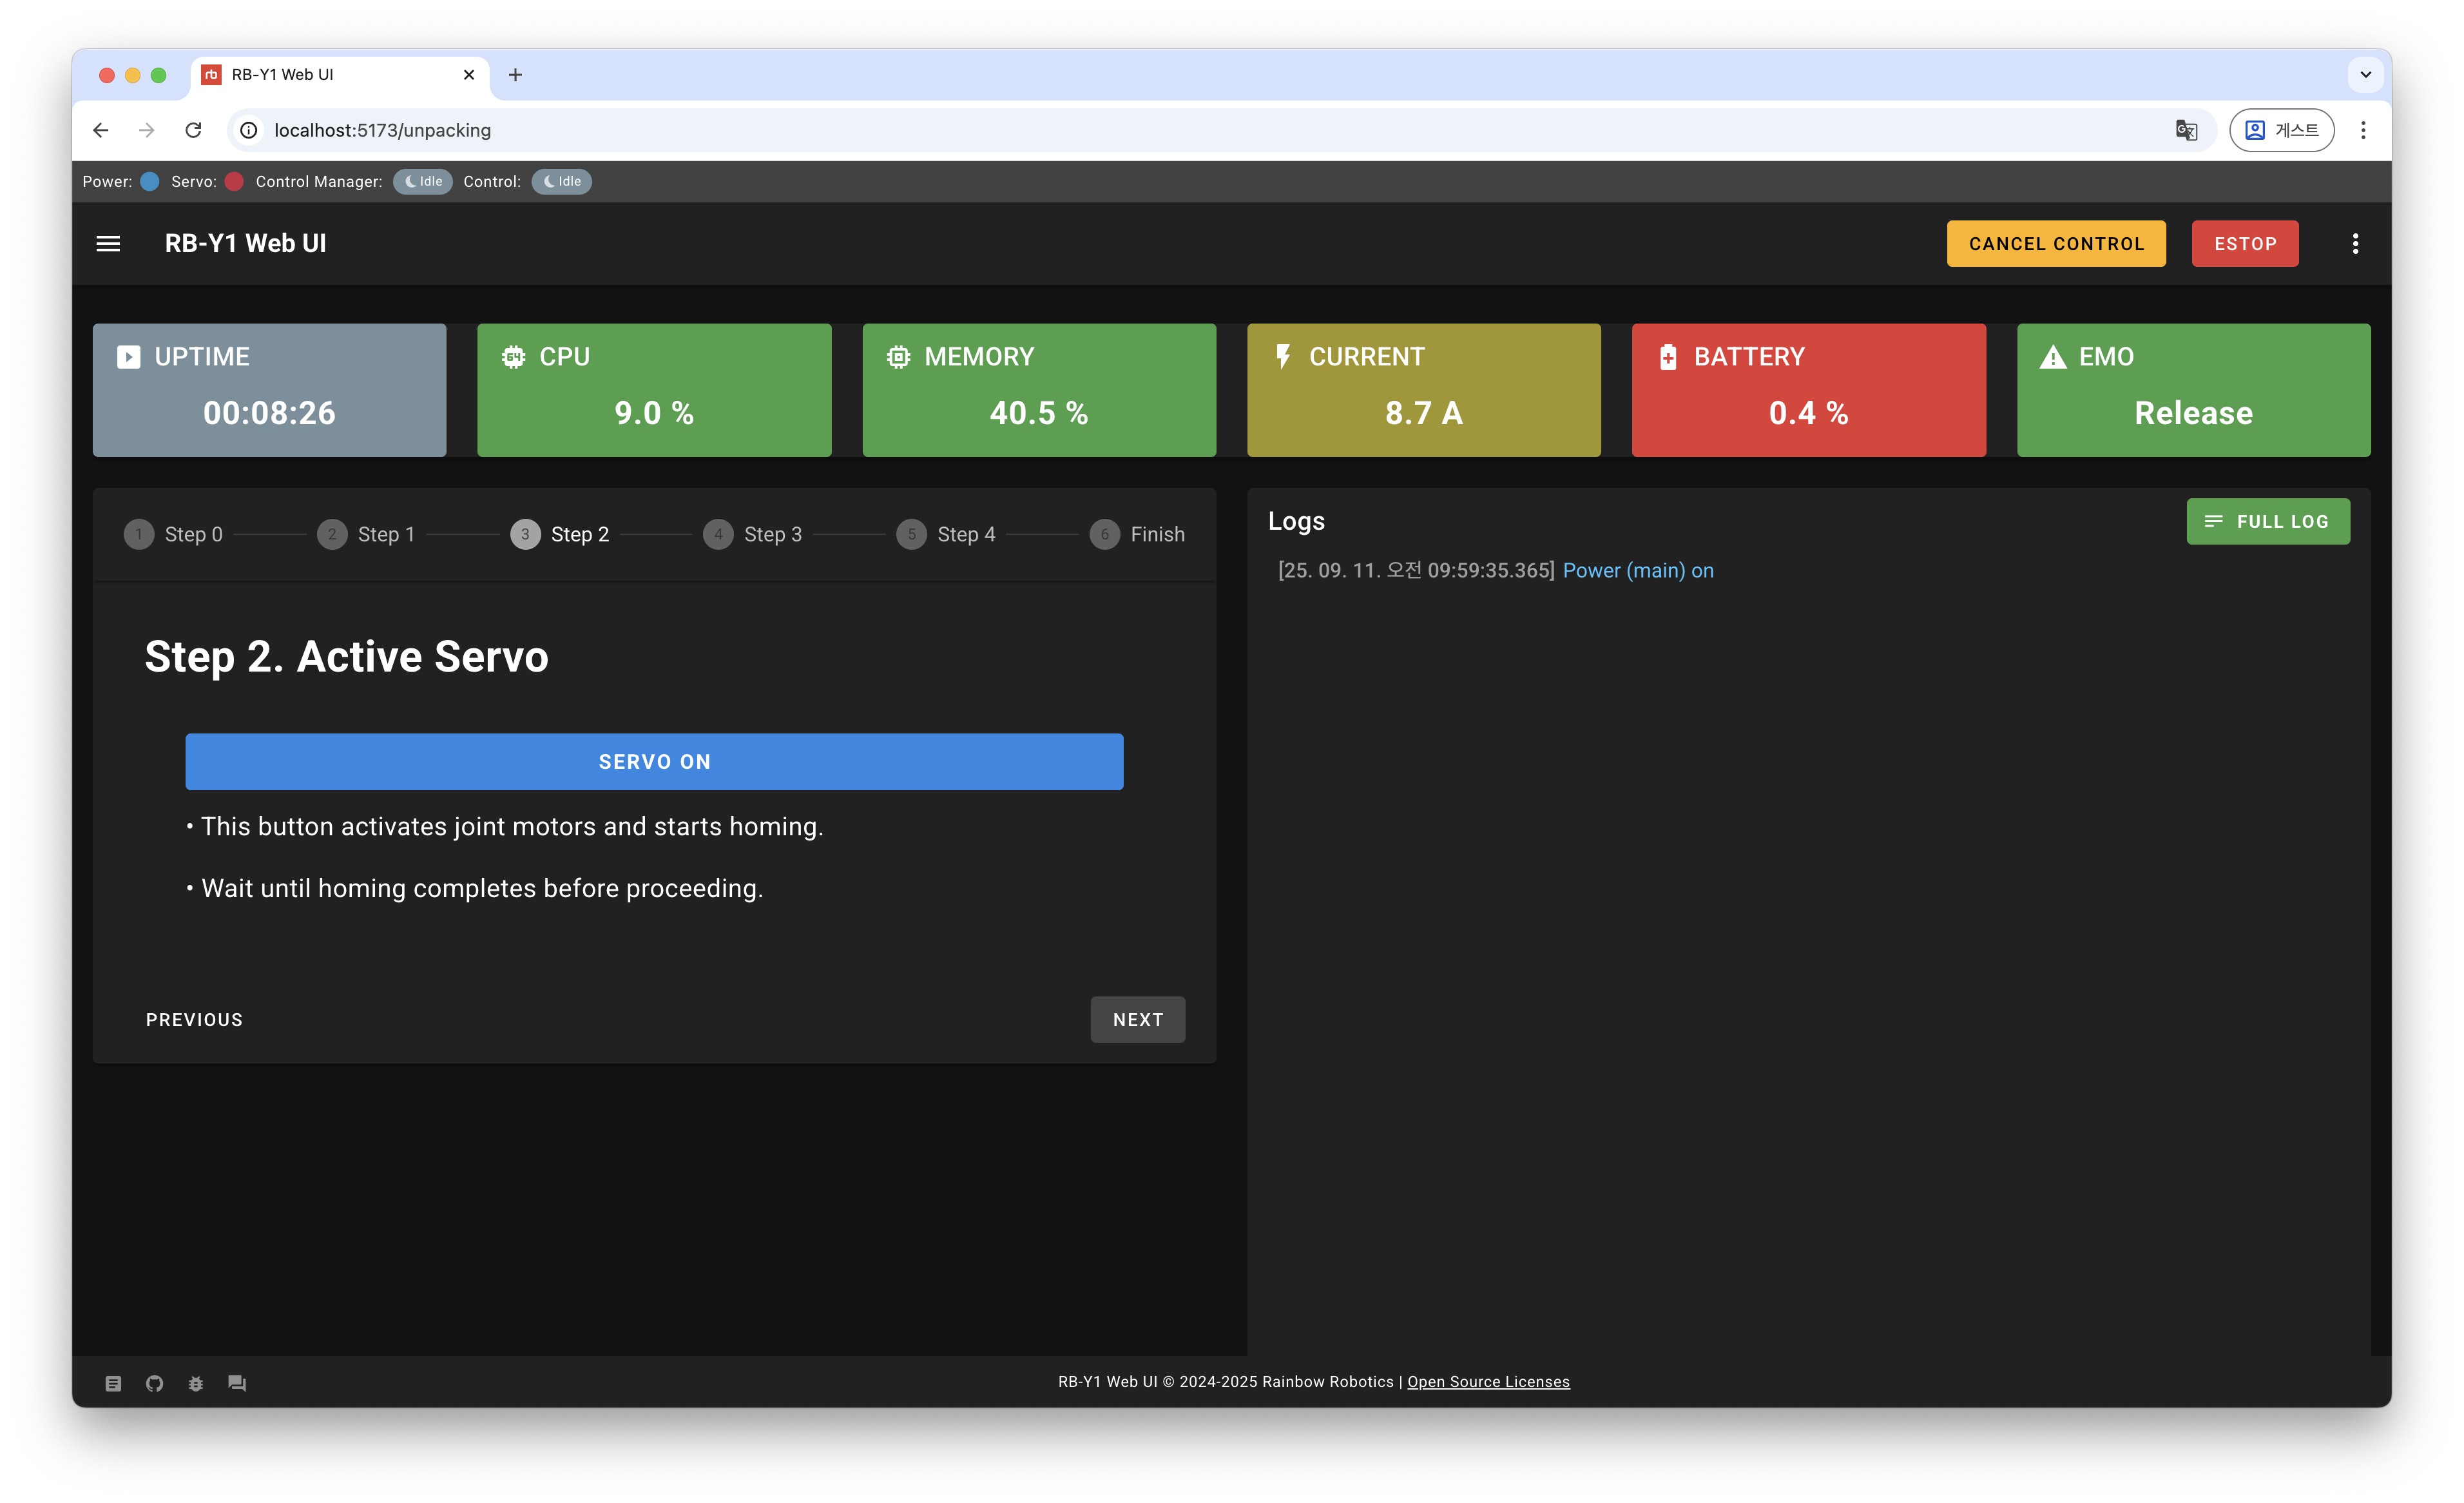
Step 2. Activate Servo
Enable the robot’s servos so that joints can move. This enables all joints defined in the model. If some joints (e.g., the head or mobile base wheels) are removed, enable servos only for the remaining joints in the Control Panel.
Step 3. Enable Control Manager
Enable the control manager so that the robot execute controllers.
Unlimitskips the joint operating range check.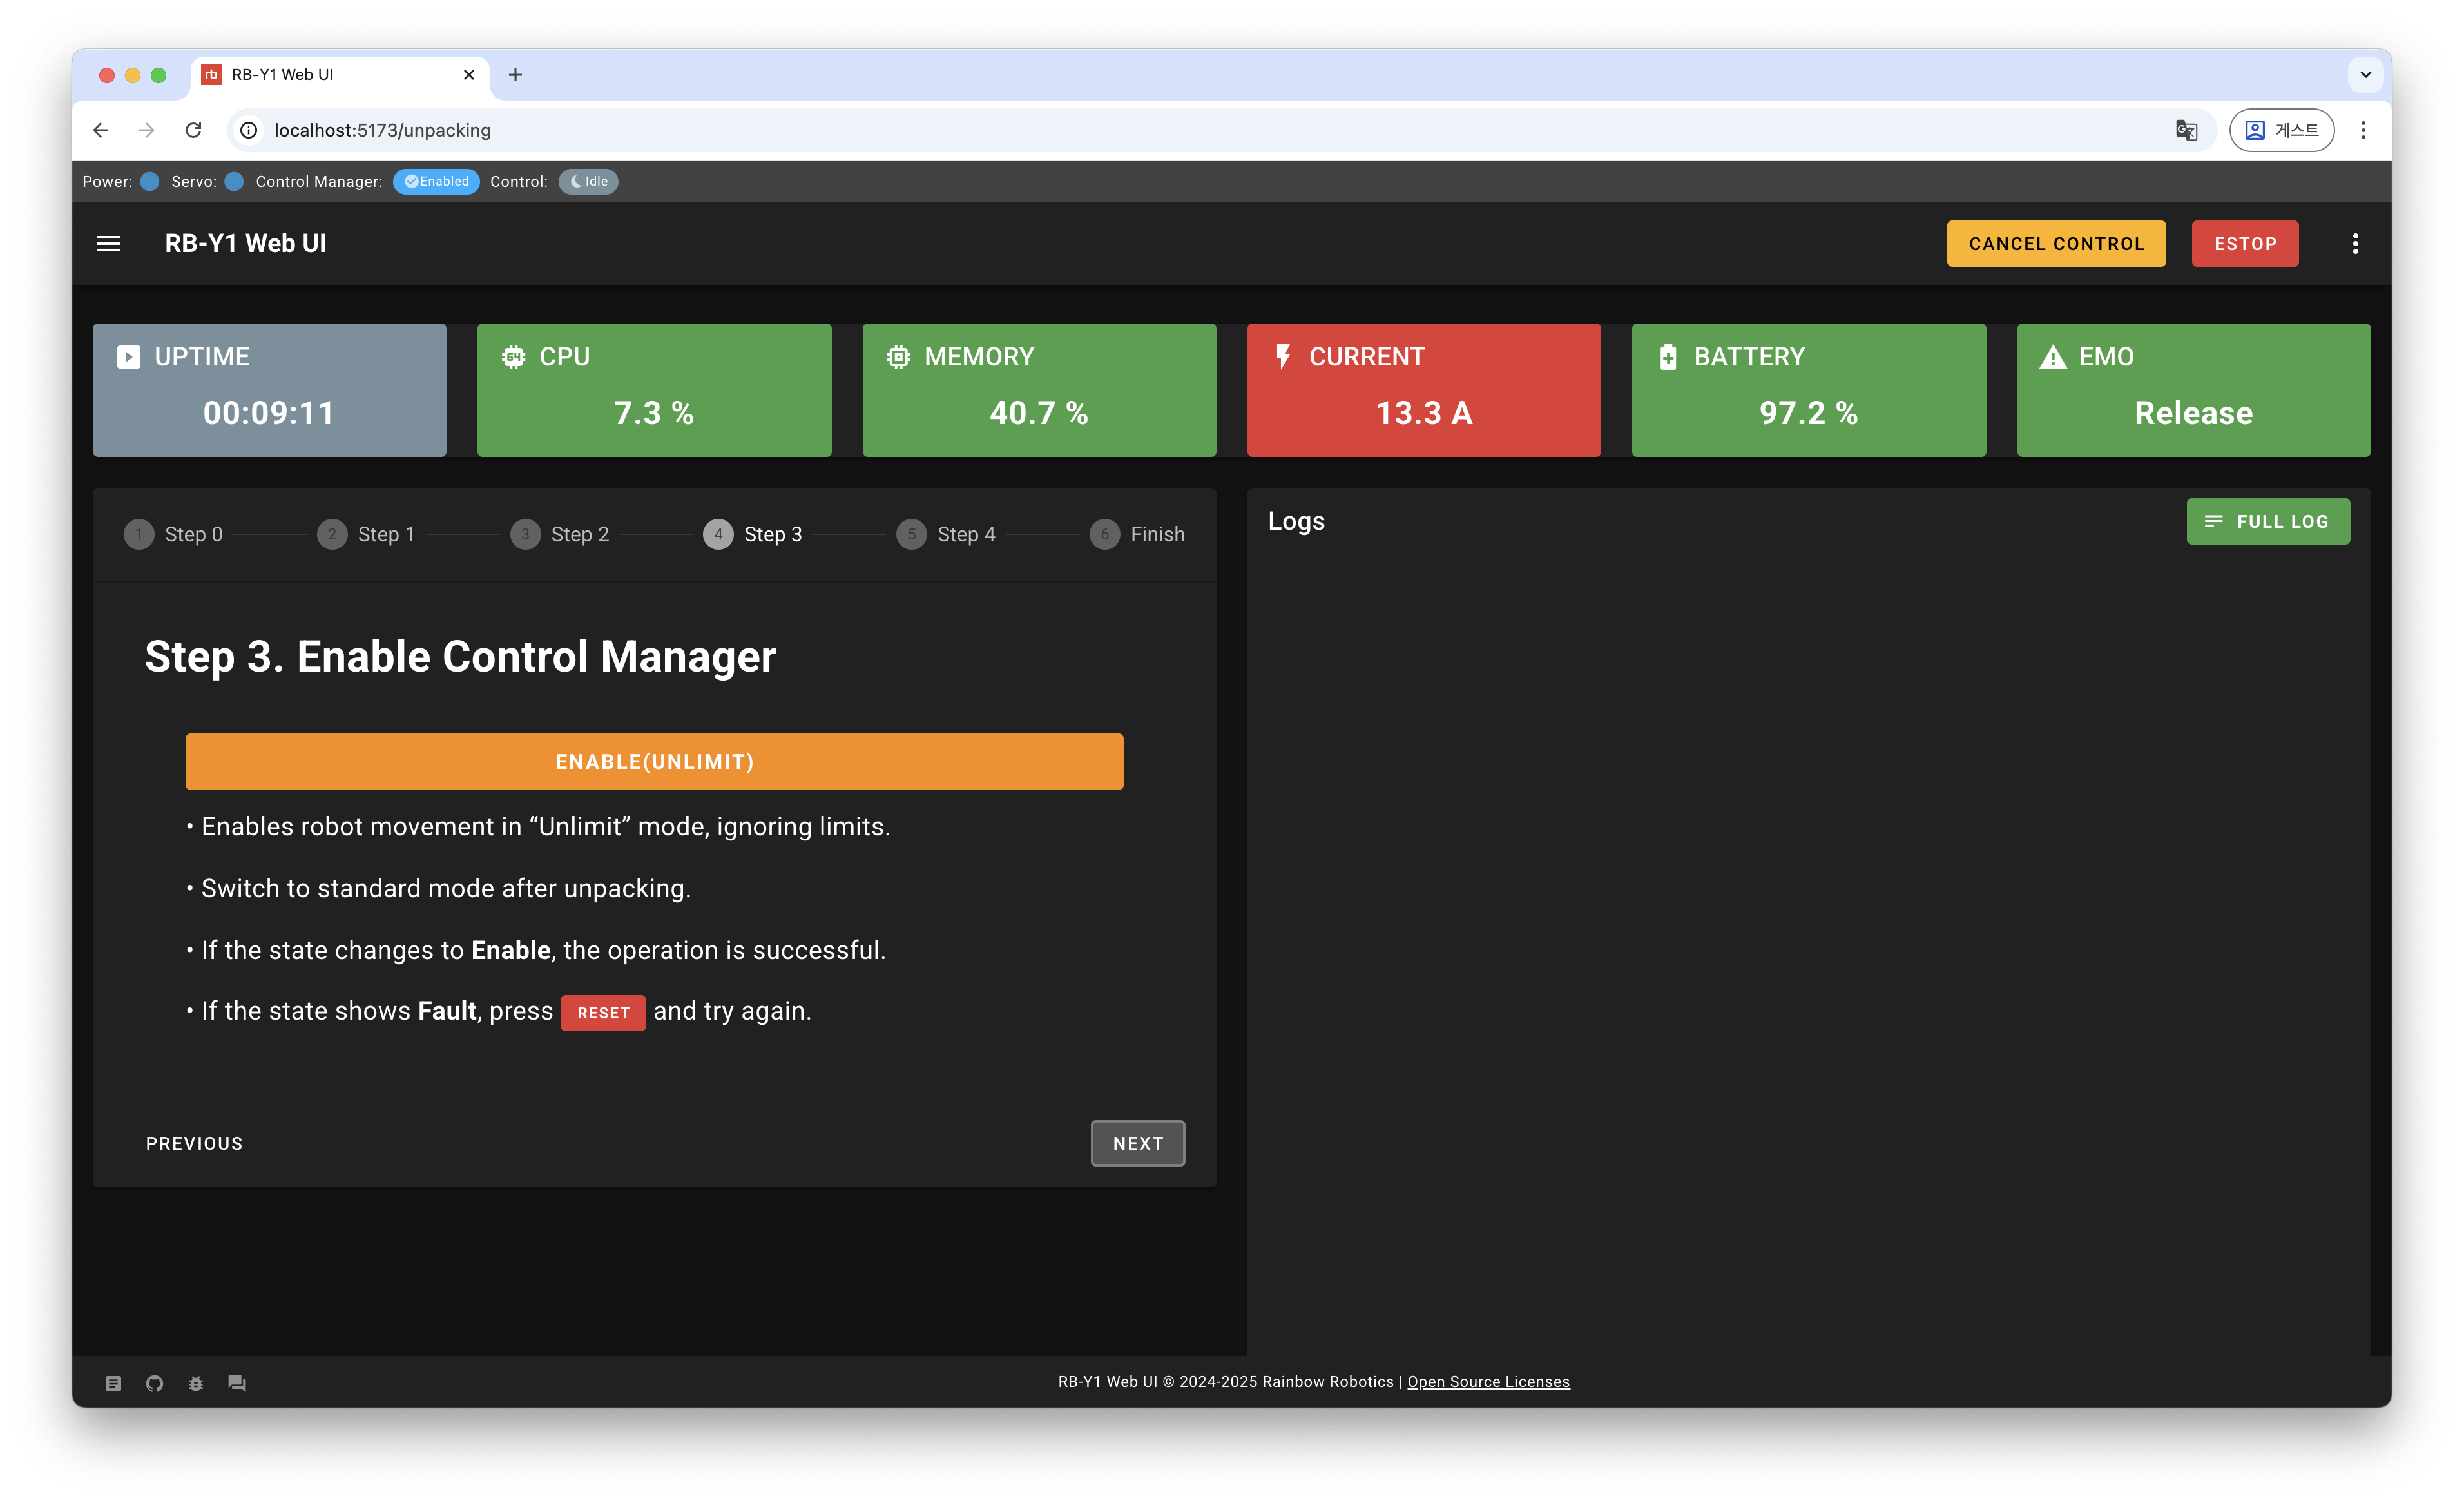
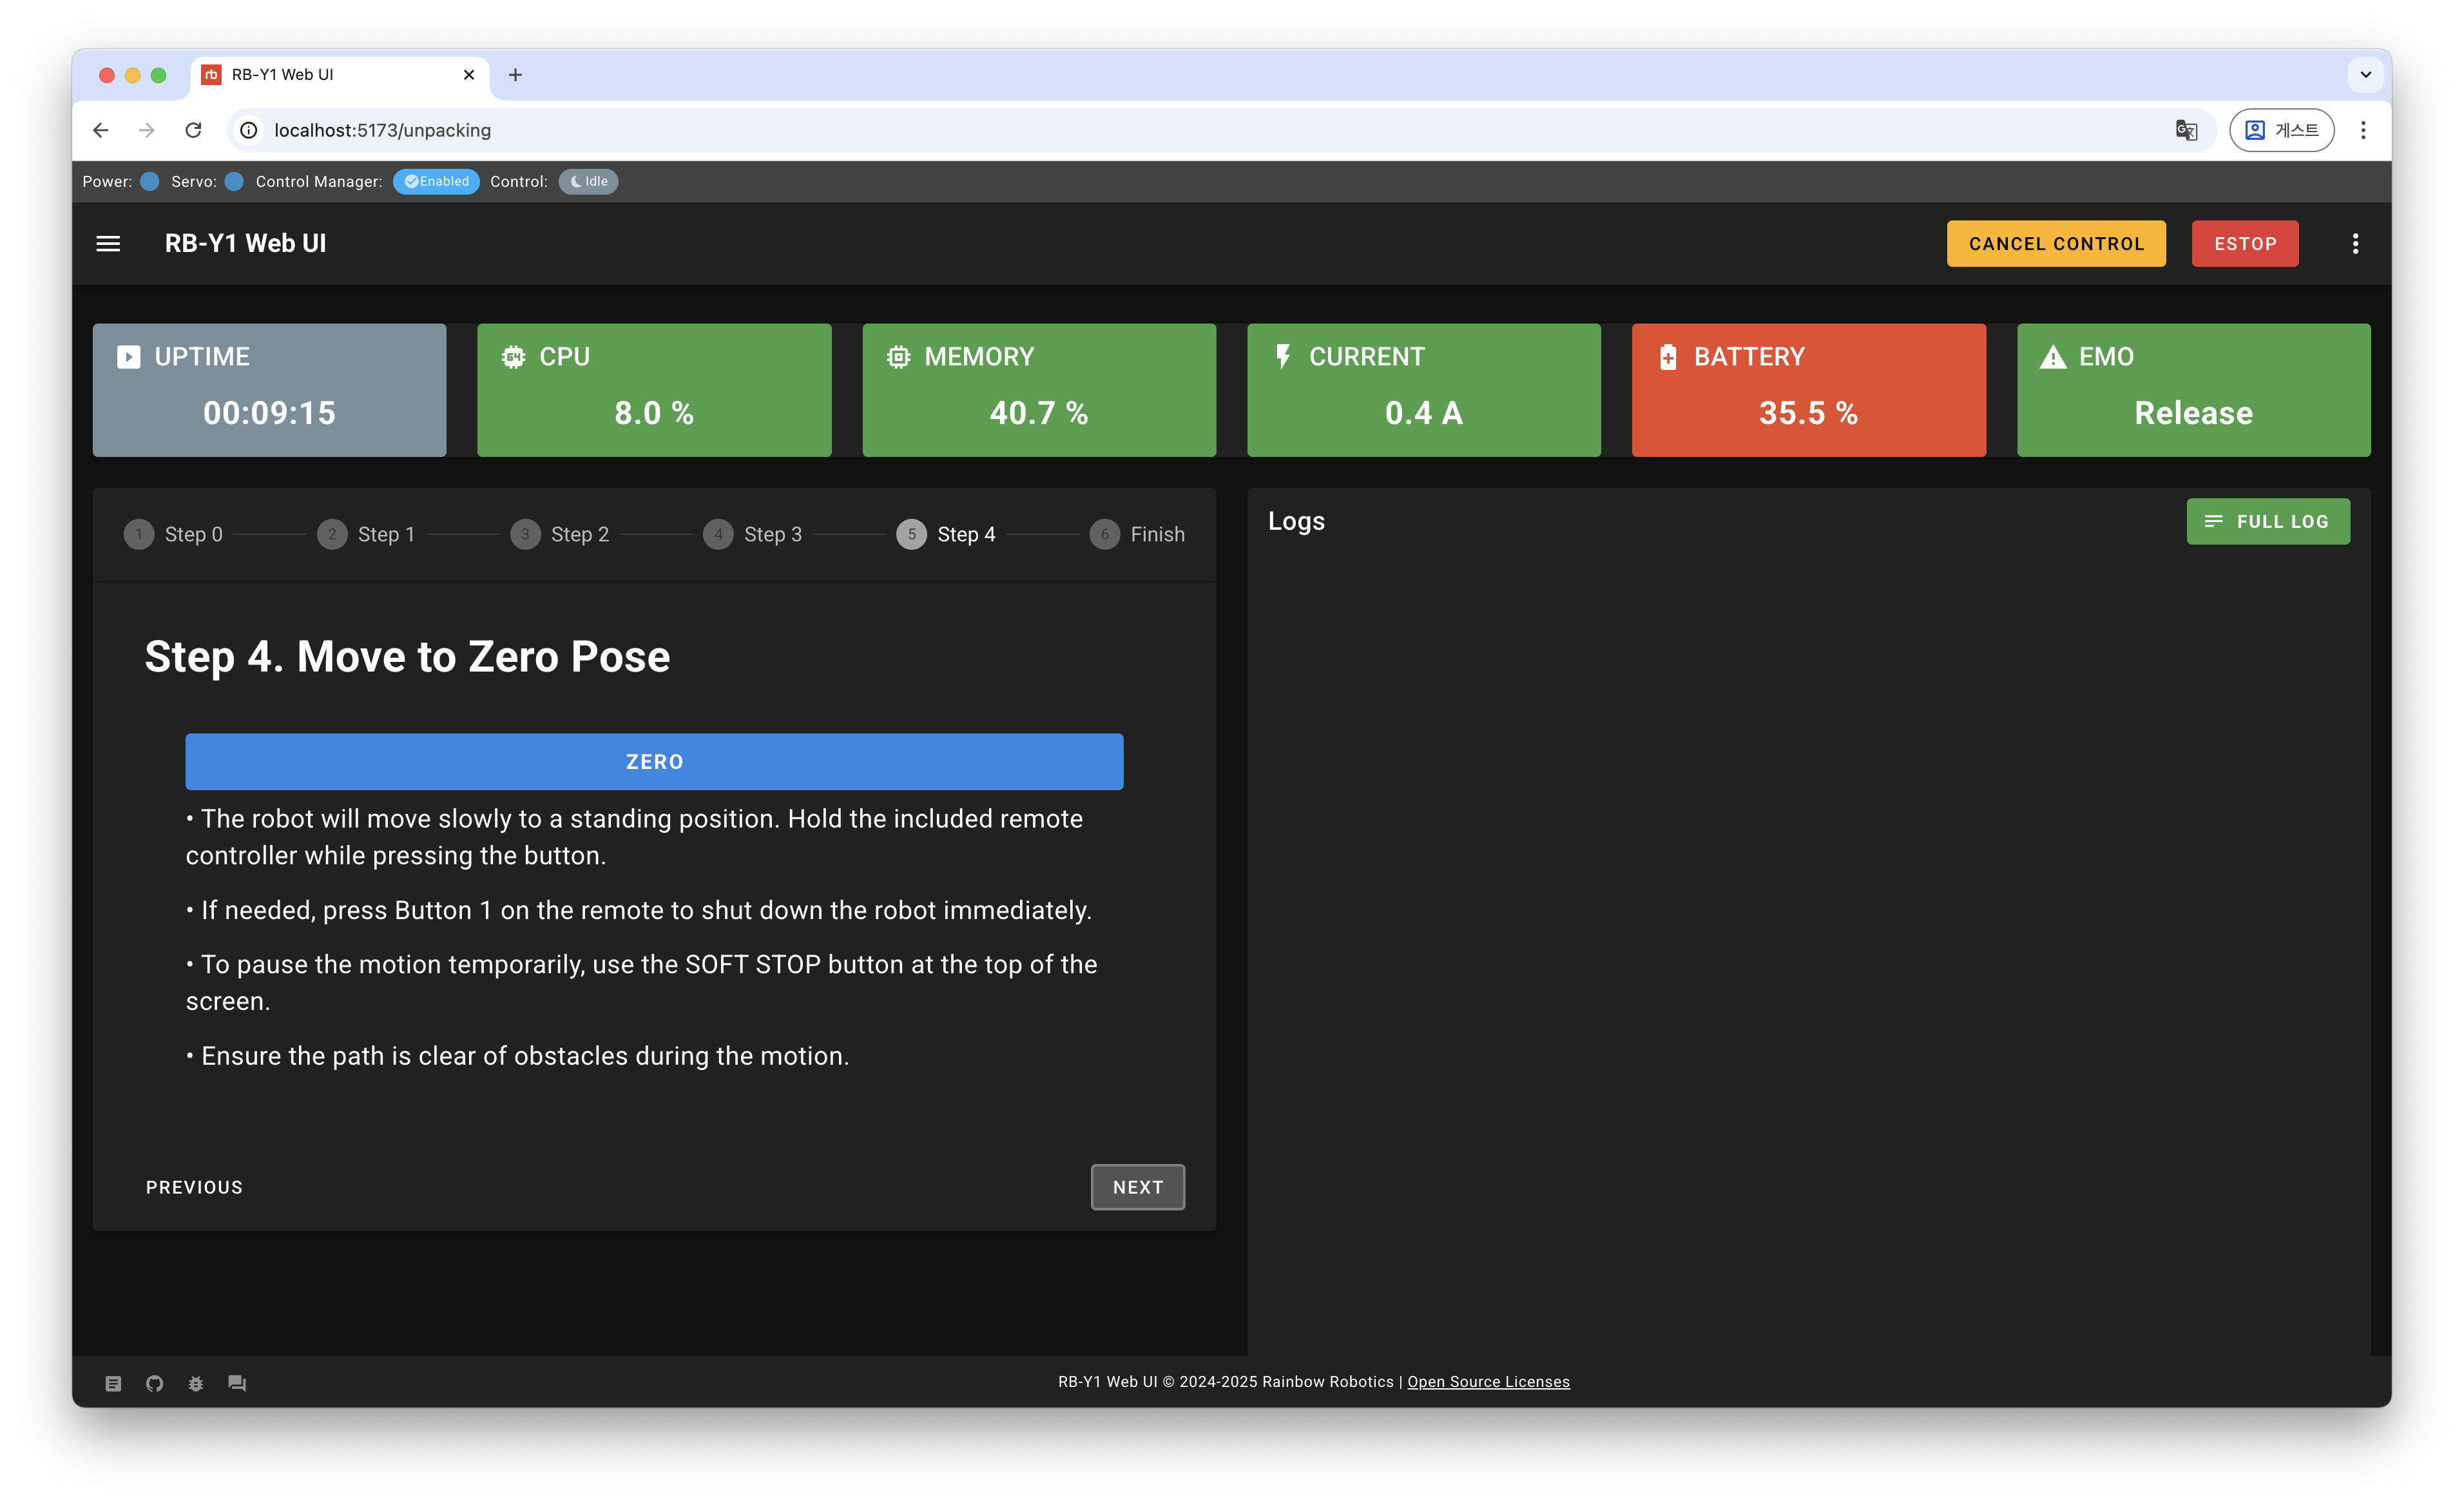
Step 4. Move to Zero Pose
Send the robot to the zero pose for initialization.